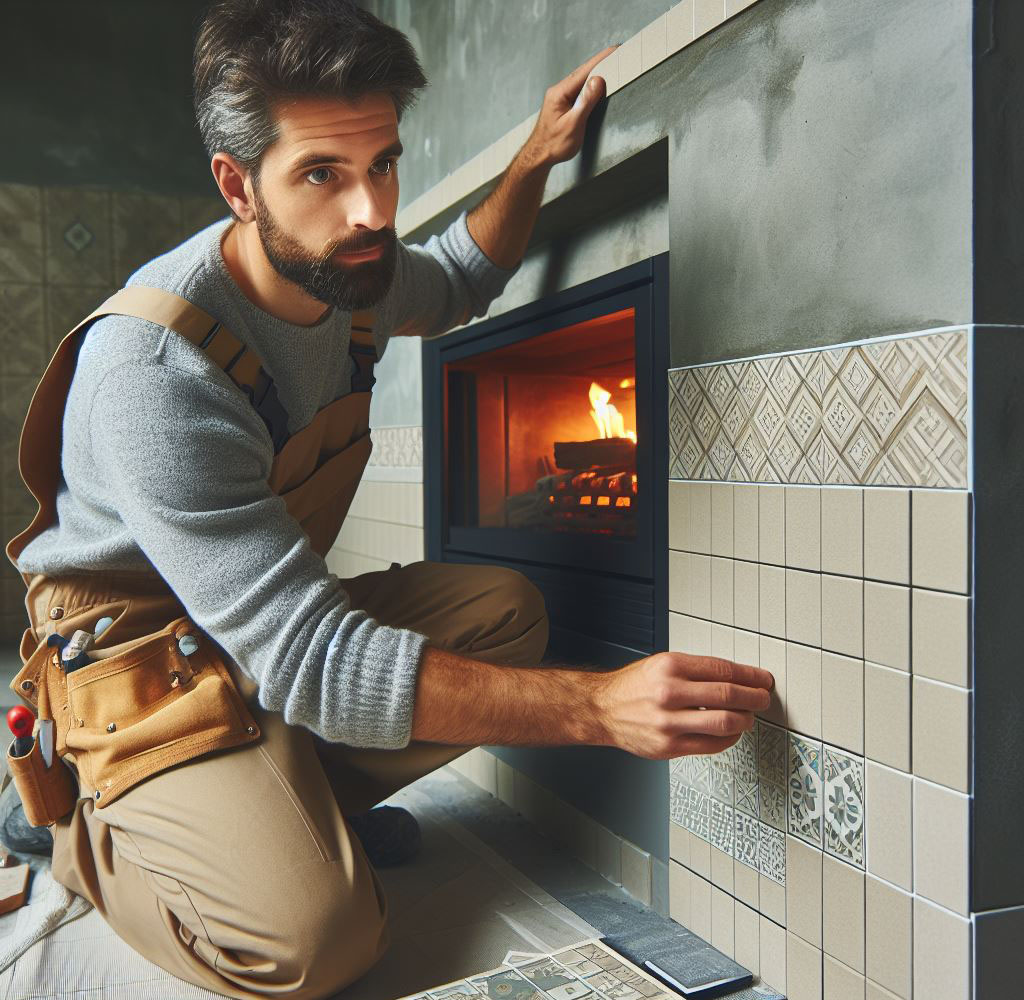
In the world of home renovation, a fireplace stands as a central piece that commands attention and admiration. It’s not just a source of warmth, it’s a centerpiece that anchors the room, inviting cozy gatherings and quiet moments alike. Tiling a fireplace is an artful endeavor that marries form and function, creating a durable and beautiful focal point that reflects the homeowner’s style and taste.
The choice to tile a fireplace brings with it a host of benefits. From an aesthetic standpoint, tiles can transform an ordinary hearth into a striking feature that enhances the entire room. On the practical side, they offer a robust shield against the relentless heat and corrosive byproducts of fire, ensuring longevity and ease of maintenance. With clear guidance and a methodical approach, this project is well within the reach of those who are ready to roll up their sleeves and create something truly special.

Preparing for Your Fireplace Tiling Project
Embarking on the journey of tiling your fireplace requires thoughtful preparation and design foresight. The selection of tiles is akin to choosing the right materials for a well-constructed house—they need to withstand the elements while complementing the home’s architecture. Opt for tiles that can endure high temperatures without losing their luster or integrity, such as vitrified tiles or natural stone. Consider the overall design of your room to ensure your tile choice enhances the existing decor.
Equip yourself with the following tools and materials to set the stage for success:
- Tile saw or snap cutter for precision cuts
- Notched trowel to spread adhesive evenly
- Tile spacers for uniform grout lines
- A reliable level to maintain even surfaces
- Measuring tape for accurate measurements
- Chalk line or laser level for true alignment
- Thinset mortar as a strong bonding agent
- Grout to fill and seal tile joints
- Grout float to apply and smooth grout
- Sponge and bucket for cleanup and finishing touches

Removing Old Tiles and Preparing the Surface
Approach the task of removing old tiles with care and patience. Safety gear is non-negotiable—protective gloves and eyewear are essential. Begin by removing the grout with a dedicated tool, then gently pry away the tiles. If they resist, a gentle tap with a hammer and chisel can help, but remember, finesse is key—you want to preserve the integrity of the surface beneath.
Once the old tiles are history, it’s time to prepare your canvas. Any remnants of adhesive or grout must be removed to ensure a clean, flat surface. Inspect for damage and make repairs as needed. A level base is crucial for a professional-looking tile job, so use your level to identify and correct any uneven areas with thinset.
Laying Out Your Tile Design
Visualizing your tile layout is a critical step that should not be rushed. A dry layout allows you to experiment with patterns and placement, ensuring the final look is exactly as you envision. Measure your space meticulously, and use a chalk line to mark your starting point, ensuring your design is centered and balanced.
To lay out your tile design like a seasoned pro, consider these steps:
- Begin from the center to guarantee symmetry in your design.
- Employ spacers to keep your tile lines sharp and consistent.
- Shuffle tiles from different boxes to prevent color clustering.
- Trial your arrangement without adhesive to confirm the pattern flows seamlessly.
Adhering Tiles to the Fireplace
Embarking on the tiling of your fireplace, you’ll want to start with the right adhesive. A high-quality thinset mortar is essential for a long-lasting tile job that can withstand the heat. When mixing your thinset, aim for a firm, yet spreadable consistency, much like that of thick cake batter. It should hold onto your trowel without sagging but spread easily when applied.
With your trowel, notch the thinset onto the surface, creating ridges that will help the tiles adhere with a strong, even bond. As you set each tile into place, give it a slight twist to ensure full contact with the thinset, and use spacers to maintain uniform joints. Keep a level handy to check that your tiles are flush and even, as a beautifully level and plumb installation is the mark of a true craftsman.
When it comes to cutting tiles to fit around the fireplace opening or corners, measure carefully and use a tile cutter or wet saw to achieve clean, precise cuts. Remember, measure twice, cut once, and always cut on the waste side of the line to ensure the best fit.

Grouting and Finishing Touches
After your tiles have been set and the thinset has cured, it’s time to grout. Select a grout color that complements your tile, and mix it to the consistency of toothpaste for easy application. Using a rubber grout float, work the grout into the joints, pressing firmly to fill them completely. As you work, remove excess grout with the edge of your float and shape the joints for a smooth, finished look.
Once the grout has set slightly, gently clean the tile surfaces with a damp sponge, being careful not to pull grout out of the joints. After the grout has fully cured, apply a penetrating sealer to both the grout and tiles to protect your work from heat and spills. This will make cleaning easier and extend the life of your fireplace.
Maintaining Your Tiled Fireplace
To keep your tiled fireplace in pristine condition, regular maintenance is key. Dust and vacuum the tiles regularly to prevent buildup, and for deeper cleaning, use a mild detergent and warm water. Avoid abrasive cleaners and scrubbers that could damage the tile surface or grout.
Over time, you may notice signs of wear, such as hairline cracks in the grout or a dulling of the tile finish. Address these issues promptly by re-grouting or applying a fresh coat of sealer as needed to maintain the integrity and beauty of your fireplace.
FAQ Section
Tiles that can withstand high temperatures without cracking or fading are ideal for fireplaces. Porcelain, ceramic, and stone tiles are all excellent choices, each offering durability and a range of aesthetic options.
Yes, a high-temperature-resistant thinset mortar is recommended for fireplace applications to ensure the tiles stay secure despite the heat.
Typically, tiling a fireplace can take a weekend to install, followed by a few days for the mortar and grout to cure. It’s important to allow ample time for each stage to ensure a solid, durable finish.
Tiling over brick is possible with proper preparation. The brick surface must be cleaned, leveled, and primed with a bonding agent to ensure the thinset adheres correctly.
Regular cleaning with a soft brush and mild detergent will keep grout looking fresh. For tougher stains, a grout cleaner may be used, and periodic re-sealing will help maintain the grout’s resistance to heat and dirt.
Sealing the tiles and grout on a fireplace is highly recommended. It protects against stains, facilitates cleaning, and helps to preserve the appearance and integrity of the fireplace under high heat conditions.
