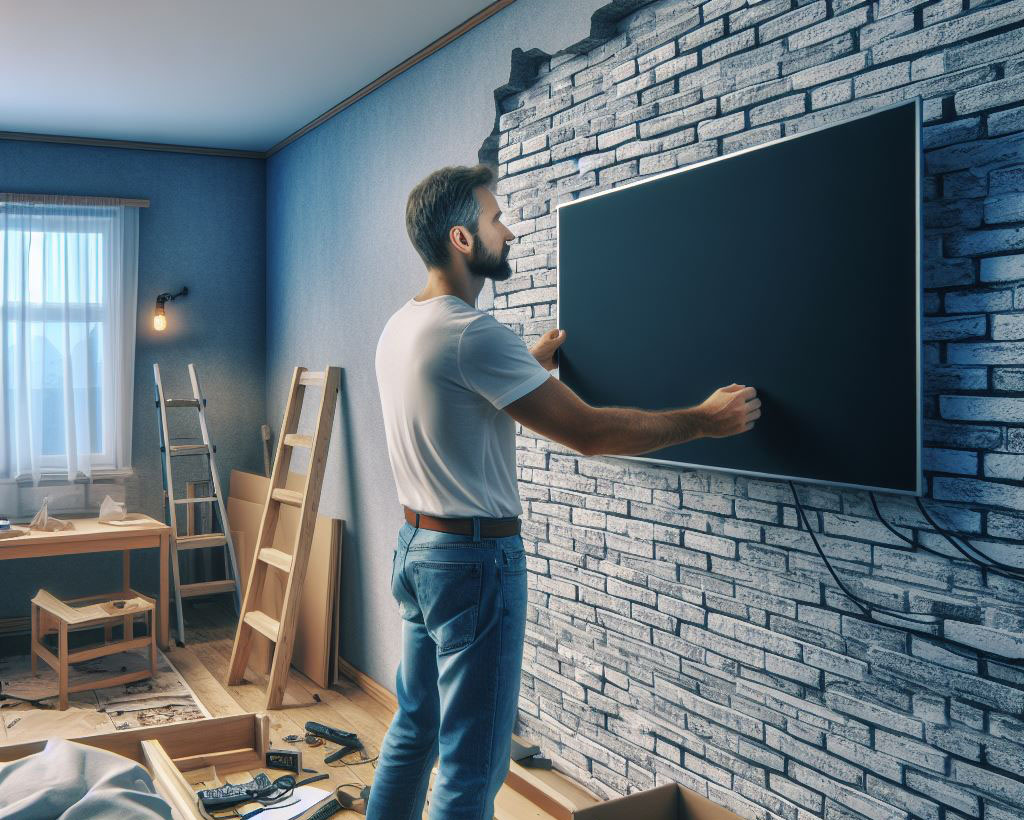
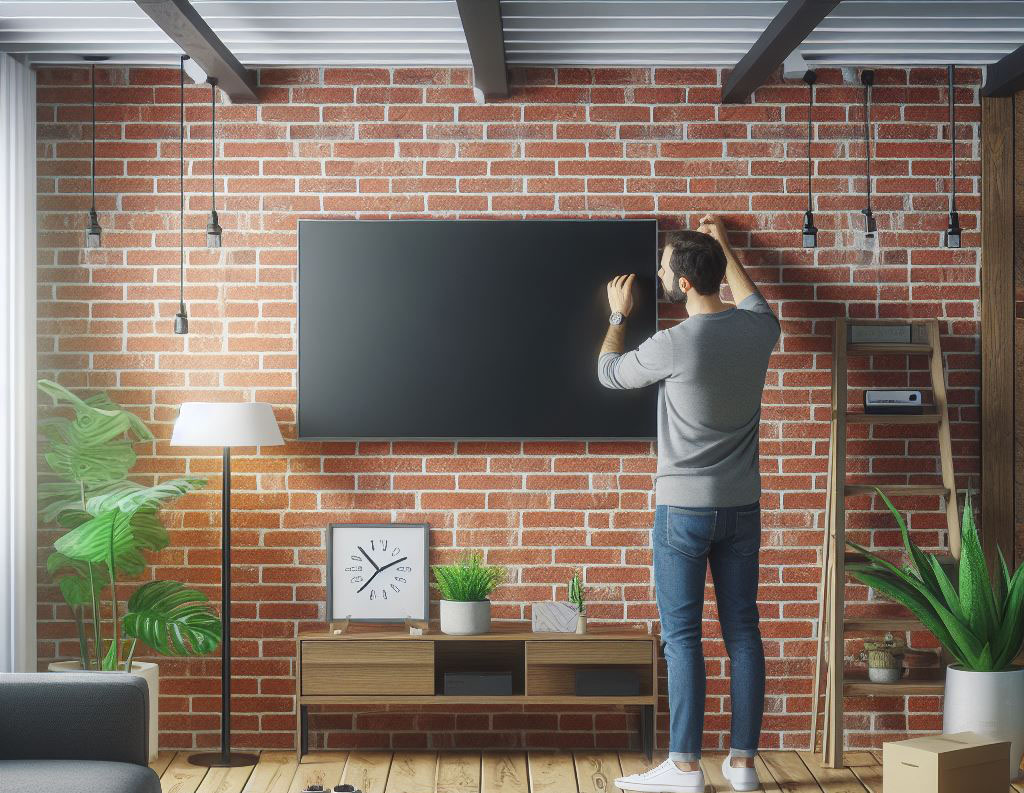
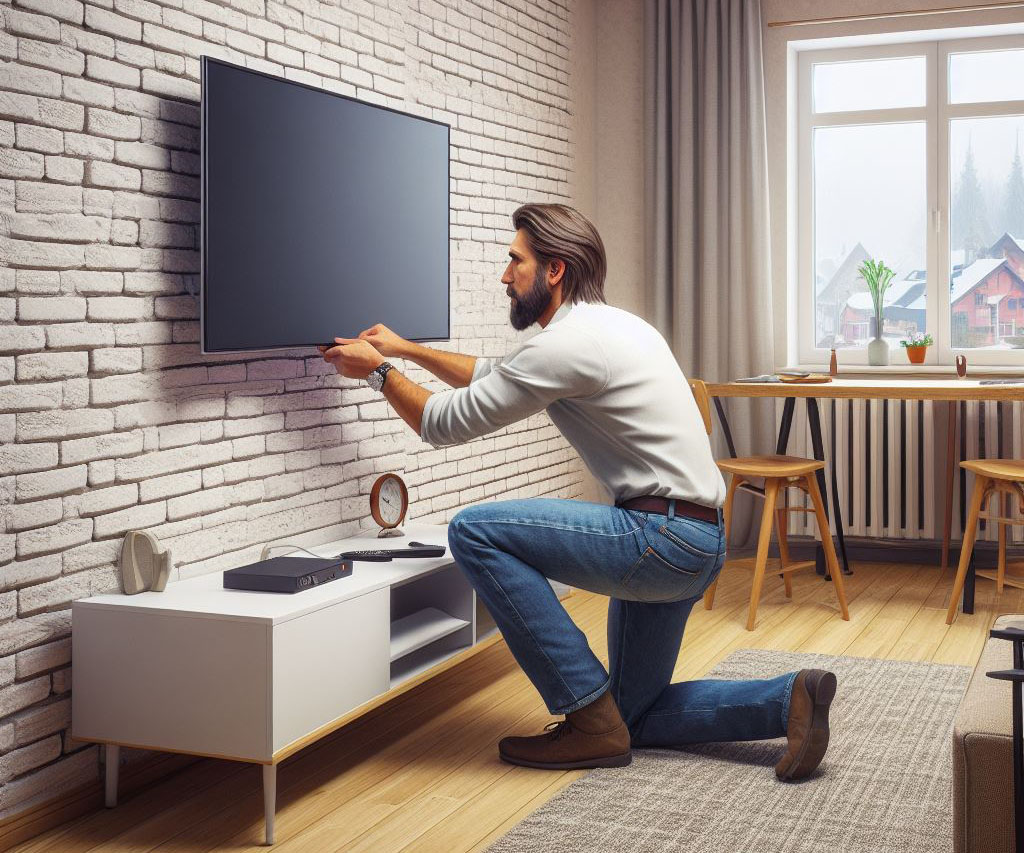
In the ever-evolving landscape of DIY home improvement, there’s a significant trend that has captured the attention of homeowners and professionals alike: the art of mounting TVs on brick walls. This task, while seemingly straightforward, is layered with complexities unique to the nature of brick as a material. It’s a project that requires not only a keen understanding of the task at hand but also an appreciation for the nuances of brick as a substrate for mounting.

Understanding Your Workspace
Understanding the nature of brick walls is the cornerstone of this task. Brick, a material revered for its durability and aesthetic appeal, presents unique challenges when it comes to mounting. Each brick is like a miniature fortress, hard and unyielding, unlike the more forgiving plaster or drywall. Additionally, the mortar joints, while softer, are not always the most reliable anchor points. This is where your approach must shift from the standard methods used for other wall types, respecting the integrity of the brick while ensuring a secure mount.
Tools and Materials Needed
A precise selection of tools and materials is essential for this endeavor:
- Power Drill: Choose a hammer drill equipped with a masonry bit. This tool is specifically designed to tackle the hard surface of bricks efficiently.
- Level: Essential for ensuring your TV hangs perfectly horizontal. A skewed TV can be an eyesore.
- Hammer: Useful for minor adjustments and fittings.
- Wall Anchors and Screws: Opt for anchors and screws specifically designed for masonry. These are engineered to grip into brick, providing a secure hold.
- Tape Measure: Accuracy in measurement is key to a successful mount.
- Pencil or Marker: For precise marking of your drill points. Accuracy here saves time and prevents unnecessary damage to the brick.
- Safety Gear: Protect your eyes and hands. Bricks can chip, and the drill can kick back.
For the anchors, sleeve or wedge anchors are recommended due to their expansion properties which provide a robust grip in the brick. The choice of mount should be based on the weight of your TV and the flexibility you desire in terms of movement and angle adjustment.

The following sections will guide you through the process step-by-step, ensuring your venture into this aspect of home improvement is both successful and satisfying. Remember, the key lies in meticulous preparation and execution. Let’s embark on this journey together, transforming your space with both function and style.
Preparation Steps
- Measuring for Ideal Placement: It’s imperative to measure carefully when deciding where your TV will hang. Consider not just the height at which the TV will be mounted, but also the viewing distance from your seating area. Use a tape measure to determine the optimal position, and mark the wall gently with a pencil to indicate where the top and bottom of the TV will be. This ensures you won’t end up with a screen that’s too high or too low, which can lead to uncomfortable viewing.
- Assessing Wall Strength: Before proceeding, it’s crucial to verify that the chosen section of the brick wall can support the weight of your TV. Remember, it’s not just the weight of the TV, but also the mount. Locate a section of the wall where you can anchor into the bricks themselves, which provides a more reliable hold than the mortar alone.
Mounting Process
- Drilling into Brick: With your hammer drill and a suitable masonry bit, drill into the brick at the marked points. Keep the drill steady and apply even pressure, avoiding rapid movements that might damage the brick. The goal here is precision, not speed.
- Attaching the Mount: Insert the appropriate masonry anchors into the holes you’ve drilled. These anchors are designed to expand within the brick, providing a secure hold for the bolts. Once in place, attach the mount to the wall, ensuring that the bolts are tightened securely against the brick.
- Ensuring the Mount is Level: With the mount in place, use a level to check that everything is aligned correctly. An unlevel mount can lead to an unevenly hung TV, which can be both unsightly and potentially unsafe.
- Safety Considerations: Throughout this process, make sure to wear protective gear such as safety glasses and gloves. Drilling into brick can produce sharp fragments and dust, so it’s important to protect your eyes and hands.

Finishing Touches
- Cable Management: To keep cables from detracting from your room’s aesthetics, use cable concealers that can be painted to match your wall. For a more integrated look, you might consider routing cables through the wall, especially if you’re adept at minor masonry work.
- Optimal Viewing Angles: After the TV is mounted, take a moment to adjust its position for the best possible viewing experience. Many mounts allow for tilting and swiveling, so experiment with different angles to find what’s most comfortable for your viewing area.
By taking these steps, you can mount your TV on a brick wall with confidence, knowing that it’s both secure and positioned for optimal viewing. Remember, a successful project is all about careful planning, the right tools, and attention to detail.
Troubleshooting Common Issues
Misaligned Holes: It’s not uncommon during DIY projects to encounter slightly misaligned holes. If this occurs, you can opt for larger wall anchors that can bridge the gap, providing a more forgiving fix. Alternatively, a solid solution is to fill the errant hole with masonry epoxy and re-drill after it sets, ensuring precise alignment.
Loose Fittings: If you notice that the mount has some play or movement, it’s typically an indication that the wall anchor isn’t gripping as it should. This can be remedied by either switching to a larger or more robust anchor or by ensuring that the anchor is appropriate for the type of brick you’re working with.
Maintenance and Care
Regular Check-Ups: Just like any other structural fixture in your home, the TV mount requires periodic inspection. Periodically tightening any bolts that have loosened and inspecting the mount’s overall stability can prevent future issues.
Maintaining Stability: Pay attention to any changes in the brickwork surrounding the mount, such as cracks or crumbling, which could indicate structural concerns. In these cases, consulting a professional is advisable to ensure ongoing safety and stability.
FAQ Section
While most brick walls are suitable for mounting TVs, there are exceptions. For instance, old or significantly worn bricks may lack the necessary strength. It’s important to evaluate the wall’s condition, weak or crumbling bricks are a sign that it’s best to choose another location or reinforce the wall.
The cornerstone of a secure mount is selecting the appropriate anchor. Sleeve or wedge anchors are often the best choices. Ensuring that you drill into the brick itself, not merely the mortar, is also crucial for stability. The drill hole’s depth and width are just as important as the anchor’s strength.
For uneven brick layouts, one might use a mounting plate that spans multiple bricks to create a level mounting surface. Alternatively, adjustable mounts offer flexibility to accommodate uneven surfaces.
When executed with care, the risk of damaging a brick wall is minimal. Key considerations include not overburdening the wall with a too-heavy TV and using proper drilling techniques. Excessive force or an inappropriate drill bit can lead to brick damage.
Indeed, cables can be neatly concealed. Surface-mounted cable raceways, which can be painted to match the wall, offer a practical solution. For those willing to undertake a bit more work, carving a small channel in the mortar for cable routing is another effective approach, provided it’s properly sealed afterward.
