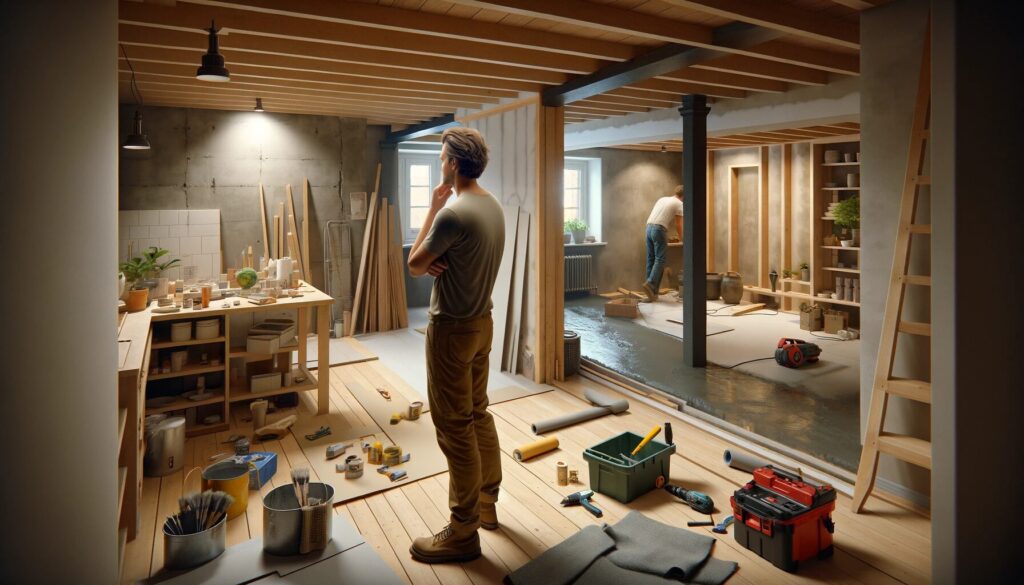
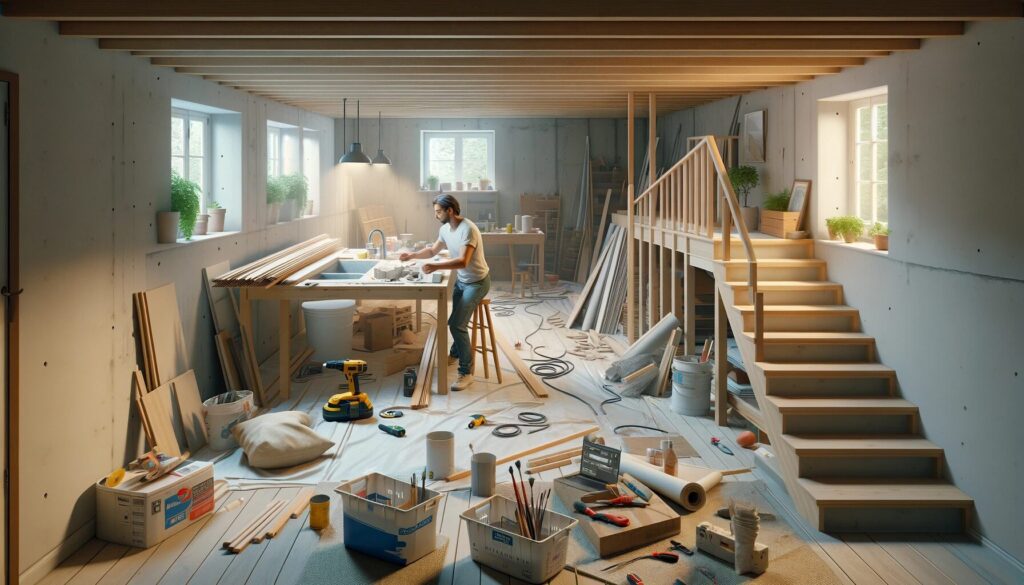
Finishing your basement can transform an underused area into a vital part of your home, enhancing both its functionality and market value. I’ve witnessed countless basements evolve from mere storage spaces to vibrant living areas. Here’s the skinny on what to expect:
- Time Frame: This is not an overnight makeover. Depending on the scale, you’re looking at several weeks to a few months. It’s a marathon, not a sprint.
- Budgeting Wisely: Costs can swing wildly based on the finish level. Plan for $25 to $90 per square foot, and always include a cushion for unexpected costs.
- Effort and Skills: This project demands a diverse skill set and significant effort. It’s more than a simple DIY job, it’s a commitment.

Understanding Your Basement’s Potential
Current Condition Assessment:
- Moisture Check: Tackle any water issues first. Dryness is paramount.
- Ceiling Height: Ensure you have enough headroom – typically 7 feet as per code.
- Foundation Health: Examine your foundations for structural integrity.
Purpose Identification:
- Extra Living Space: Great for growing families needing an additional bedroom or a more expansive living area.
- Home Office: A quiet, secluded space for the burgeoning remote workforce.
- Entertainment Area: Ideal for a home theater, gym, or personal bar.
Navigating Legalities:
- Permits and Paperwork: Necessary in many regions, these ensure your project is legal and up to code.
- Code Compliance: Non-negotiable and crucial for safety and future saleability.
Planning and Design: Laying the Groundwork
Detailing the Plan:
- Space Utilization: Draft a layout. Consider the placement of bathrooms, potential kitchenettes, and designated areas for various activities.
- Mechanical Systems: Factor in your home’s existing HVAC, electrical, and plumbing systems to avoid costly relocations.
- Future Adaptability: Consider future technological needs or additional plumbing for future expansions.
Design Selections:
- Home Continuity: Ensure the basement feels like an integral part of your home, not an afterthought.
- Lighting Solutions: Plan for a blend of lighting types to offset the natural lack of light in basements.
Expert Consultations:
- Architectural Advice: An architect or structural engineer can provide critical guidance, particularly for structural changes.
- Contractor’s Experience: A good contractor brings practical, on-the-ground solutions to the table and helps refine your vision.

Essential Steps in Basement Finishing
1. Waterproofing and Moisture Control
- The Foundation of Every Basement Project: Dealing with moisture is non-negotiable. It’s crucial to ensure your basement is dry before proceeding. Ignoring this step can lead to mold and structural issues.
- Best Practices for Waterproofing: Start from the outside by ensuring proper drainage. Inside, use quality sealants and waterproof paints. Remember, prevention is better than cure.
2. Insulation and Ventilation
- The Right Insulation for Your Space: Basements need insulation that combats moisture while providing thermal protection. Materials like rigid foam or fiberglass are popular choices. It’s not just about keeping the cold out, it’s about creating a comfortable, livable space.
- Keeping the Air Fresh: Proper ventilation is crucial to avoid damp, stale air. Whether it’s through HVAC extensions or dehumidifiers, make sure your basement has good air circulation.
3. Electrical and Plumbing Considerations
- Mapping Out Your Needs: It’s essential to plan for your electrical and plumbing needs early. Think about where you’ll need outlets, lighting, and if you’re adding a bathroom, where plumbing will run.
- Safety and Compliance: Always adhere to local building codes. This might mean pulling permits and getting inspections. It’s not just bureaucratic red tape, it’s about safety and long-term peace of mind.
4. Framing and Drywall Installation
- Sturdy Framing as the Skeleton of Your Space: Use pressure-treated wood for the bottom plates to prevent moisture damage. Ensure your framing is level and square – it’s the backbone of your wall finish.
- Drywalling – The Art of Smooth Walls: Hanging drywall requires precision. Avoid overly tight joints, and take your time with mudding and sanding. The goal is seamless, smooth walls.
5. Flooring Options and Installation
- Choosing the Right Foundation: Flooring choices in a basement are critical due to moisture issues. Whether it’s carpet, tile, or engineered wood, consider factors like moisture, durability, and comfort.
- Installation Techniques: A good subfloor can be vital for moisture management and insulation. Follow manufacturer guidelines for installation to ensure longevity and performance.
6. Ceiling Solutions
- To Drop or Not to Drop: Drop ceilings offer easy access to utilities but can reduce room height. Drywall ceilings give a more finished look but can make future access to wiring and plumbing more difficult.
- Planning for Access: Regardless of your choice, plan for maintenance. Include access panels or removable tiles for reaching utilities.
7. Lighting and Electrical Fixtures
- Illuminating Your Space Effectively: A mix of ambient, task, and accent lighting can transform a basement from a dingy storage area to a welcoming space. Plan your lighting scheme to enhance the usability and atmosphere of your basement.
- Choosing Fixtures: Select fixtures that not only provide adequate lighting but also complement the style of your basement.
8. Painting and Finishing Touches
- Choosing Colors Wisely: Light hues can make your basement appear larger and brighter. But don’t shy away from bold colors or accents that reflect your personal style.
- The Final Flourishes: This is where your basement comes to life. Details like trim work, custom shelving, or unique decorative elements add personality and finish the space beautifully.

Maximizing Your Basement’s Functionality
Over the years, I’ve learned that the most successful basements are those that serve multiple purposes. Here’s how you can achieve that:
- Versatile Spaces: Consider furniture that serves dual functions. A sofa bed can turn a living area into a guest room, and a wall-mounted desk can fold away when not in use.
- Smart Storage Solutions: Every inch counts. Think creatively – shelving under the stairs, built-in cabinets, or even a hidden nook behind a movable bookshelf.
DIY Tips and Tricks
Plan for Efficiency: A well-thought-out plan saves time and money. Before you start, have a clear idea of what you need, including materials and tools.
Common Pitfalls: DIY doesn’t mean doing everything yourself. Recognize when it’s time to call in a professional, especially for complex tasks like wiring or plumbing. And always measure twice and cut once.
FAQ Section
Consider the function of the space first. Major components like egress windows and HVAC systems can be significant, so get those estimates early. Include a contingency fund – unexpected issues are common in renovation.
For walls, I recommend moisture-resistant materials like green board. For flooring, vinyl or tile are good choices due to their resistance to moisture. If you prefer carpet, choose one that’s mold-resistant.
Your local building department is the best resource here. They can inform you about the specific requirements like ceiling heights, egress points, and standards for electrical and plumbing work.
Low-profile lighting such as recessed can lights are ideal for basements with low ceilings. They provide good illumination without taking up headspace. Also, consider using wall sconces to add additional light.
Yes, but address the water issues thoroughly first. This might involve exterior work like grading or interior solutions such as sump pumps and dehumidifiers. Ensuring a dry environment is critical before beginning any finishing work.
Good insulation is key. Also, consider using energy-efficient windows and sealing any drafts. Opt for LED lighting and Energy Star-rated appliances to minimize energy consumption.
