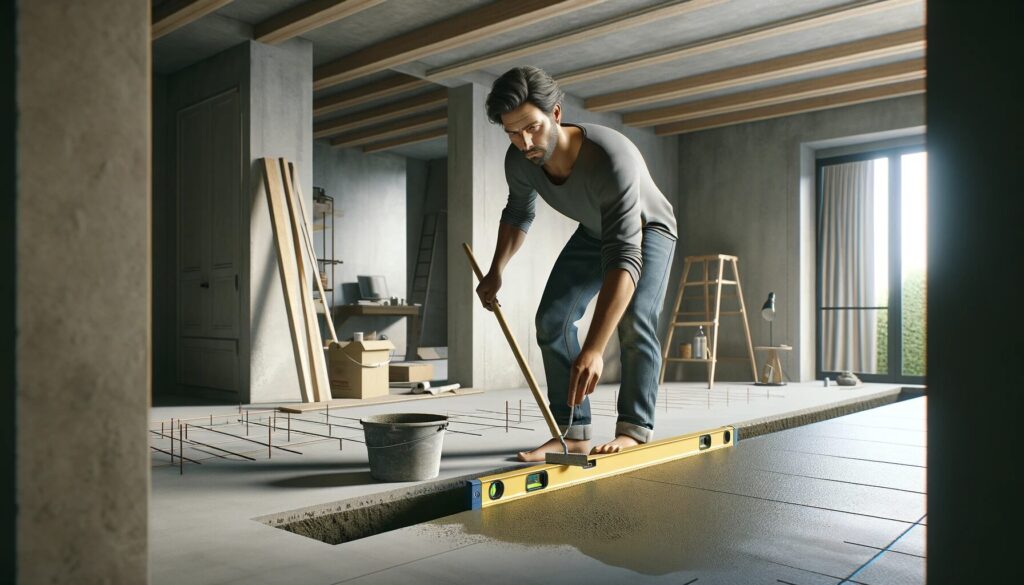
When it comes to home construction and renovation, one of the foundational skills you need to master is leveling a concrete floor. This isn’t just about aesthetics, it’s about creating a stable and safe base for your home. Whether you’re a DIY enthusiast working on your own home, or a seasoned professional in the construction and repair industry, understanding how to properly level a concrete floor is essential.

Understanding Concrete Floors
Concrete floors form the backbone of many homes, especially in areas like basements. They’re known for their durability and strength, but they’re not impervious to issues. Over time, even the best-laid concrete floors can become uneven. This can lead to a host of problems, not just cosmetic ones. An uneven floor can cause uneven wear and tear on your flooring, and in some cases, it can even affect the structural integrity of your home.
Pre-Leveling Assessment
Before you get started, you need to assess whether your floor needs leveling. Here’s a practical approach to this:
- Visual Inspection: First, take a good look at your floor. Are there visible dips, humps, or slopes? These are tell-tale signs that leveling is needed.
- Straightedge Test: A more precise way to check for unevenness is to use a long straightedge or a laser level. Place it on various spots on the floor. Any gaps between the straightedge and the floor indicate low spots.
- Marble Test: A simple, yet effective method. Roll a marble across the floor in different directions. If it consistently rolls in a particular direction, you’ve got an uneven floor.
Now, let’s gear up. For leveling a concrete floor, you’ll need:
- Leveling Compound: Choose a high-quality compound for best results.
- Primer: Essential for helping the leveling compound adhere properly.
- Trowels and Spreaders: A good set of these will make the application smoother.
- Mixing Tools: A bucket for mixing and a drill with a mixer attachment will make your work easier.
- Safety Equipment: Always prioritize your safety with a dust mask, gloves, and safety goggles.
- Measuring and Marking Tools: A tape measure and chalk line for precision.
- Cleaning Supplies and Patching Material: To prep your floor before leveling.

Step-by-Step Guide to Leveling Concrete Floors
Let’s dive into the nitty-gritty of leveling concrete floors, a task that may seem daunting but is quite manageable with the right approach and tools.
1. Cleaning the Surface
A pristine surface is key to a successful leveling job. Begin by removing all debris, dust, and dirt from the floor. This is crucial, as any residual particles can interfere with the adhesion and leveling process. Use a shop vacuum for efficiency or a stiff-bristled broom for a more hands-on approach. The goal here is to achieve a surface that’s as clean as possible.
2. Filling Cracks and Holes
Addressing cracks and holes is the next critical step. For minor cracks, a basic concrete patching compound will suffice. Apply it smoothly, ensuring it’s level with the rest of the floor. For larger cracks, a more thorough approach is needed. This may involve chiseling out the crack to create a clean profile for better adhesion of the patching compound. Patience and attention to detail here will pay off in the long run.
3. Applying Primer
Primer is the unsung hero of leveling jobs. It prepares the floor, ensuring the leveling compound adheres properly and uniformly. Apply the primer evenly across the entire floor, taking care not to leave any areas uncovered. Allow the primer to dry completely, as per the manufacturer’s instructions, before proceeding to the next step.
4. Mixing Leveling Compound
The choice of leveling compound and its preparation are crucial. Mix according to the manufacturer’s instructions, aiming for a consistency that’s neither too thick nor too runny. A power mixer or drill attachment can be invaluable here, saving time and ensuring a smooth, lump-free mixture.
5. Applying the Leveling Compound
Now, the main event: applying the leveling compound. Start from the furthest corner of the room and pour the compound onto the floor, spreading it with a spreader or squeegee. Work quickly and efficiently, as the compound can set faster than you might expect. Ensure an even spread, paying special attention to filling low spots and maintaining a uniform thickness.
6. Finishing Touches
Once applied, inspect the surface for any imperfections. A spiked roller can be useful in removing air bubbles and ensuring a smooth finish. Allow the compound to cure fully, as per the drying times specified by the manufacturer, before walking on the surface or proceeding with further work.

Special Focus: Leveling Basement Floors
Basement floors present unique challenges, primarily due to moisture and more pronounced uneven surfaces.
- Moisture Check: Always start with a moisture check. Moisture issues must be resolved before any leveling work begins, as trapped moisture can lead to significant problems down the line.
- Moisture-Resistant Compound: In basements, opting for a moisture-resistant leveling compound is a prudent choice, safeguarding your work against potential moisture-related issues.
- Dealing with Uneven Surfaces: Basements often require more extensive leveling work. Be prepared for multiple applications, allowing each layer to set fully before applying the next.
Advanced Tips and Techniques
Over the years, I’ve honed some advanced techniques for achieving that perfectly level surface, especially in challenging scenarios like large areas and uneven slabs.
- Embrace Laser Leveling: For large areas, a laser level is indispensable. It ensures uniformity across the expanse, keeping your work precisely aligned.
- Employ a Long Screed for Big Spaces: In sprawling areas, a long screed is more than handy. It efficiently and evenly spreads the compound, a crucial factor in achieving a level surface.
- Tackle in Sections: When facing a large area, breaking it down into smaller sections is wise. This method allows for more control and ensures a more refined finish.
- Addressing Extreme Unevenness: For significantly uneven slabs, a self-leveling underlayment is a reliable option. It’s designed to handle deeper discrepancies, creating a more uniform base for final leveling.
Maintenance and Care
Maintaining a level concrete floor is about regular upkeep and vigilance. Here’s how to ensure your floor remains in top condition:
- Regular Cleaning Regimen: Consistent cleaning prevents the build-up of grit that can cause wear and tear, maintaining the floor’s integrity.
- Prompt Crack Repair: Address small cracks immediately. Neglecting them can lead to more extensive damage, disrupting the floor’s levelness.
- Balanced Weight Distribution: Avoid concentrating heavy loads in one area. Consistent weight distribution prevents the floor from settling unevenly over time.
FAQ Section
Drying times can vary widely based on the product and environmental conditions. Generally, it ranges from a few hours up to 24 hours. Humidity, ambient temperature, and application thickness are key factors. Always refer to the manufacturer’s guidance for the most accurate timeframe.
For smaller, less complex jobs, a DIY approach can be effective if you’re prepared to learn and apply the necessary techniques. However, for larger-scale or structural projects, professional expertise is recommended.
To estimate the required amount of leveling compound, calculate the area’s square footage and consult the compound’s packaging for coverage details. The coverage rate typically depends on the application thickness.
Yes, priming is crucial. It enhances the leveling compound’s adhesion and can also help in sealing the concrete, thereby addressing potential moisture issues.
Flooring installation is feasible post-leveling, but only after the compound has fully dried and cured. This duration varies but can be from 24 hours to several days, based on the specific compound used. Refer to the product’s instructions for accurate curing times.
