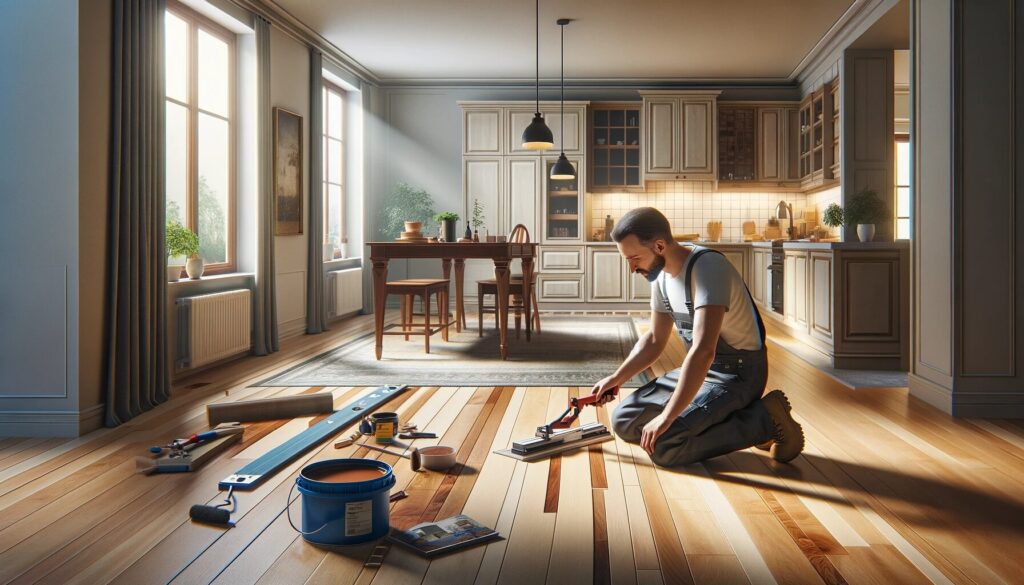
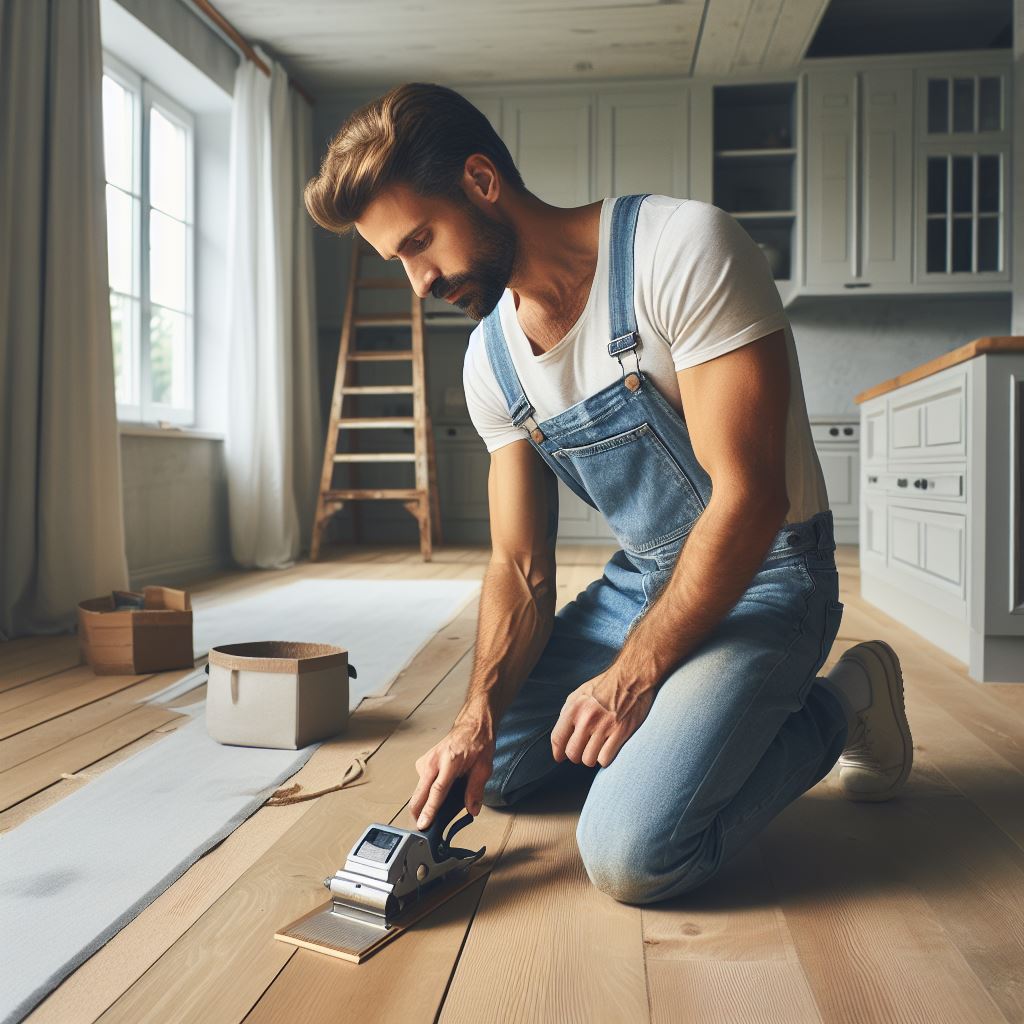
When you’re standing in a room with hardwood floors that have seen better days, it’s not just the scratches and dull finish you’re seeing. You’re looking at a surface ripe for transformation, a chance to add both beauty and value to your home. This guide is crafted for the hands-on homeowners and the independent pros out there, aiming to turn a worn-out floor into a source of pride.
The Value of Refinishing: Refinishing hardwood floors isn’t just a facelift, it’s an investment in your home’s longevity and aesthetic. This process not only enhances the look but also protects the wood, ensuring it stands the test of time.

Understanding Hardwood Floor Refinishing
Refinishing Explained: Imagine stripping away years of wear and tear and giving your hardwood floors a fresh start. That’s what refinishing does. It involves sanding away the old finish, smoothing out the imperfections, and applying new stain and sealant to protect and beautify the wood.
Refinishing vs. Restoring: There’s a thin line between refinishing and restoring. Refinishing is about cosmetic rejuvenation – sanding, staining, and sealing. Restoration, however, delves into fixing severe damage, like water damage or structural issues. Our focus here is on refinishing, a task that, while challenging, can be immensely rewarding.
Preparation for Refinishing
Evaluating Your Floor: Your first step is a thorough inspection. Look for signs of serious damage – deep scratches, discoloration, or warping. If your floor resembles a weathered deck more than a dance floor, it might need more intensive care.
Tools of the Trade:
- Sanding equipment: belt sander, edge sander, hand sander for those hard-to-reach spots.
- Safety gear: a high-quality respirator, safety goggles, and ear protection are non-negotiable.
- Stain and sealant: your choice here will dictate the floor’s final appearance.
- Applicators: brushes, rollers, and pads for a smooth, even application.
- Clean-up tools: a good vacuum and tack cloth are essential for keeping the area dust-free.
Setting the Stage:
- Clear Out: Every piece of furniture needs to go. You want a completely empty stage.
- Dust Control: Seal off the room – cover vents, doorways, anything that can spread the sanding dust.
- Floor Prep: Address any loose or squeaky boards. Use wood filler for gaps and cracks. This step ensures a uniform finish after sanding.

The Refinishing Process Step-by-Step
Sanding the Floors
Choosing the Right Sandpaper Grit: Starting with coarser sandpaper (around 40-60 grit) is essential to efficiently remove the old finish and smooth out the major rough patches. As you progress, switch to finer grits (up to 120-150) to achieve that ultra-smooth texture. It’s a stepwise ascent, skipping grits is like missing steps on a staircase – you might reach the top, but the journey won’t be as smooth.
Techniques for Effective Sanding: Keep the sander in constant motion to avoid creating dips or gouges in the wood. It’s a dance of balance and movement – always in harmony with the wood’s grain. Sanding across the grain can leave behind unsightly scratches, turning your refinishing project into a rescue mission.
Cleaning and Dust Removal
Tips for Thorough Cleaning Post-Sanding: After sanding, the floor will be coated with a fine layer of dust. A meticulous vacuuming session is crucial – it’s not just about cleanliness, but about preparing a flawless canvas for staining. Follow up with a tack cloth to pick up any lingering particles. This step is about precision, even the smallest dust particle can mar your perfect finish.
Repairing and Patching
Handling Scratches, Gaps, and Other Imperfections: Now’s the time to address the floor’s battle scars. Wood filler is your ally here. Choose a shade that complements your floor, and fill in those gaps and scratches. Let it dry, then sand it flush with the surface. It’s like erasing the past, done right, those imperfections will vanish into history.

Staining the Wood
Selecting the Right Stain for Your Floor: The stain you choose will set the stage for your room’s ambiance. It’s not just a color, it’s a statement. Apply it first in a discreet spot to ensure it’s the hue you envision. This step is about foresight – understanding how a small test can prevent a large misstep.
Application Techniques for an Even Finish: Apply the stain in the direction of the wood grain, using a brush or a rag. Work in sections to maintain control and blend the edges for a seamless look. It’s like painting a masterpiece, each stroke contributes to the final work of art.
Applying the Finish
Types of Finishes: Water-based vs. Oil-based: Your choice between water-based and oil-based finishes will influence not just the floor’s appearance, but its durability and maintenance. Water-based finishes offer quicker drying times and less odor, while oil-based finishes provide a rich, deep luster. The choice is a balance between practicality and preference.
Best Practices for a Smooth and Durable Finish: Use a fine-bristle brush or a lambswool applicator for a smooth application. Apply thin, even coats, allowing each layer to dry thoroughly. Between coats, a light sanding ensures a bond as strong as the wood itself. It’s a process of patience and precision, culminating in a floor that’s not just seen, but felt underfoot.
Maintenance Tips Post-Refinishing
How to Care for and Maintain Your Newly Refinished Floors:
- Routine Cleaning: Gentle care is key. Sweep with a soft-bristle broom or use a microfiber mop. For mopping, opt for a mild, pH-neutral soap in water. Harsh chemicals are a no-go.
- Handling Moisture: Quick action is crucial for spills. Water is wood’s nemesis, and prompt cleaning prevents damage.
- Furniture Care: Felt pads under furniture legs are a must to avoid scratches. If you need to move furniture, lift, don’t drag, or use furniture sliders.
- Using Rugs: Rugs can protect high-traffic areas. Ensure they are breathable and don’t have dyes that can bleed into your floor.
Preventive Measures to Protect the Floor:
- UV Protection: Direct sunlight can fade and discolor wood. Use curtains or blinds as a shield.
- Stable Environment: Keep humidity and temperature fluctuations to a minimum. This helps prevent wood from warping or splitting.
- Shoe Policy: High heels and heavy shoes can damage wood floors. A ‘no-shoes’ policy can go a long way in preserving your floor’s finish.
FAQ Section
The life of your floor’s finish depends on the foot traffic and care. Typically, a refinish might be needed every 5-10 years. Homes with heavier wear, like those with pets or kids, might need it sooner.
Solid hardwood floors are great candidates for refinishing. Engineered floors with a sufficiently thick top layer can also be refinished. Laminate or very thin layers, however, are not suitable for refinishing.
The cost usually ranges from $3 to $8 per square foot. This can vary based on your location, the condition of your floors, and the specifics of the job. A 200-square-foot room might cost between $600 to $1,600.
Generally, you’re looking at about 4-7 days. This time frame can vary depending on the size of the floor, the extent of damage, drying times, and whether it’s a DIY project or done by a professional.
DIY refinishing can be a cost-effective option if you’re handy and detail-oriented. However, it’s important to understand that mistakes can be costly. For those less experienced, hiring a professional might be a safer bet to ensure a high-quality finish.
