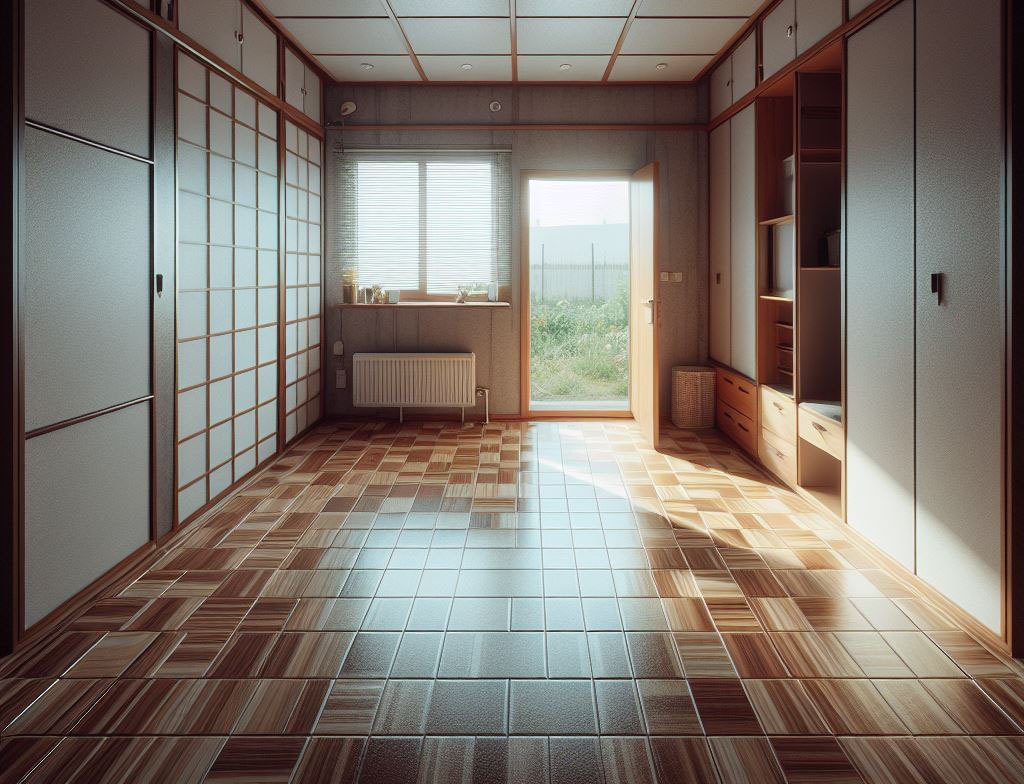
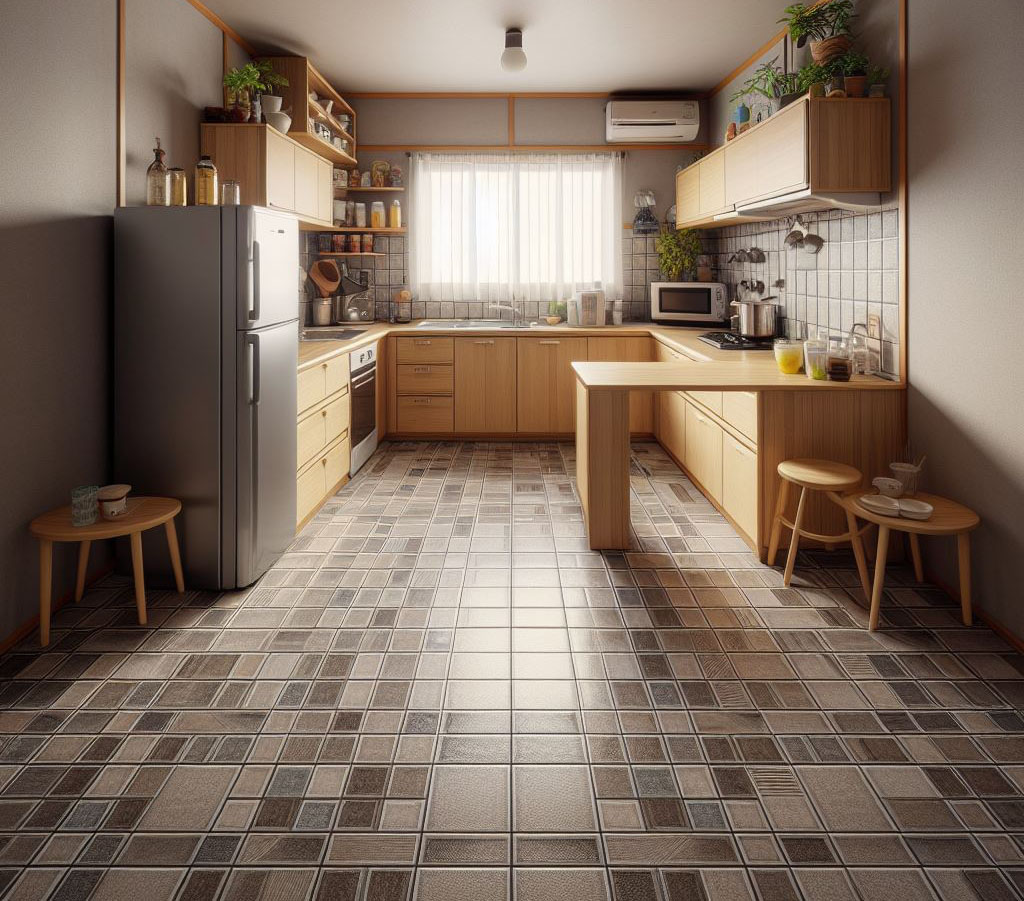
Linoleum tile, a time-honored flooring material, has made a notable comeback in the world of home renovation. Originating in the late 19th century, its practicality and aesthetic appeal have been rediscovered by a new generation. This resurgence is particularly evident among DIY enthusiasts and small-scale construction professionals who appreciate both its versatility and ease of use.

The Basics of Linoleum Tile
What exactly is linoleum tile? It’s a blend of natural materials – primarily linseed oil mixed with cork dust, wood flour, and then mounted on a canvas or burlap backing. This composition not only makes it environmentally friendly but also lends it a unique, organic charm.
When you compare linoleum to other flooring options like vinyl or ceramic, its advantages become clear. While vinyl is a purely synthetic product, linoleum is all-natural, offering a more eco-conscious flooring solution. Ceramic might have an edge in moisture-rich environments, but linoleum shines in terms of comfort and overall aesthetic versatility.
Advantages of Material
- Durability and Longevity: Linoleum is remarkably resilient. It resists scratches and wear, making it ideal for areas that see a lot of foot traffic. When maintained properly, it can last up to four decades, offering long-term value.
- Ease of Maintenance and Cleaning: Linoleum is low-maintenance. Regular sweeping and mopping are usually all it takes to keep it in tip-top shape. This ease of care is a significant selling point for busy homeowners and professionals.
- Variety in Designs and Aesthetics: The design options with linoleum are virtually limitless. From solid colors that offer a modern look to classic patterns that evoke a sense of nostalgia, linoleum can complement a wide range of interior styles.
- Health and Safety Benefits: Linoleum is a healthy choice. It’s made from natural materials, so it’s non-toxic and hypoallergenic. This makes it an excellent choice for environments where air quality is a concern.

Installation Essentials
Let’s dive into the nuts and bolts of installing linoleum tile. It’s a straightforward process, but like any good craftsmanship, it requires attention to detail and the right approach.
Tools and Materials Needed for DIY Installation
- Measuring Tape: Accuracy is your best friend here.
- Utility Knife: A sharp blade makes for cleaner cuts.
- Adhesive: Opt for a high-quality adhesive that’s compatible with linoleum.
- Notched Trowel: Essential for evenly spreading adhesive.
- Roller: A heavy roller will ensure firm adhesion of tiles to the subfloor.
- Chalk Line or Laser Level: For perfectly straight lines.
Step-by-Step Guide to Installing Linoleum Floor Tiles
- Subfloor Preparation: Ensure the subfloor is smooth, clean, and completely dry.
- Measurement and Layout: Accurately measure the room and plan your tile layout. Use your chalk line or laser level for precision.
- Cutting Tiles: Measure each tile carefully before cutting. A steady hand and a sharp knife are crucial here.
- Applying Adhesive: Spread the adhesive evenly with your notched trowel, and wait for it to become tacky.
- Laying Tiles: Start in the center of the room and work your way outwards. Press each tile firmly into place and use the roller for a solid bond.
- Trimming and Fitting: Cut tiles to fit edges and corners precisely, leaving no gaps.
Common Pitfalls and Tips for a Smooth Installation Process
- Alignment: Continuously check alignment as you lay tiles. Adjustments are easier to make before the adhesive sets.
- Adhesive Application: Follow the manufacturer’s guidelines for adhesive application to avoid issues with bonding.
- Sealing Edges: In areas prone to moisture, seal the edges of the tiles to prevent water damage.

Maintenance and Care
Proper maintenance of linoleum tiles can significantly extend their life and appearance.
Routine Cleaning Recommendations
- Regular Sweeping: This simple step prevents abrasive dirt from accumulating.
- Mopping: Use a mild detergent and warm water. Avoid harsh chemicals.
- Dry After Washing: Prevent water damage by thoroughly drying the floor after mopping.
Addressing Stains and Damages
- Immediate Response to Spills: Clean spills quickly to prevent staining.
- Gentle Cleaning for Stains: Use a soft cloth and a mild cleaner. Avoid abrasive materials.
- Repair Kits: For scratches, a linoleum repair kit can be a lifesaver.
Long-term Care Tips to Ensure Durability
- Periodic Checks: Regularly inspect the floor for any signs of lifting or damage.
- Protect from Sunlight: Prolonged exposure to direct sunlight can cause fading. Use window coverings to mitigate this risk.
- Furniture Pads: Prevent scratches by using protective pads under furniture legs.
Customization and Creative Uses
Linoleum tiles offer a world of creative possibilities for your floors. For an eye-catching look, consider alternating colors in a checkerboard pattern or creating a diagonal layout for a dynamic effect. These tiles can be cut into various shapes, allowing for intricate designs like mosaics or borders.
Linoleum can harmoniously coexist with other flooring materials. For instance, in an open-plan home, linoleum in the kitchen can transition into hardwood in the living area, defining the spaces while maintaining a cohesive look. This not only adds visual interest but also leverages the strengths of each material in different areas.
I recall a project where linoleum tiles were used to restore the floor of a historic home. The tiles replicated the original pattern, preserving the home’s character while offering modern durability. Such applications showcase linoleum’s versatility in both contemporary and traditional settings.

Cost Analysis
In terms of affordability, linoleum stands out. It’s more economical than hardwood and often less expensive than ceramic tile, both in terms of initial cost and installation fees. This affordability does not compromise its quality or durability.
A key to cost-effective renovation is accurate measurement and judicious purchasing. Always allow for a small excess in material to account for cutting waste or future repairs. If you’re installing it yourself, consider renting specialized tools to save on costs.
Linoleum’s longevity and low maintenance requirements make it a financially sound choice in the long run. Unlike some flooring that needs frequent replacement or costly care, linoleum remains resilient and easy to maintain, saving money over time.
FAQ Section
Linoleum is composed of natural materials like linseed oil, making it environmentally friendly and sustainable. Vinyl is a synthetic product. Linoleum tends to age better, gaining a rich patina, while vinyl may show wear and tear more noticeably.
Linoleum can be used in bathrooms, but it requires careful sealing to prevent water damage. Ensure the subfloor and edges are well-sealed to protect against moisture.
Properly maintained linoleum tiles can last up to 40 years. Their longevity is influenced by factors like installation quality, maintenance routine, and overall usage.
Linoleum is an excellent companion for underfloor heating systems due to its good heat conductivity, enhancing the system’s efficiency and the floor’s comfort.
Yes, linoleum can be installed over existing flooring, provided the surface is flat, stable, and clean. Consider the additional height in relation to door clearances and thresholds.
Linoleum is a green choice, thanks to its natural composition and production process. It’s biodegradable, recyclable, and has a smaller environmental footprint compared to many synthetic flooring options.
