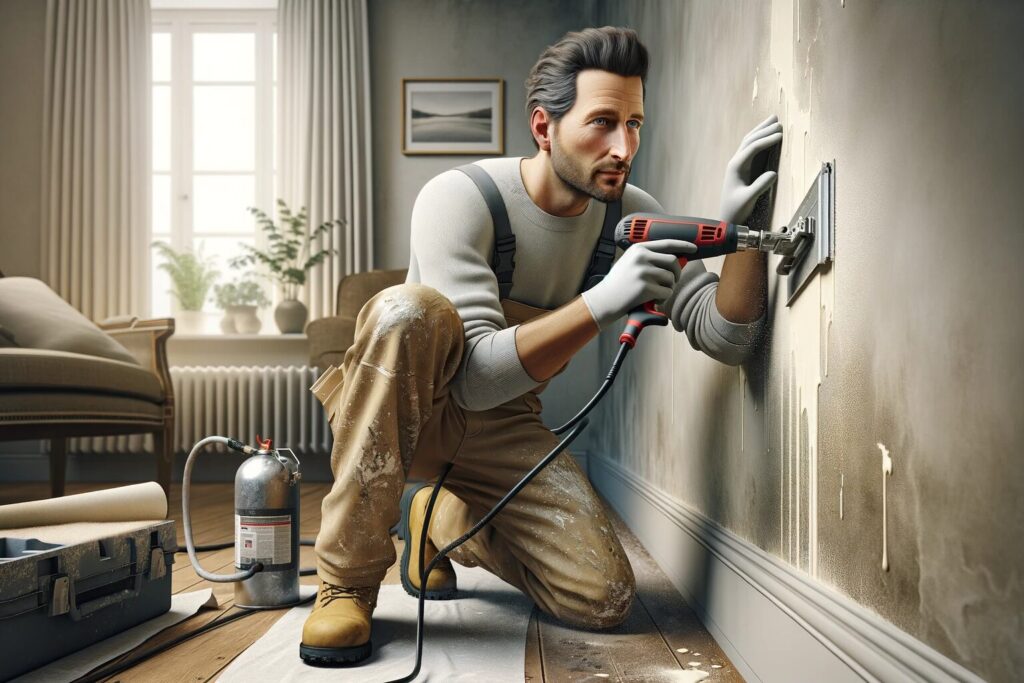
Before we dive into repairs, it’s crucial to understand the enemy. Wall holes can generally be classified into three sizes: small (nail holes and dings), medium (holes left by doorknobs or larger hardware), and large (holes that make you think, “How did that even happen?”). Each size comes with its own set of challenges and common culprits. Small holes are often the result of hanging pictures or minor accidents, medium holes can occur from doors swinging open too hard, and large holes might result from more significant impacts or accidents.

Materials and Tools Needed
To start, let’s gear up. The right tools and materials are your best allies in any repair job. Here’s what you’ll need:
- Spackle. Perfect for filling small holes.
- Plaster or Joint Compound. Ideal for larger repairs.
- Putty Knife. A must-have for applying spackle or plaster.
- Sandpaper. For smoothing out the repaired area.
- Paintbrush or Roller. For touch-ups after the repair is done.
- Patch Kit or Mesh Tape. Necessary for those larger breaches in your wall.
Preparation Steps
Like any good build or repair job, preparation is half the battle.
- Clear the Work Area. Move furniture away and lay down a drop cloth to catch any debris or spills. You don’t want to turn a wall repair into a full room cleanup.
- Inspect and Clean the Hole. Use a putty knife to scrape away any loose debris around the hole. For larger holes, you may need to cut away damaged drywall to create a clean area for the patch.
- Prepare the Repair Materials. If you’re using a patch, now’s the time to cut it to size. For spackle or plaster, ensure it’s mixed well and ready to apply.
- Tape Off the Area (if necessary). For more significant repairs, use mesh tape around the edges of the hole to provide extra support for the compound or plaster.
Step-by-Step Repair Instructions
Small Holes:
- Clean Up. First, clear any loose debris from the hole. A quick swipe with a putty knife does the trick.
- Fill It. Apply spackle with a putty knife, pressing it firmly into the hole. Scrape across the surface for a flush finish.
- Dry and Sand. Let the spackle dry completely, then sand it smooth. A light touch and fine-grit sandpaper work best to avoid scuffing the surrounding wall.
Medium Holes:
- Stabilize. If edges are crumbly, stabilize them with some painter’s tape around the hole’s perimeter.
- Patch It. Cut a piece of mesh tape or a self-adhesive patch to cover the hole, extending beyond its edges.
- Apply Joint Compound. Spread joint compound over the patch with a wide putty knife, feathering the edges to blend with the wall. Let it dry, then apply a second layer if needed.
- Sand Smooth. Once dry, sand the area until it’s seamlessly smooth.
Large Holes:
- Support the Patch. Cut a piece of drywall slightly larger than the hole. Hold it over the hole, trace around it, then cut the wall to match the patch.
- Install Backing. Insert a piece of wood or a drywall patch clip behind the hole for support, and secure the patch with screws.
- Tape and Compound. Cover the seams with mesh tape, then apply joint compound in layers, allowing each to dry and sanding between coats.
- Final Sanding. Ensure the area is perfectly smooth and flush with the surrounding wall.
Finishing Touches
Sanding the Repaired Area. Use fine-grit sandpaper and a light hand to achieve a smooth finish. Sand in a circular motion to avoid creating grooves or depressions.
Matching Paint or Wallpaper. For paint, apply a primer first to prevent the patch from showing through. Match the paint shade as closely as possible, blending it into the surrounding area. For wallpaper, find a matching piece and carefully align the pattern before applying.
Preventive Measures and Maintenance Tips
- Use Door Stoppers. To prevent doorknob holes, install door stoppers or bumpers.
- Furniture Pads. Attach soft pads to furniture legs to avoid scratches and dings when moving items.
- Regular Inspections. Check for signs of wear and tear or moisture, which can lead to larger issues.
- Immediate Repairs. Address small damages promptly to prevent them from worsening.
FAQ Section
For quick fixes, clean the area, fill it with spackle, let it dry, then sand smooth. A dab of paint finishes the job.
Yes, with the right tools and materials. Larger repairs require patience and precision. If the damage is extensive or involves electrical wiring or plumbing, consult a professional.
Spackle works well for small holes. For larger repairs, use joint compound or a plaster mix, depending on the wall’s material.
Drying times vary based on the product and the repair’s size. Small patches might dry overnight, while larger areas can take 24 hours or more. Always check the manufacturer’s recommendations.
No, it’s crucial to let the repair fully dry and then sand it smooth. Apply a primer to prevent the patch from bleeding through the paint for best results.
