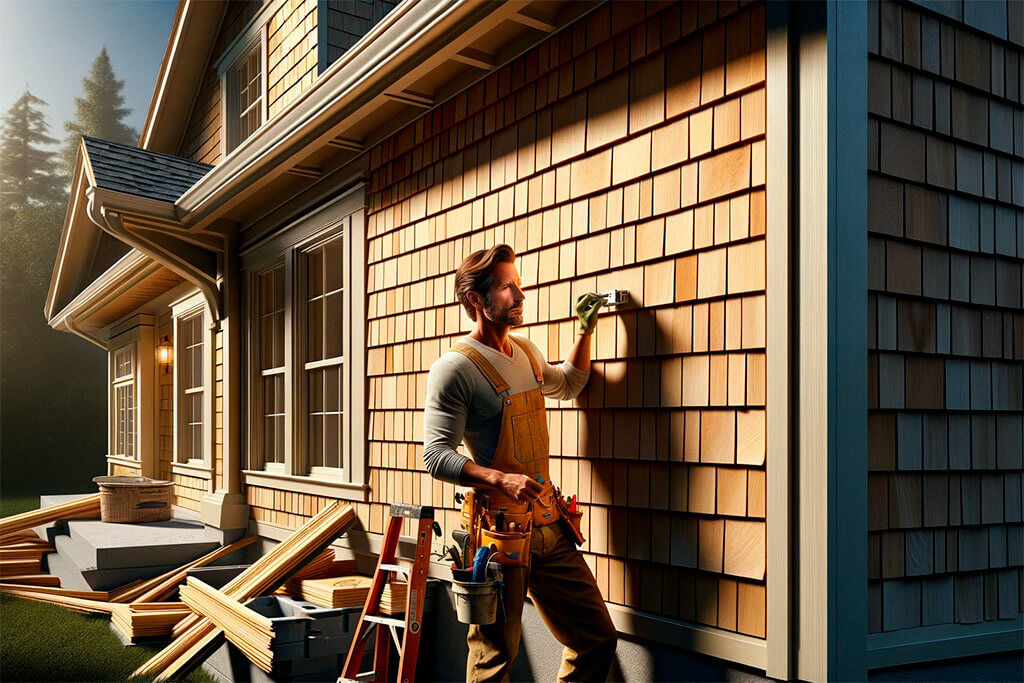
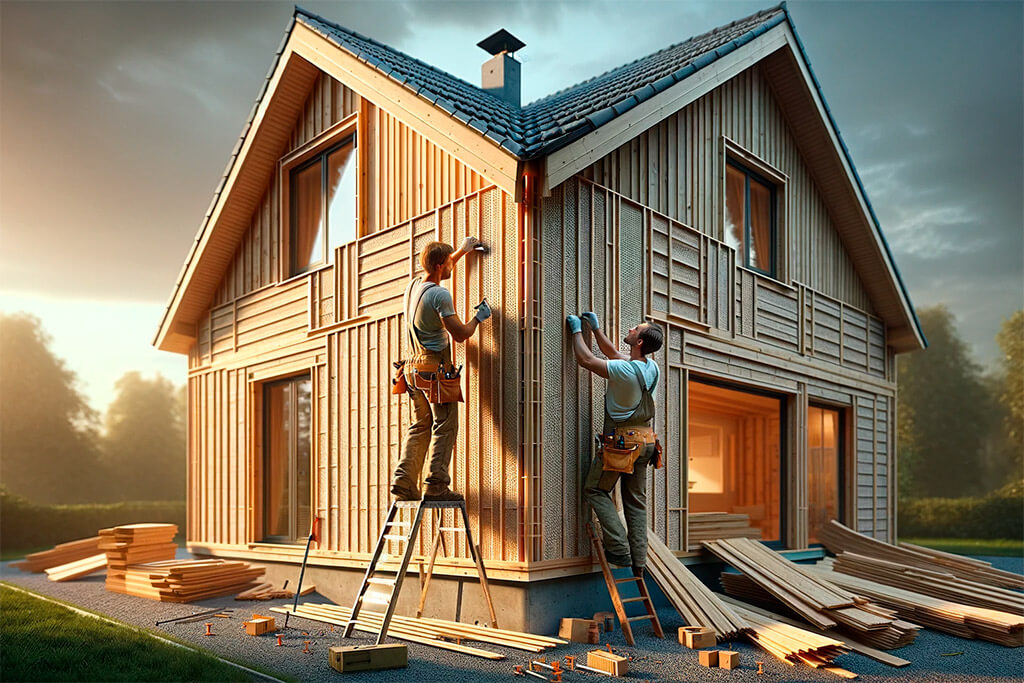
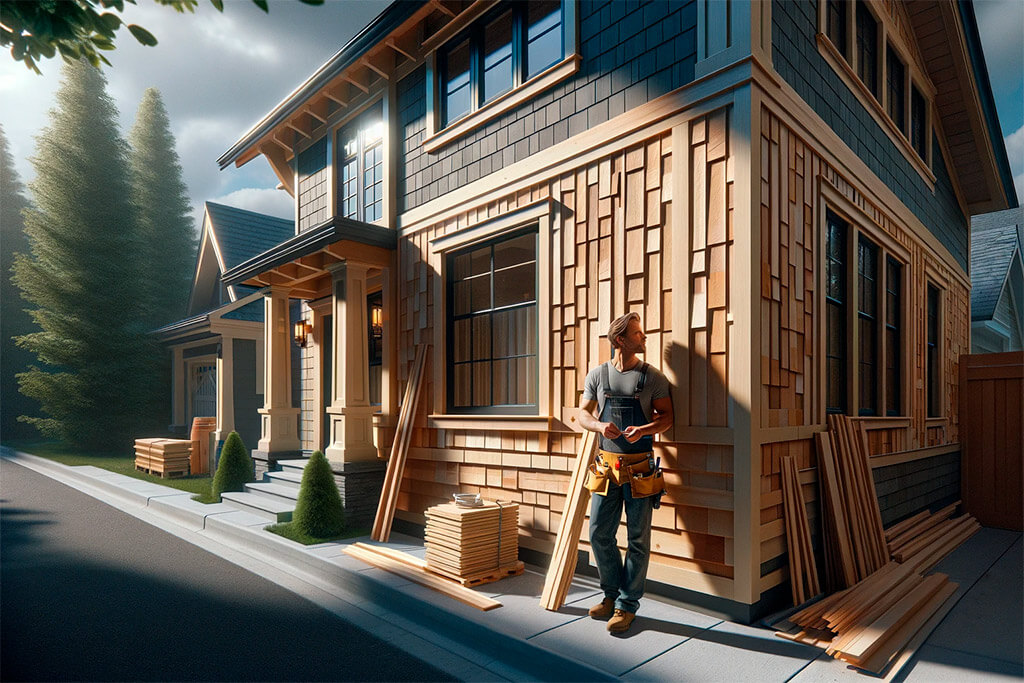
Cedar shake siding, a timeless favorite in home construction and renovation, boasts a blend of aesthetic charm and rugged durability. Its popularity isn’t just a passing trend but a testament to its enduring qualities. Perfect for those seeking to infuse natural beauty and longevity into their homes, cedar shake siding stands out for its ability to resist the elements and pests, thanks to the inherent oils in cedar.
This guide is crafted for a diverse audience, from DIY enthusiasts embarking on a new project to professional handymen looking to refine their techniques. The goal here is not just to inform but to empower you with the knowledge to transform your home.

Understanding Cedar Shake Siding
Cedar shakes are more than just another building material. They are individual pieces of art, each uniquely split from cedar logs, exhibiting a rugged and textured surface that brings character to any home. Their thickness at the butt end not only enhances durability but also adds a distinctive dimensional profile to your siding. And let’s not forget the sensory delight – the rich, natural aroma of cedar that greets you during installation.
It’s important to differentiate between cedar shakes and shingles. While both are born from the same majestic cedar tree, their appearance and installation are distinct. Shingles, being sawn, offer a more uniform and sleek appearance, whereas shakes, split from the log, boast an organic, rough-hewn look. This distinction is crucial in choosing the right aesthetic for your project.
Tools and Materials Needed
Embarking on a cedar shake siding project requires a well-thought-out toolkit and high-quality materials. Here’s what you’ll need:
- Quality Cedar Shakes: Opt for the best you can find, free of sapwood and with minimal flat grain. Your investment here pays off in longevity and appearance.
- Hammer or Nail Gun: Choose a comfortable, reliable hammer or a nail gun for efficiency, especially on larger projects.
- Galvanized or Stainless Steel Nails: Resist the temptation to cut corners with cheaper nails, rust-resistance is key.
- Utility Knife: For precise trimming and shaping of the shakes.
- Pry Bar: Handy for removing old siding or adjusting stubborn shakes.
- Level and Chalk Line: Essential for ensuring straight, even rows of shakes.
- Ladder or Scaffolding: Prioritize safety with stable, reliable equipment.
- Underlayment Material: This is your defense against moisture – never skip it.
- Measuring Tape: Accuracy is non-negotiable in achieving professional results.
When selecting cedar shakes, pay attention to the grading. Higher grades mean better quality and fewer headaches down the line. Also, factor in the exposure – the visible part of the shake once installed – as it influences both the look and the protective function of the siding.

In approaching this project, remember it’s a blend of artistry and craftsmanship. It’s about meticulous preparation, precise execution, and a deep understanding of the materials at hand. Let’s embark on this journey to transform your home with the timeless beauty of cedar shake siding.
Preparation Before Installation
Before you embark on installing cedar shake siding, it’s crucial to prepare meticulously. This stage sets the foundation for a successful project.
- Organizing the Workspace: A clutter-free workspace is non-negotiable. Ensure all tools and materials are neatly arranged for easy access. Safety is paramount, and a well-organized site minimizes accidents.
- Inspecting the Wall Surface: Examine the wall thoroughly for any imperfections. Repair any damage and ensure the surface is even. This attention to detail will pay off in the quality of the final installation.
- Considering Weather Conditions: The weather plays a pivotal role. Ideal conditions are dry and mild. Wet or extremely cold weather can hamper the installation process and affect the siding’s longevity.
Installation Process: A Step-by-Step Guide
The installation of cedar shake siding is a process that demands precision and patience.
- Starting from the Bottom: Begin at the bottom of the wall, ensuring each shake is level. Secure the shakes at the top, where the next row will overlap. This technique ensures a clean look with hidden nail heads.
- Ensuring Water-Tightness: Overlapping shakes by at least 1.5 inches is critical for preventing moisture ingress. The inclusion of felt paper between rows acts as an additional moisture barrier.
- Navigating Corners and Windows: This step requires meticulous measurement and cutting. The shakes should fit snugly around corners and window frames, maintaining a seamless appearance.
- Finishing the Top Row: The final row demands careful trimming and sealing, especially under eaves or soffits. This not only enhances the aesthetic appeal but also ensures comprehensive weatherproofing.

Maintenance and Care
Proper maintenance is key to extending the life of your cedar shake siding.
- Routine Inspections: Conduct annual inspections to identify and rectify any damage. This proactive approach prevents minor issues from escalating.
- Gentle Cleaning: When cleaning, avoid harsh methods like pressure washing. A soft brush and mild detergent are sufficient to maintain the siding’s appearance.
- Periodic Refinishing: Treat the shakes with a quality wood preservative every few years. This not only preserves their strength but also maintains their aesthetic quality.
Adhering to these steps will ensure your cedar shake siding remains a beautiful and durable aspect of your home. The process, while intricate, is rewarding, offering a blend of natural beauty and resilience.
Safety Considerations
In the realm of construction, safety is not just a priority, it’s a necessity. Every step of cedar shake siding installation should be accompanied by stringent safety measures.
- Appropriate Safety Gear: Start with the basics: safety goggles, durable gloves, and solid work boots. This gear is your first line of defense against common worksite mishaps.
- Ensuring Stable Work Platforms: Whether using ladders or scaffolding, stability is key. A secure platform is essential for both safety and precision in your work.
- Tool Maintenance: Keep your tools in prime condition. A well-maintained tool not only works better but also reduces the risk of accidents.
- Constant Vigilance: Always be aware of your surroundings and stay focused on the task at hand. Distractions can lead to errors, and in construction, errors can be costly and dangerous.

FAQ Section
Cedar shake siding, when maintained properly, can last between 20 to 30 years. Factors such as the quality of the material, local weather conditions, and regular maintenance play a crucial role in its longevity.
Yes, but with caveats. The existing siding must be in good condition and provide a flat, stable base. Proper preparation is essential for a successful overlay.
Yearly inspections and cleaning are recommended. Additionally, reapplying a protective finish every few years will help preserve the siding’s integrity and appearance.
Pre-treatment with a fungicide and water repellent can significantly extend the siding’s lifespan and maintain its aesthetic appeal.
Be resourceful with leftovers. Repurpose them for smaller projects or recycle them responsibly. Efficient material management is both economically and environmentally prudent.
