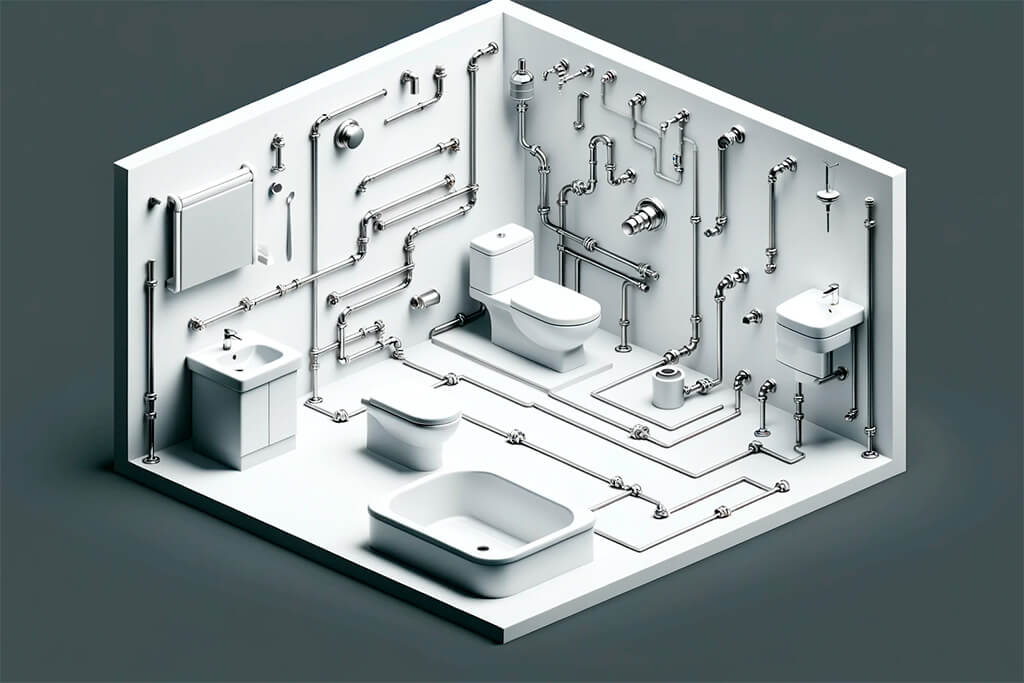
Rough-in plumbing, the unsung hero of the home’s inner workings, sets the foundation for a smooth-functioning plumbing system. It’s this critical stage where pipes and ducts are laid out, yet not a single faucet or fixture is in sight. It’s like preparing the ingredients for a gourmet meal but not yet cooking it.
This guide is tailored for both the DIY enthusiast tinkering in their home workshop and the professional builder with years of dust on their boots. We’re focusing on imparting knowledge that is as useful to the novice as it is to the seasoned pro.

Understanding the Basics of Rough-In Plumbing
Imagine rough-in plumbing as the blueprint of your home’s water and waste system. It’s the groundwork that ensures everything water-related in your house runs smoothly – from the hot shower you take in the morning to the kitchen sink where you wash your dishes.
At its core, rough-in plumbing is about the strategic placement of pipes and fixtures. It requires a keen eye for detail and a solid understanding of the overall plan of your home. This stage involves laying out pipes for water supply and waste, and vent systems that are crucial for maintaining proper atmospheric pressure and preventing gas backflow.
Think of these components as a symphony orchestra: every pipe and fitting has its place and role, and when arranged correctly, they create a harmonious flow in your home.
Preparatory Steps for Rough-In Plumbing
Let’s gear up for the task. Here’s what you’ll need in your toolkit:
- Pipe Wrenches and Cutters: These are your bread and butter for handling pipes.
- Tape Measure and Level: Accuracy is non-negotiable.
- Pipe Benders: These come in handy for those tricky corners.
- PVC or Copper Pipes and Fittings: Choose based on your requirements and local building codes.
- Soldering Tools or Glue: For securing your connections, depending on the pipe material.
- Safety Gear: Gloves, goggles, and hard hats – because no job is too small for safety.
Safety and best practices are not just a part of the process, they are the process:
- Understand Your Local Codes: These are your guidelines for ensuring safety and efficiency. Ignoring them is not just risky, it’s often illegal.
- Measure Twice, Cut Once: An age-old wisdom that saves time, materials, and frustration.
- Level and Alignment: A slightly off-angle pipe can lead to poor drainage and a myriad of problems down the line.
- Proper Venting: It’s crucial for preventing drainage issues and ensuring that waste gases have a way out.
- Testing: Always, always test your setup before closing up walls or laying tiles. A small leak can lead to big problems.

Preliminary Planning: Reading and Understanding Blueprints and Plumbing Layouts
Before diving into the trenches of rough-in plumbing, the first order of business is to get your ducks in a row with blueprints and plumbing layouts. Think of this step as laying the groundwork for a successful project.
- Blueprint Basics: These are more than just sheets of paper, they’re your guide through the labyrinth of plumbing. Learn to interpret the symbols and notations specific to plumbing. They’re the key to understanding where everything, from pipes to fixtures, needs to be placed.
- Layout Lowdown: Consider the plumbing layout your cheat sheet. It reveals the intended path of your pipes. It’s crucial to note the distances and dimensions accurately. Even a small deviation can lead to big problems later on.
- Visualize and Plan: Don’t just rely on the paper. Walk through the site with your layout in hand. Mark out where each pipe and fixture will be. This step will help you spot potential issues before they become real problems.
Step-by-Step Guide to Rough-In Plumbing
Now, let’s roll up our sleeves and get to the meat of the matter:
1. Pipe Positioning: Armed with your layout and markings, begin by placing the pipes and fixtures according to your plan. Remember the old adage: measure twice, cut once.
2. Installation Tips:
- Sinks: Consider the ergonomic height. An incorrectly placed sink can lead to discomfort or water splashes.
- Toilets: Ensure adequate space around the toilet for comfort and accessibility.
- Showers: Pay attention to the showerhead height and the drainage slope to prevent water pooling.
3. Alignment and Leveling: This step is critical. A pipe that’s off by even a small angle can disrupt the entire system’s flow, leading to drainage issues.
4. Troubleshooting: If you hit a snag, don’t force it. Step back, reassess, and adjust as needed. Sometimes a fresh perspective can solve a stubborn problem.
Advanced Tips and Techniques
- Customizing Layouts: Homes come in all shapes and sizes, and sometimes standard layouts won’t cut it. Don’t hesitate to adjust the plan to better fit the space, but keep functionality at the forefront.
- Efficient Use of Space: Be strategic in your pipe routing. A more direct route not only saves materials but also reduces potential leak points.
- Eco-Friendly Practices: Opt for water-efficient fixtures and sustainable materials. These choices are not only good for the environment but can also be cost-effective in the long run.
FAQ Section
Rough-in plumbing lays the foundation – it’s all the pipework that happens before fixtures and finishes are installed. Finished plumbing is when these fixtures are in place and everything is ready for use.
It all boils down to careful planning and precise measurement using blueprints and spatial layouts.
Overlooking ventilation, incorrect pipe slopes, and not adhering to local codes are the usual culprits that can turn a plumbing project sour.
Absolutely. Local building codes are there for a reason and should be followed to ensure safety and compliance.
While it’s possible, it’s often a complex and costly endeavor. It’s much more efficient to get it right the first time.
