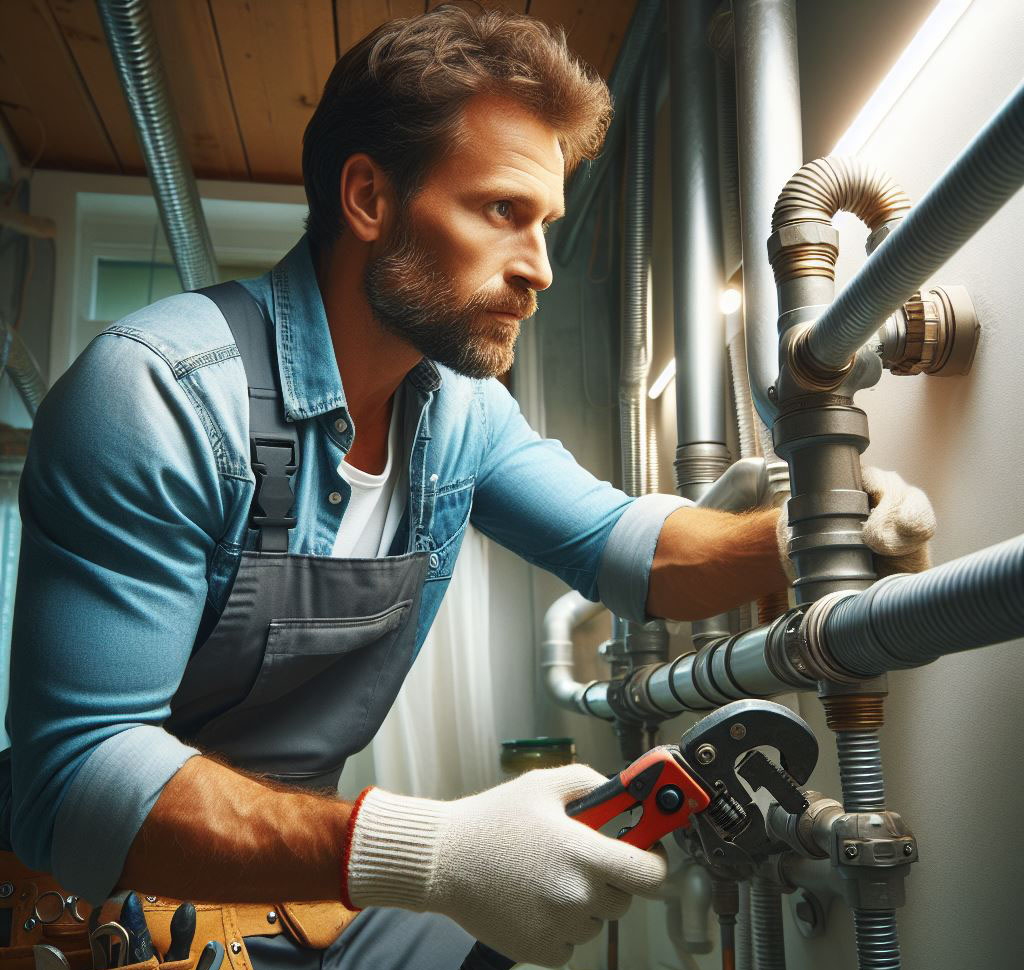
Imagine the scenario: a tranquil home environment suddenly besieged by the cacophony of banging, whistling, or rattling emanating from the walls. This auditory nuisance is not the result of some malevolent spirit but rather air, trapped within the confines of your water pipes. The presence of air in the plumbing system is more than just a breach of the peace, it heralds erratic water flow and the specter of water hammer, a condition that can exert undue stress on pipes, leading to leaks or catastrophic failure. Addressing this issue is not just a matter of convenience but a necessity to safeguard the integrity of your plumbing system, ensuring its longevity and reliability.

Understanding the Causes of Air in Water Pipes
The journey of air into the water pipes, while unintended, is not mysterious. It often accompanies routine maintenance or alterations to the plumbing system. Here are the primary avenues through which air infiltrates:
- Repairs and Installations: Any intervention that opens the system to the air, whether adding a new fixture or replacing a section of pipe, can introduce air. Once the system is sealed, these air pockets are trapped, waiting to make their presence known.
- Water Supply Changes: Alterations in the source or pressure of the water supply, often due to actions by utility providers or switching between sources, can push air into the system. This is particularly common when the system is drained and subsequently refilled.
- Leaks: Ironically, while leaks are synonymous with the escape of water, they can also create pathways for air to enter the system, especially under conditions where internal pressure drops.
An awareness of these scenarios is invaluable, offering a preemptive advantage in preventing air-related issues before they crescendo into a full-blown problem.
Signs of Air in Your Water Pipes
The manifestations of air in the plumbing system are distinctive, offering clear indicators of its presence:
- Noisy Pipes: The sounds of banging, whistling, or rattling within the walls are unmistakable indicators, akin to an unwanted orchestra, signaling the presence of air.
- Sputtering Water: A faucet that spits and sputters as if it’s on its last legs is a classic symptom, the result of air pockets interrupting the flow of water.
- Inconsistent Water Pressure: If the water pressure feels like it’s on an unpredictable journey, fluctuating without reason, it’s likely that air is to blame, disrupting the steady delivery of water.
These signs serve as a clarion call to action, prompting an investigation and remedy of the underlying issue. Recognizing them early can mitigate the inconvenience and potential damage, ensuring that your plumbing system operates with the silent efficiency that is its hallmark.

Step-by-Step Guide to Removing Air from Water Pipes
Let’s delve into the practical, hands-on approach of dealing with one of the more understated yet critical aspects of plumbing: air trapped in your water pipes. This guide draws on decades of experience, distilled into actionable steps that marry simplicity with effectiveness, ensuring that your plumbing sings a tune of quiet efficiency.
1. Turn Off the Main Water Supply
As foundational as it gets, halting the water’s flow is step one. This is about more than just preventing an impromptu indoor flood, it’s about conserving water and setting the stage for a controlled, methodical fix.
2. Open the Highest Faucet
Climb to your home’s highest point and open the faucet. This action isn’t just symbolic, it’s a strategic move to allow air, which naturally rises above water, an escape route at the system’s apex.
3. Open the Lowest Faucet
In contrast, make your way to the lowest point. Opening this faucet establishes a direct path for air to exit the system, effectively flushing it from bottom to top.
4. Turn On the Main Water Supply
Gently reintroduce water back into the system. This isn’t a race, a slow and steady approach ensures that water displaces air without creating undue stress on your pipes.
5. Let Water Run Through
Allow the water to flow freely from both faucets until it transitions from a chaotic, air-driven sputter to a smooth, uninterrupted stream. This is the moment you’re aiming for, a sign that air has vacated the premises.
6. Close the Faucets
Begin with the faucet at the lowest point of your home, gradually working your way up. This methodical closure helps maintain the pressure balance, ensuring no new air pockets are formed during the process.
7. Check for Consistent Water Flow and Pressure
Test various faucets around your home for a uniform flow and steady pressure. This final step confirms the success of your efforts, showcasing a plumbing system restored to its optimal state.
Additional Tips for Preventing Air Lock in Pipes
- Regular Maintenance Checks: Like the routine oil change for your vehicle, these checks can preemptively identify and mitigate potential issues before they escalate.
- Properly Bleeding Your System: Post-repair, ensure you expel any trapped air. This process is akin to resetting the system, ensuring it operates at peak efficiency.
- Installing Air Eliminators or Air Purgers: These devices are invaluable allies in your plumbing system, automatically managing air presence and maintaining the harmony of your water flow.
FAQ Section
The duration varies with the complexity and size of your plumbing system, ranging from a few swift minutes to about an hour for more intricate networks.
This is the sound of victory—air being expelled from the pipes. It’s a temporary chorus that should fade as the air is fully purged.
Indeed, air acts as an unseen adversary, capable of inducing water hammer. This phenomenon can lead to leaks or damage to pipes and fixtures, necessitating prompt attention.
Should the air stubbornly persist, it’s a signal for professional intervention. Occasionally, the issue may be rooted deeper within the system, requiring expert diagnosis and resolution.
Absolutely. Introducing new components or making repairs can inadvertently invite air into the system. The key is to follow the outlined steps to ensure any introduced air is effectively removed, restoring your plumbing’s efficiency.
