In the world of home maintenance, few things warrant more attention than the structural health of your chimney. This is not just about aesthetics, it’s a safety imperative. A well-maintained chimney keeps water out, ensures proper venting of gases, and upholds your home’s structural integrity.
Why do chimneys crack? It’s often a combination of environmental wear and tear, and the natural settling of a house. The freeze-thaw cycle is a common culprit—water seeps into small crevices, freezes, expands, and causes cracks. Acid rain eroding mortar and structural shifts from seismic activities are other frequent contributors.

Identifying Chimney Cracks
Catching cracks early is key to preventing larger issues. Initial signs can be subtle—a small fissure in the brickwork, a bit of crumbled mortar. The first step is observation:
- Look for visible cracks or signs of wear in the masonry.
- Check for mortar or brick fragments in your firebox or on the roof.
- Watch out for interior water damage signs, like damp patches or staining near the chimney.
Distinguishing between minor and major cracks is crucial. Minor, superficial cracks are often thin, affecting only the surface. Major cracks, wider and deeper, can signal deeper structural problems. If you can fit a dime in a crack, it’s time to consider professional help.
Tools and Materials Needed for Chimney Crack Repair
Proper preparation is half the battle. Here’s what you need:
- A masonry chisel and hammer for removing loose material.
- A wire brush to clean the crack.
- High-temperature mortar mix.
- A trowel for applying mortar.
- Masonry caulk and a caulking gun for smaller cracks.
- Essential safety gear: goggles and gloves.

Step-by-Step Guide to Repairing Chimney Cracks
Preparing the Area for Repair:
Ensure the chimney is cool and clear any debris or soot from the area to be repaired.
Repairing Minor Cracks:
- Apply masonry caulk to hairline cracks, ensuring it’s pressed in and leveled with a trowel.
- Allow it to dry completely, following the manufacturer’s guidelines.
Repairing Major Cracks:
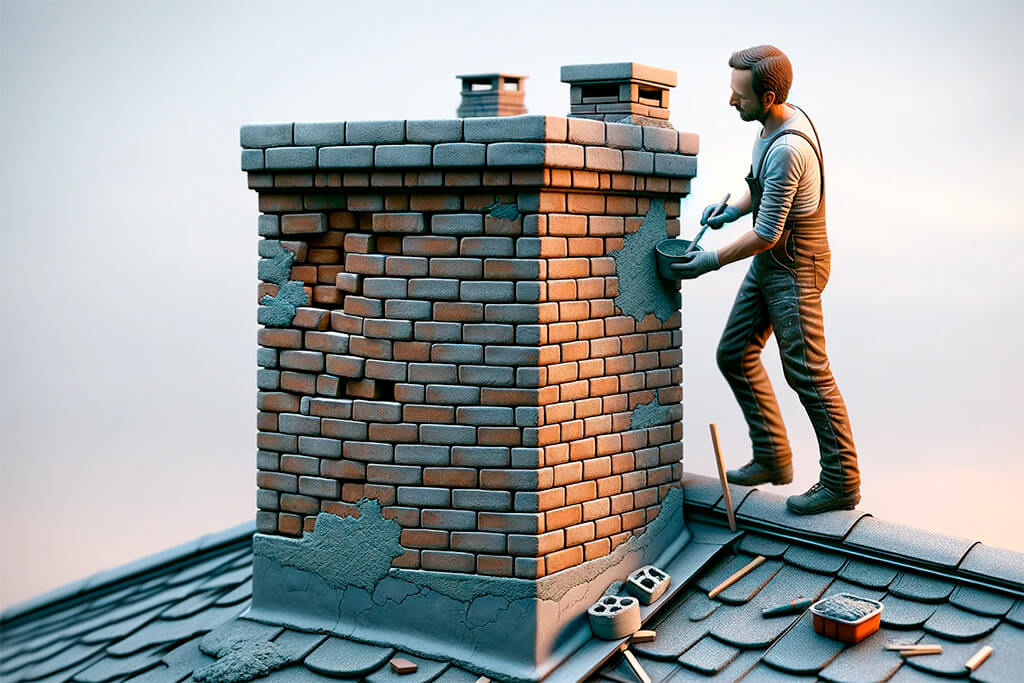
- Use your chisel and hammer to slightly widen the crack—this creates a ‘key’ for the new mortar to grip.
- Clean out any debris from the crack.
- Dampen the area lightly to improve the mortar’s adhesion.
- Mix your mortar to a firm, workable consistency.
- Fill the crack with mortar, pressing it in firmly.
- Smooth the mortar and allow it to cure fully, avoiding the temptation to rush this stage.
Finishing Tips:
- Aim to match the new mortar with the existing in terms of color and texture.
- Optimal weather conditions are crucial: dry and moderate temperatures are best.
- Post-repair, consider a waterproofing treatment to guard against future water ingress.
While DIY repairs can be rewarding and cost-effective, don’t hesitate to call in professionals for more serious repair needs. Safety and proper repair techniques should always be your priority.

Preventing Future Chimney Cracks
In my years renovating homes, I’ve learned that the best fix is often preventing the problem in the first place. Keeping your chimney in top shape is no different.
- Waterproofing: It’s essential to apply a breathable waterproofing agent to your chimney. This type of product helps to keep water out while allowing any trapped moisture to escape, preventing damage.
- Install a Chimney Cap: A chimney without a cap is like a house without a roof. Installing a cap prevents rain, snow, and even animals from getting inside your chimney.
- Maintain the Flashing: Flashing—the metal strips where your chimney meets the roof—is critical for preventing leaks. Check it regularly for tightness and signs of rust.
- Repointing Mortar Joints: Keep an eye on the mortar joints and repoint them when necessary. This step is crucial to maintain the structural integrity of your chimney.
A regular maintenance routine can save you from costly repairs down the line.
DIY vs. Professional Repairs
Knowing when to tackle a project yourself and when to call in a professional is crucial. It’s a balance of assessing the damage, understanding your skill level, and prioritizing safety.
- DIY Repairs: Suitable for minor issues like small cracks or simple mortar joint repointing. If you’re comfortable with basic tools and have tackled home projects before, these can be a good DIY venture.
- Professional Help: Needed for major structural issues, extensive cracking, or if the repair is beyond your comfort zone. Chimney repairs, especially high up, can be risky. Professional contractors have the expertise and equipment to safely handle more complex problems.
FAQ Section
Major warning signs include cracks wider than a quarter-inch, cracks that run through the chimney structure, or evidence of the chimney tilting or leaning.
Annual inspections are ideal. Late summer or early fall is a good time to check, prepping your chimney for the heavy use it might see in winter.
For a quick fix, masonry caulk or sealant can be used for small cracks. However, remember these are temporary solutions and more substantial repairs may be needed later.
For small cracks, high-temperature caulk or sealant is suitable. For larger cracks, a mortar mix that matches the existing mortar in your chimney is recommended.
Yes, they can. Dry and mild weather is best for repairs. Extreme temperatures, either hot or cold, can affect how materials set and cure.
