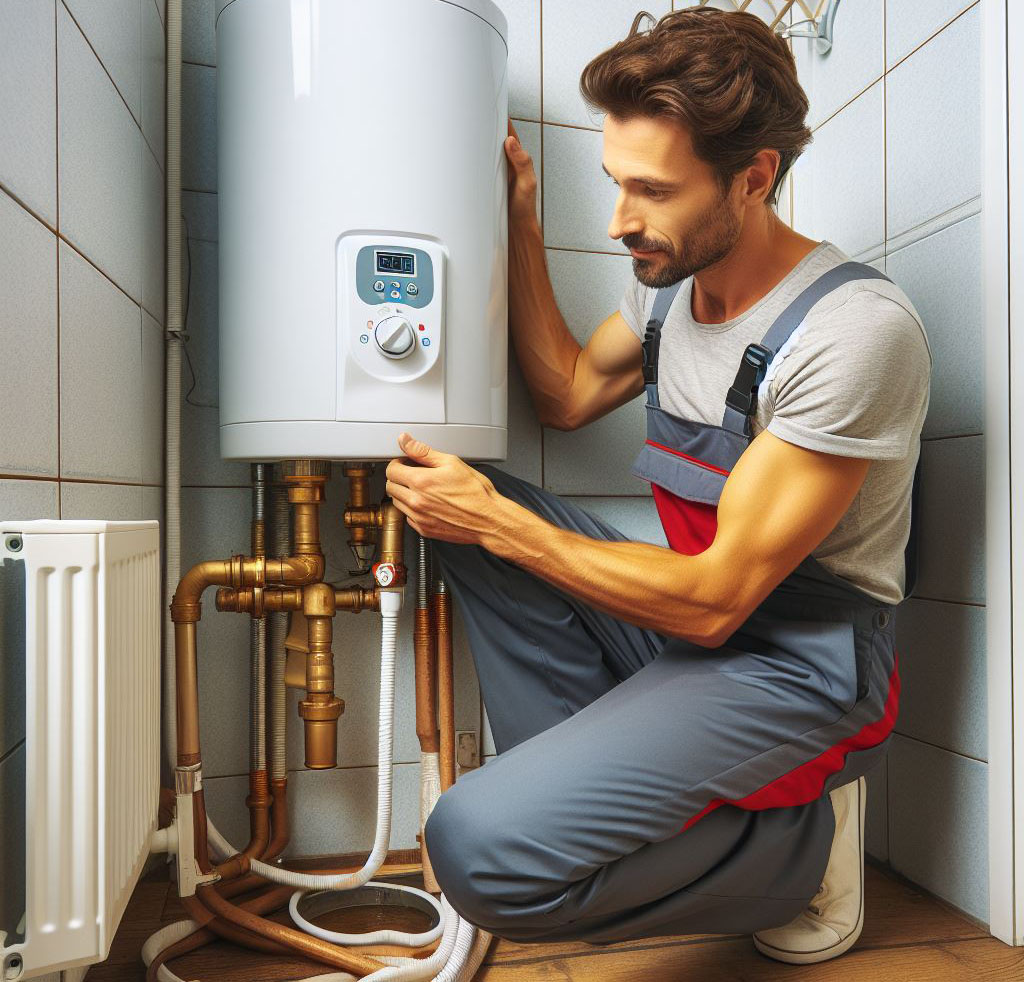
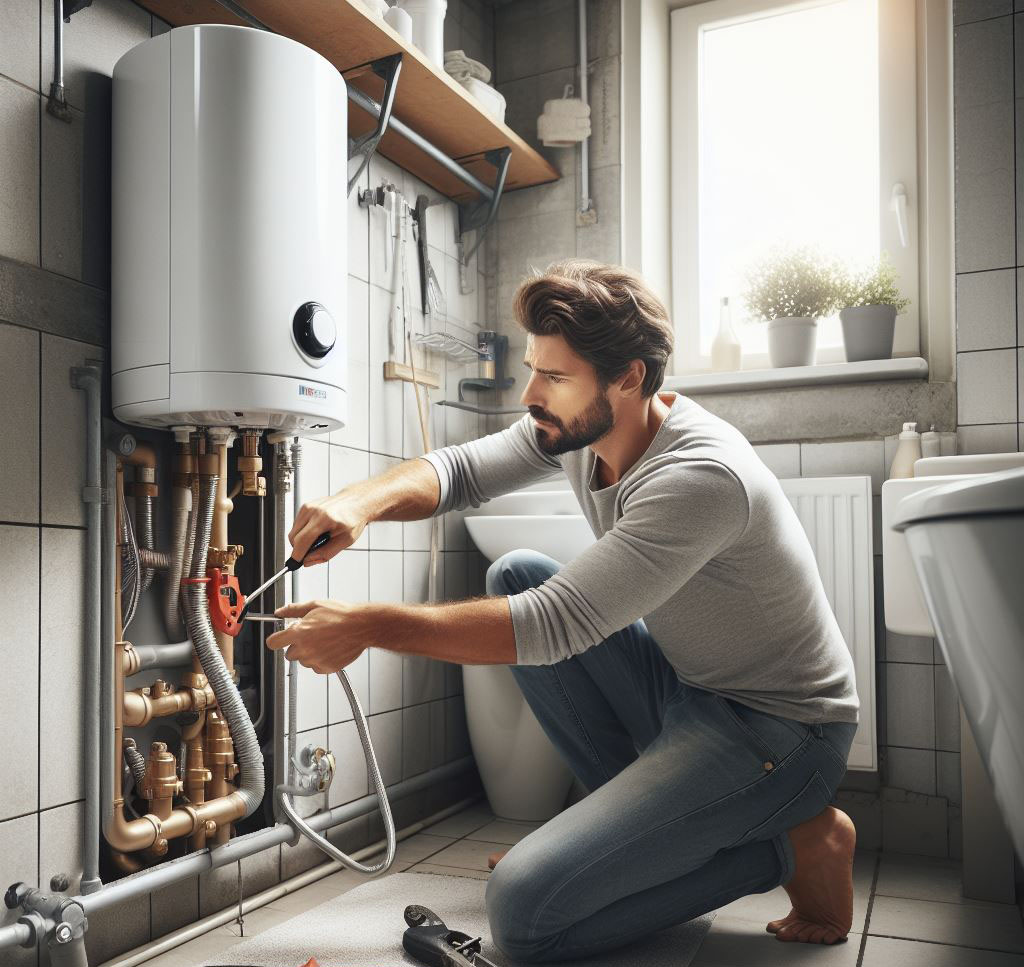
In the realm of home maintenance, certain tasks stand as pillars of preventative care, essential for the smooth operation and longevity of household systems. Among these, the maintenance of your electric water heater holds a place of paramount importance. This is not merely a chore on a list but a critical practice that ensures a steady supply of hot water, the lifeblood of a comfortable home.
The process of draining an electric water heater, often overlooked or postponed, is a fundamental aspect of home care. It’s akin to changing the oil in your vehicle, neglect it, and the system’s efficiency and lifespan diminish. This guide aims to demystify this essential task, offering a clear, step-by-step approach that resonates with both seasoned professionals and enterprising DIY enthusiasts across the United States.

Why Draining Your Electric Water Heater Matters
Sediment buildup within your water heater is an insidious foe. This accumulation acts as a barrier to heat transfer, forcing the system to expend more energy to heat water, akin to cooking on a stove cluttered with pots and pans. Not only does this reduce efficiency, but it also strains the heater, leading to increased wear and premature failure.
Regular drainage of your water heater acts as a corrective measure, removing sediment and restoring the system’s efficiency. The benefits extend beyond energy savings, they include improved heater performance, extended equipment life, and the avoidance of unexpected maintenance issues. It’s a practice that pays dividends, ensuring your hot water supply remains uninterrupted and efficient.
Preparation for Draining
Safety and preparation are the cornerstones of any successful maintenance task. Begin by ensuring the power to the water heater is switched off at the circuit breaker, a non-negotiable step to prevent the risk of electrical hazards.
Gather the necessary tools and materials:
- A garden hose, to facilitate the draining process.
- A bucket, useful for initial tests to ensure the drain valve is operational.
- Protective gloves and safety goggles, essential for safeguarding against potential spills or debris.
Identifying the location and accessibility of your water heater’s drain valve is the next step. Typically located at the tank’s base, it should be readily accessible. If obscured or difficult to reach, take the time to clear the area, ensuring a smooth and unhindered maintenance process.
Laying the Groundwork
With the stage set and your tools at hand, you are well-prepared to undertake the task of draining your electric water heater. This process, while straightforward, is not merely a series of steps to be followed blindly but an opportunity to engage with and understand your home’s heating system. A well-maintained water heater is more than a piece of equipment, it is a component of your home’s comfort system, integral to the daily routine and well-being of its occupants.

Step-by-Step Guide to Draining Your Electric Water Heater
Shutting Off the Power
Safety can’t be overstressed, especially when dealing with electricity. Before anything else, head to your circuit breaker and cut the power to your water heater. This is your first line of defense against potential hazards, ensuring that you’re working in a safe environment. It’s a simple but critical move, akin to putting on a safety harness before scaling a roof.
Cooling Down the Water
Patience plays a key role here. Allow the water inside the heater to cool down for several hours, if not overnight. Draining hot water hastily is akin to rushing a drywall job—both result in unnecessary risks and sloppy outcomes. The wait ensures you handle only tepid water, reducing the risk of burns and allowing for a safer, more controlled draining process.
Attaching the Hose
With a garden hose in hand, attach it securely to the drain valve. This connection needs to be watertight—any leaks here would defeat the purpose of a controlled drain, turning a simple task into a messy ordeal. Imagine it’s like ensuring a tight seal on a paint sprayer, leaks can turn precision work into a splattered mess.
Turning Off the Cold Water Supply
Identify and close the cold water supply valve to stop further water from entering the tank. It’s similar to turning off the water supply before fixing a leaky faucet — essential to avoid flooding the work area. This step ensures that as you drain the tank, you’re not counterproductively filling it back up.
Opening the Drain Valve
Open the drain valve gradually, regulating the flow of water to avoid a sudden rush that could stir up sediment, potentially clogging your hose. It’s akin to controlling the flow of concrete from a mixer, too fast, and it’s unmanageable, too slow, and you lose momentum. A steady, controlled flow is what you’re aiming for.
Flushing Out Sediment
Continue this process until the water runs clear, signaling that the majority of sediment has been flushed out. This might be time-consuming but consider it an investment in your system’s efficiency and longevity. Think of it as sanding down a surface before painting, the preparation ensures a smoother, more lasting finish.
Closing the Valve and Refilling the Tank
With the sediment removed and the water running clear, it’s time to close the drain valve and remove your hose. Reopen the cold water supply to refill the tank, akin to priming a pump before it’s put into operation. Opening a hot water faucet elsewhere in the house allows air trapped in the system to escape, ensuring a smooth flow without air locks—much like bleeding air from a newly installed radiator.
Turning the Power Back On
Before you restore power, double-check that the tank is fully refilled and there are no signs of leaks. Starting an electric water heater with an inadequately filled tank can cause damage, akin to running a power tool without proper lubrication. Once you’ve confirmed everything is set, go ahead and turn the power back on.
Post-Draining Maintenance
First and foremost, conduct a thorough inspection of your water heater for any signs of leaks or damage. This process is akin to examining a piece of wood for knots and cracks before making a cut. It’s about identifying potential problems before they worsen.
Next up, test the pressure relief valve. This component is akin to a safety valve on a pressure cooker, it’s there to prevent accidents by releasing pressure if it gets too high. Gently pull on the lever to ensure it’s operating freely and not stuck, much like checking a window sash for smooth operation.
Adjusting the thermostat to the right temperature is the final step in this phase. Setting it between 120-130°F strikes the perfect balance between energy efficiency and safety, preventing scalding. It’s similar to choosing the right grit of sandpaper for a finishing job—too coarse and you damage the wood, too fine and you waste your effort without much impact.
Troubleshooting Common Issues
Encountering a clogged or leaky drain valve? It’s not unlike finding a jammed lock on a door. If it’s clogged, a gentle probe with a piece of wire can dislodge the debris. A leaky valve might need tightening, or in some cases, replacement—think of it as replacing a worn-out door hinge for smooth operation.
Dealing with slow draining? This could be due to a blockage in the hose or valve, much like a clogged air filter in a furnace restricts airflow. Clearing the path can restore proper flow, ensuring your system drains as efficiently as a clean gutter after a storm.
If your water appears discolored post-drainage, it’s reminiscent of the dust kick-up after sanding down a piece of furniture. Running the hot water faucets throughout your home until the water clears is the solution, effectively “sanding down” any residual sediment in the system.
FAQ Section
The rule of thumb is once a year, but if you have hard water or high usage, twice a year may be more appropriate. Consider it preventive maintenance, akin to changing the oil in your car to keep it running smoothly.
Yes, but ensure the water has cooled to avoid harming your plants or lawn. It’s a bit like using leftover wood scraps as mulch—beneficial if done correctly.
Opening the pressure relief valve can introduce air into the system and encourage flow, similar to venting a radiator to remove airlocks.
While many homeowners can perform this task themselves, if you’re unsure about the process or if your water heater shows signs of significant wear, seeking professional help is wise. It’s like calling in a master craftsman for complex joinery—it ensures the job is done right.
Typically, a couple of hours should suffice, though this can vary based on the tank’s size and the amount of sediment. Think of it as the time investment needed for applying a coat of varnish—it needs to be done thoroughly and patiently for the best results.
