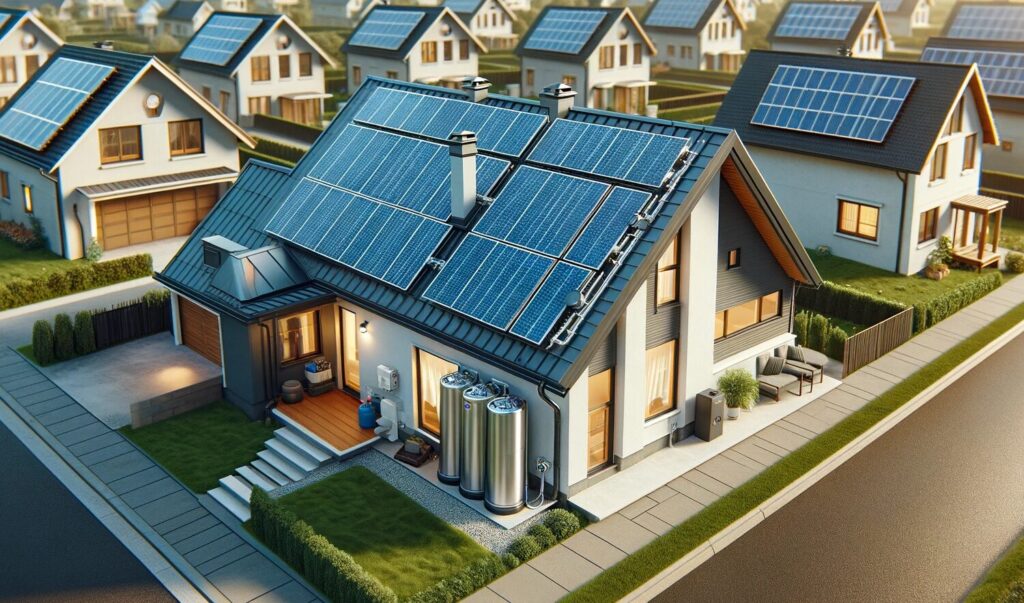
Embracing solar panels is not merely about enhancing your home’s aesthetic with modern technology, it is a significant stride towards energy efficiency and sustainability. However, the crux lies in meticulous installation. Incorrectly installed panels not only diminish efficiency but also fail to harness the full potential of this green energy source. Herein lies our objective: to navigate you through the nuances of a flawless installation, ensuring you reap the maximum benefits from your investment.

Understanding Solar Panels and Their Benefits
Solar panels—your personal miniature power stations—convert sunlight into electricity through a marvel of engineering. This transition not only promises a reduction in utility bills but also positions your household as a beacon of environmental stewardship. The allure of solar energy is further magnified by the incentives offered by government entities, including tax benefits and rebates, effectively rewarding you for your contribution to a greener planet.
Pre-Installation Considerations
Diving into solar panel installation requires a preparatory phase, crucial for ensuring the success of your project:
- Roof Evaluation. A thorough assessment of your roof’s condition is paramount. Ideal characteristics include a south-facing orientation, an optimal angle, and minimal shading. Roofs that deviate from these conditions require innovative solutions to accommodate solar panels effectively.
- Structural Integrity. The added weight of solar panels necessitates a professional evaluation of your roof’s structural capacity. This step is vital to avoid any compromise to your home’s structural integrity.
- Panel Selection. The market offers a plethora of solar panel options, each with its unique attributes. The selection process should be informed by your roof’s characteristics, your budgetary constraints, and your household’s energy requirements, ensuring a tailor-made solution for your energy needs.
Required Tools and Materials
The installation process demands a comprehensive toolkit and a selection of materials:
- Tools. Essential tools include drills, wrenches, screwdrivers, and hammers. These tools will serve as the backbone of your installation process, addressing various tasks and challenges encountered along the way.
- Materials. Fundamental materials comprise solar panels, mounts (for securing the panels), and wiring (to facilitate electrical connectivity). Additionally, an inverter is required to convert the harvested solar energy into a form usable by household appliances.
- Safety Gear. Prioritizing safety is non-negotiable. Protective gear such as hard hats, gloves, and safety glasses is mandatory, and for tasks at elevation, a harness is strongly advised to mitigate the risk of falls.

Step-by-Step Installation Guide
1. Preparation of the Roof
The journey to a solar-powered home begins with the roof itself. Ensuring it’s clean and in pristine condition is paramount. A compromised roof can undermine the entire installation, leading to problems down the line. Next, consider the layout. Solar panels thrive on sunlight, so positioning them for optimal exposure is critical. A south-facing orientation is ideal, capturing the sun’s path across the sky.
2. Installing Mounts
Mount selection sets the stage for the entire installation. Flush mounts offer a sleek, low-profile appearance, while tilted mounts maximize sun exposure. Precision in placement cannot be overstated, a properly secured mount is the foundation upon which the reliability of your solar panels rests. This step requires careful planning and attention to detail, ensuring that each mount is perfectly aligned and firmly attached.
3. Attaching the Solar Panels
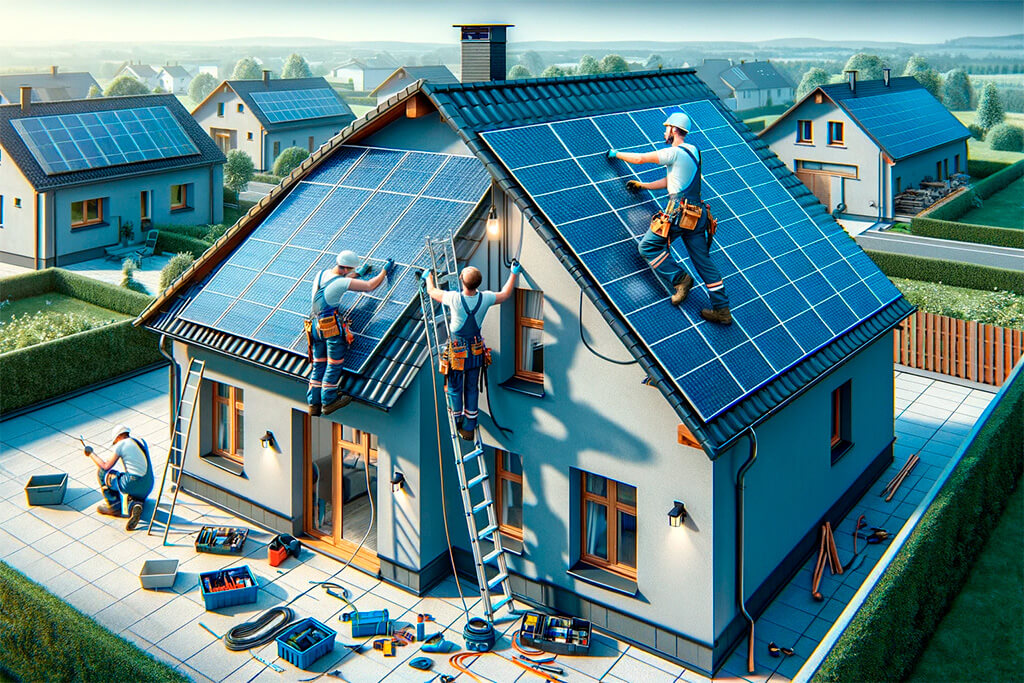
With the mounts in place, the solar panels are ready to be installed. This is a moment of truth, where careful handling and precise alignment come into play. Each panel must be securely fastened to its mount, ensuring a stable and efficient setup. The panels should not only be physically secure but also well-connected to each other, forming a cohesive unit that functions as more than the sum of its parts.
4. Electrical Wiring
The electrical aspect of solar installation is where safety and adherence to local codes become paramount. Wiring must be executed with the utmost care, ensuring that the solar panels are correctly connected to the inverter, which in turn feeds into your home’s electrical system. This process not only requires a technical understanding of electrical systems but also a commitment to safety protocols, ensuring that the installation is both efficient and secure.
5. Final Steps
Grounding the system is a critical final step, providing a safety fallback in the event of an electrical fault. Additionally, installing a solar meter allows homeowners to monitor the output of their panels, offering tangible insights into the benefits of their investment. This step closes the loop on the installation process, marking the transition from project to performance.
Inspection and Maintenance
No installation should be considered complete without a thorough inspection by a professional. This ensures that every aspect of the installation meets the highest standards of quality and safety. Regular maintenance, including panel cleaning and system checks, is essential for sustaining peak efficiency.
FAQ Section
Absolutely, with tilted mounts to optimize sun exposure.
The timeline varies, depending on the roof and the number of panels, but plan for at least a weekend.
Yes, in most cases. It’s crucial to check with your local building department to ensure compliance.
With proper care, solar panels can exceed 25 years of productive life.
Not if installed correctly. Proper mounting and sealing are essential to protect your roof.
Assess your energy usage in kWh and match it with the output of the panels you’re considering.
Look into alternative installations like ground mounts or solar pergolas.
