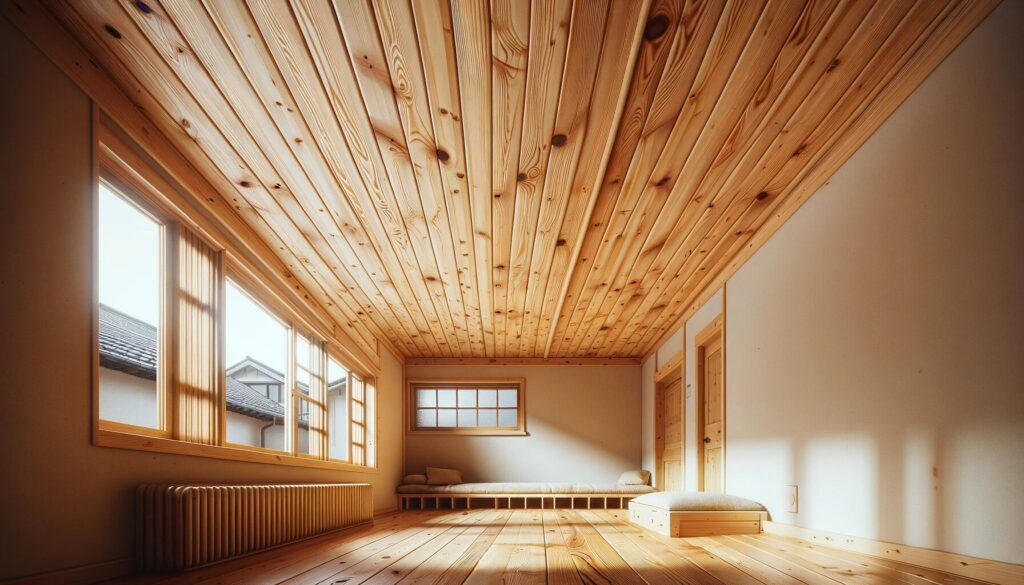
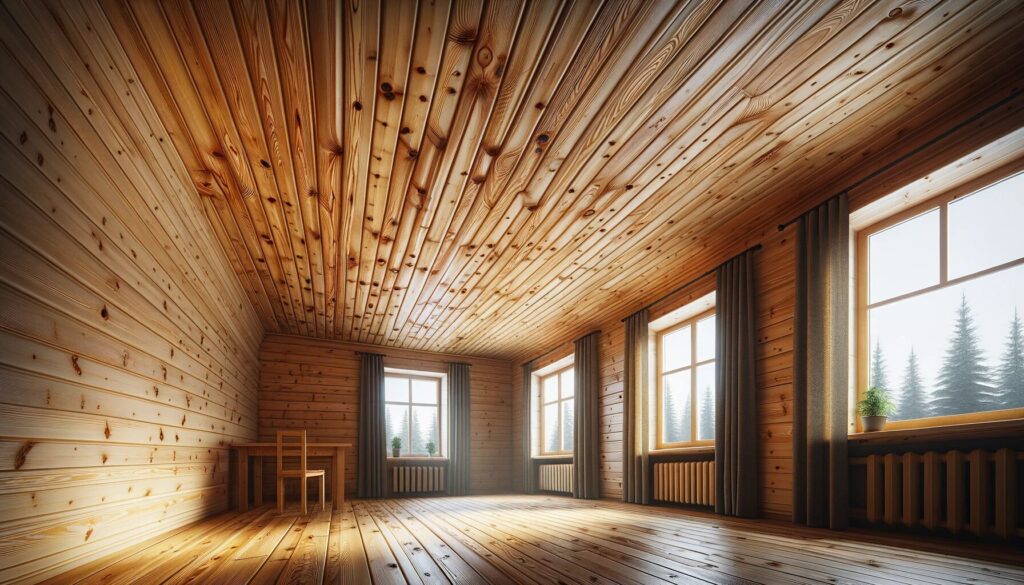
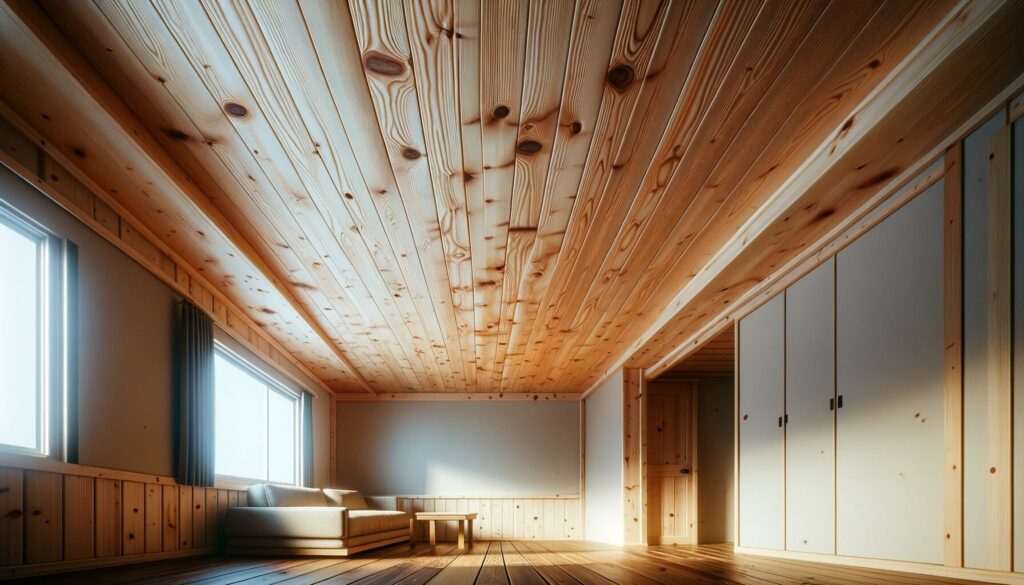
In the realm of home improvements, few projects offer the satisfying blend of practicality and aesthetic appeal as a tongue and groove pine ceiling. This type of ceiling not only elevates the visual warmth of a room but also serves as a sound acoustic layer and an insulator. It’s an ideal project for home handymen and small construction businesses across the United States, providing an opportunity to create a significant impact with relatively manageable effort and expense.
The choice of pine for this purpose is no coincidence. Its affordability and ease of work make it a popular choice. Moreover, the adaptability of pine to a range of finishes allows for a wide spectrum of styles, from the traditional country house to contemporary urban dwellings.

Understanding Tongue and Groove Pine Ceilings
Tongue and groove joinery is a tried and true method where the ‘tongue’ of one board fits snugly into the ‘groove’ of another. This connection results in a strong, seamless surface, ideal for ceiling applications where stability and a clean look are paramount.
Pine is particularly suited for this kind of work. Its inherent properties—like a uniform grain and a tendency to take well to stains and finishes—make it a versatile material for ceilings. The variety of pine board styles and finishes available allows for customization to one’s taste and the specific decor of the space.
Tools and Materials Needed
When gearing up for a tongue and groove pine ceiling installation, having the right tools and materials on hand is crucial for a smooth process:
- Tools List:
- Nail Gun: For quick and efficient fastening.
- Saw: Preferably a miter saw for precise cuts.
- Measuring Tape: Accurate measurements are critical.
- Level: Ensures your installation is perfectly horizontal.
- Chalk Line: Aids in aligning the boards correctly.
- Ladder or Scaffolding: Essential for reaching the ceiling comfortably.
- Safety Gear: Including goggles and gloves for protection.
- Materials:
- Pine Boards: Pre-finished boards can save time, while unfinished ones allow for customized staining.
- Nails: Finishing nails are recommended for a clean look.
- Varnish or Stain: Chosen based on the desired final appearance.
- Construction Adhesive: For additional support, particularly in humid conditions.
While this list provides a comprehensive overview, each project might require specific adjustments based on individual circumstances and preferences. The following sections will delve into the installation process, offering detailed guidance and practical tips to ensure a successful project outcome.

Preparing for Installation
In my years on the job, I’ve learned that accurate measurements are the cornerstone of any successful project. Here’s how to avoid coming up short (or long):
- Square Footage Calculation: Multiply the length by the width of your ceiling. This is your working area.
- Extra Allowance: Add about 10-15% more to your total square footage. This covers any cuts, errors, or adjustments you might need.
The key to a smooth installation is a clean, prepared surface. Whether you’re retrofitting an old ceiling or starting afresh, here’s what you need to do:
- Existing Ceilings: Remove any loose debris, old plaster, or peeling paint. Your new ceiling needs a stable base.
- New Constructions: Double-check that all electrical and insulation work is complete and up to code.
- Joist Mapping: Knowing where your joists lie is crucial. Mark them clearly – they’re your roadmap for nailing.
Pine boards are more than just pieces of wood, they’re the canvas for your ceiling art. Treat them right:
- Flat Storage: Keep them flat to prevent warping – a warped board is a headache waiting to happen.
- Acclimation: Let the boards get used to the environment of your workspace. A few days should do the trick.
- Gentle Handling: Avoid bumps and scrapes. These blemishes can show up after finishing.
Step-by-Step Installation Guide
- Installing the First Board:
- Alignment: Start against the longest wall. This sets the tone for the entire project.
- Expansion Gap: Leave about a quarter-inch gap for wood expansion. Wood moves, and we need to accommodate that.
- Nailing: Angle your nails through the tongue into the joist. This hides the nails and secures the board.
- Ensuring Straight and Secure Installation:
- The Tapping Block: It’s your best friend for coaxing those boards into place without damaging them.
- Level Checks: Frequent level checks keep your work honest. An uneven start can throw off the entire project.
- Consistent Nailing: Nail at consistent intervals for a secure hold. Aim for every 6 to 8 inches into the joist.
- Dealing with Obstacles:
- Measure Twice, Cut Once: That’s the golden rule. Fit the boards snugly around fixtures.
- Patience is Key: These cuts require precision. Take your time for a professional finish.
- Finishing Touches:
- Edge Trimming: Crown molding or trim gives a clean, finished look.
- Stain or Finish: Apply your chosen finish evenly for a uniform look. Let it dry thoroughly.

Maintenance and Care
- Routine Maintenance:
- Dusting: Regular dusting keeps the wood looking fresh.
- Gentle Cleaning: A damp cloth can clean up most spills or marks.
- Varnish Refresh: For natural finishes, a yearly varnish reapplication protects the wood.
- Addressing Common Issues:
- Minor Damage: Light sanding and reapplication of finish can remedy small blemishes.
- Board Replacement: For serious warping, replace the board entirely. Match the finish to your existing ceiling.
Cost Analysis
In my many years in construction, I’ve learned that a well-planned budget can make or break a project. When it comes to a tongue and groove pine ceiling, here’s what you should expect in terms of costs:
- Materials:
- Pine Boards: Typically, you’re looking at about $2 to $3 per square foot. The price can fluctuate based on quality and where you’re buying them.
- Nails: A small expense, but essential. A box might cost you between $5 and $10.
- Finishing Materials: Depending on the brand and quality, a can of stain or varnish could set you back $20 to $50.
- Tools:
- Nail Gun: If you don’t own one, renting is a cost-effective option. It usually costs around $20 to $30 per day.
- Saw: A reliable saw is a must-have for any woodwork. Expect to spend about $100 for a decent one, a worthwhile investment for any DIY enthusiast.
Budget-friendly Tips:
- Keep an eye out for discounts or bulk deals at your local hardware store.
- Renting seldom-used tools can significantly cut down your costs.
- While it’s tempting to go for cheaper boards, investing in good quality pine will save you money and hassle in the long run.

FAQ Section
Yes, this is certainly doable. The key is to ensure that your new pine boards are securely fastened to the existing structure, particularly the joists. This may require longer nails or additional anchoring techniques.
On average, for a moderately sized room, you might spend a weekend on the project. However, the time frame can vary based on factors such as the complexity of the ceiling layout and your experience level.
I’ve found that polyurethane varnish is excellent for a long-lasting, glossy finish. For those preferring a more natural look, tung oil is a great option, though it requires more maintenance.
Yes, but it’s crucial to acclimate the wood to the humidity level of the room before installation. Additionally, using a moisture-resistant finish can help prevent future swelling or warping.
The process involves carefully removing the damaged board, which can be tricky depending on how it was installed. Once removed, replace it with a new board cut to the exact size, and then nail it in place, ensuring the finish matches the rest of your ceiling.
