In the world of home improvement, one of the most transformative projects you can undertake is hardwood floor finishing. It not only enhances the aesthetic appeal of your space but also serves a protective function, shielding the wood from daily wear and tear. In this guide, we’ll delve into the nuts and bolts of hardwood floor finishing, offering insights and advice that cater to both the enthusiastic DIY homeowner and the seasoned construction professional.

Understanding Hardwood Floor Finishing
What Is Hardwood Floor Finishing?
At its core, hardwood floor finishing is akin to applying a shield to your wooden floors. This protective layer not only safeguards the wood from scratches, spills, and other hazards but also brings out the natural beauty of the wood, highlighting its grain and texture. It’s an essential step in preserving the life and appearance of your floors.
Finishing vs. Refinishing: What’s the Difference?
Understanding the distinction between these two processes is crucial. Finishing refers to the initial treatment of new or untreated wood floors, giving them their first layer of protection and aesthetics. Refinishing, however, is the process of reviving an existing floor – stripping off old finishes and applying a new one to restore the floor’s beauty and protection.
Types of Hardwood Floors for Finishing
The world of hardwood floors is diverse, ranging from sturdy classics like oak and maple to exotic varieties like mahogany and teak. Each type has its unique characteristics and responds differently to finishes, making the choice of finish crucial for the desired outcome.

Types of Wood Floor Finishes
Overview of Finishes
- Polyurethane: This finish is the workhorse of floor finishes, known for its durability and resistance. Available in both water-based and oil-based forms, it suits a variety of needs. Water-based polyurethane dries quickly and retains the wood’s color, while oil-based varieties offer a rich, amber hue but take longer to dry.
- Wax: A traditional finish that imparts a warm, soft sheen to floors. It’s less durable than polyurethane but offers a unique, vintage appeal and is easier to repair.
- Oil-Based Finishes: These finishes penetrate the wood deeply, enhancing its natural pattern and providing a rich, luxurious look. They require more maintenance but are prized for their aesthetic qualities.
Pros and Cons
- Polyurethane: Pros include its tough, protective nature and suitability for high-traffic areas. The downside is the potential yellowing over time (oil-based) and difficulty in spot-repairing.
- Wax: Easy to apply and repair, wax finishes offer an antique charm. However, they are less resistant to water and require more frequent upkeep.
- Oil-Based Finishes: Ideal for highlighting wood’s natural beauty, these finishes require regular maintenance and are not as resistant to water and spills.
Situational Use Cases
- Polyurethane: Best for areas with heavy foot traffic or potential moisture exposure, like kitchens, hallways, and living rooms.
- Wax: Suited for low-traffic areas where its classic look can be appreciated, like bedrooms or studies.
- Oil-Based Finishes: Perfect for spaces where aesthetics are paramount and traffic is moderate, such as dining rooms or libraries.

Preparing for Finishing
Preparing your hardwood floor for finishing is a critical step, akin to laying a strong foundation for a house. It requires attention to detail and a methodical approach.
Steps to Prepare the Floor:
- Clean Thoroughly: Start with a clean slate. Remove all furniture and sweep, vacuum, and mop the floor to remove dust and debris. This step is crucial for a smooth finish.
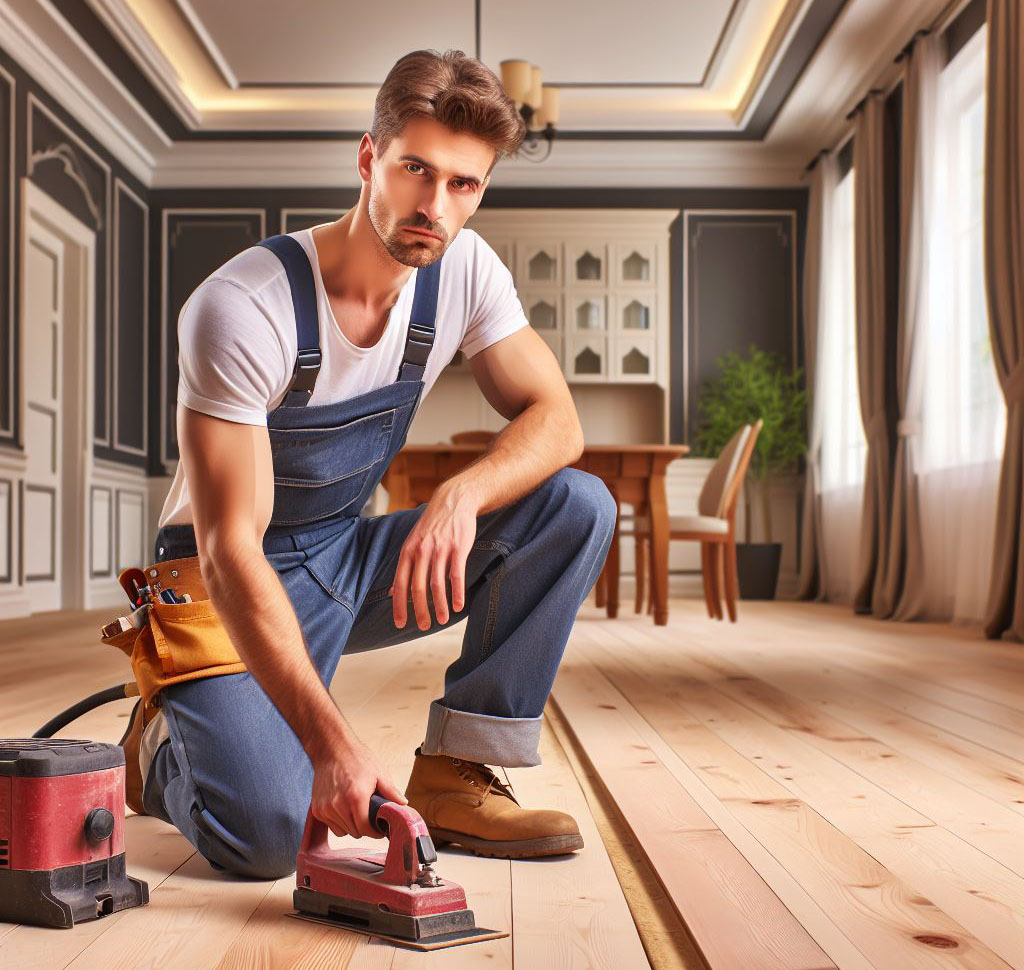
- Sanding: Use a good-quality orbital sander. Start with a coarse-grit sandpaper to remove the old finish and imperfections, then progressively move to finer grits. Sanding must be thorough and even, ensuring a flat surface free of old varnish and scratches.
- Filling Gaps: If there are gaps or cracks, use a matching wood filler. This not only improves appearance but also prevents finish from pooling in these areas.
- Final Cleaning: After sanding, thoroughly vacuum and wipe down the floor with a tack cloth. This ensures that no sawdust or particles are left to mar your finish.
Necessary Tools and Materials:
- A range of sandpapers from coarse to fine grit
- Orbital sander
- Wood filler
- Vacuum cleaner
- Tack cloth
- Safety equipment like goggles, dust mask, and ear protection
Safety Precautions and Tips:
- Always wear protective gear to guard against dust and debris.
- Ensure good ventilation in your workspace.
- Work in a methodical, unhurried manner to avoid accidents and ensure quality work.
Step-by-Step Guide to Applying
Applying the finish is both an art and a science. It requires patience and precision.
- Select Your Finish: Based on your floor type and the room’s usage, choose a suitable finish – polyurethane, wax, or oil-based.
- Spot Testing: Always test the finish on a small, inconspicuous area to ensure it gives the desired result and doesn’t react adversely with the wood.
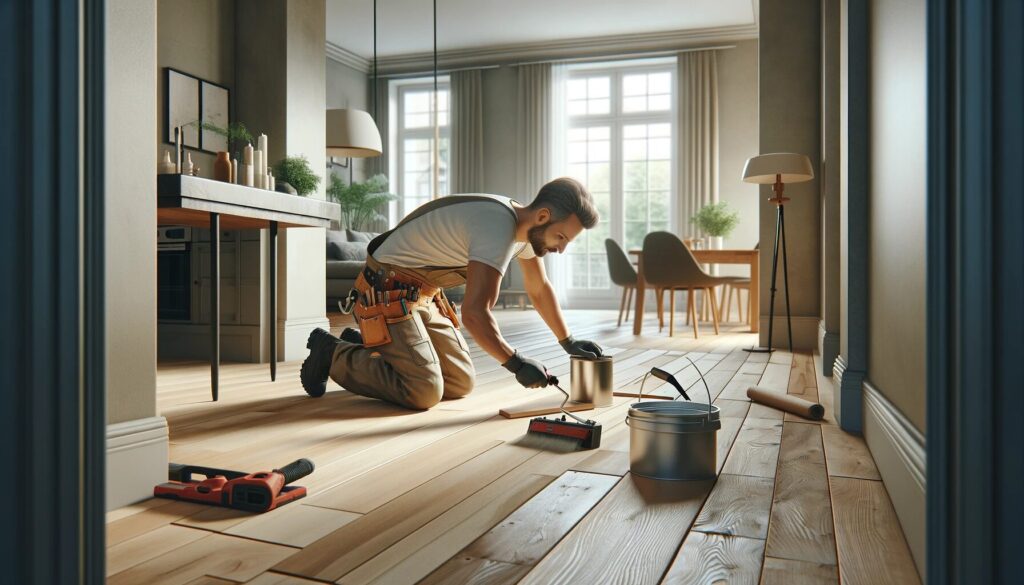
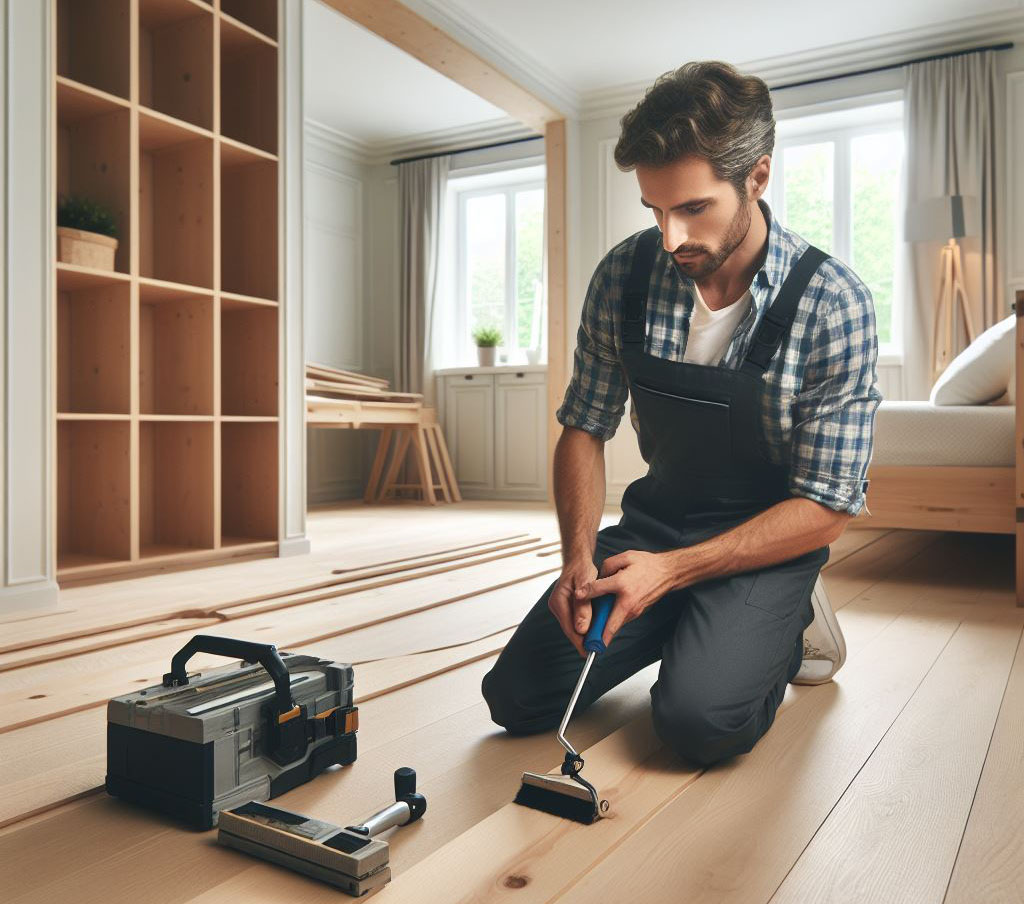
- Application Method: Use a quality brush or roller. Begin in a far corner, working your way towards the exit. Apply with the grain in smooth, even strokes.
- Monitoring for Imperfections: Keep an eye out for drips or streaks and smooth them out immediately.
Drying Times and Second Coat Application:
- First Coat: Allow the first coat to dry thoroughly. This could take up to 24 hours, depending on the product and environmental conditions.
- Light Sanding: Before applying the second coat, lightly sand the surface with fine-grit sandpaper. Then clean off the dust.
- Second Coat: Apply the second coat as you did the first, taking care to maintain even coverage.
- Cure Time: Allow the finish to cure completely, which might take several days, before moving furniture back in or resuming normal use.
Maintenance of Finished Hardwood Floors
Maintaining your hardwood floors is essential to preserve their beauty and prolong their life.
Tips for Maintenance:
- Regular Cleaning: Regular sweeping or vacuuming is essential to remove grit and dust.
- Proper Mopping: Use a slightly damp mop. Excess water can damage wood floors.
- Immediate Spill Cleanup: Clean spills immediately to prevent water damage.
Recommended Cleaning Products and Methods:
- Use cleaners specifically designed for hardwood floors.
- A microfiber mop can be particularly effective for hardwood floors.
Preventing Damage and Wear:
- Attach felt pads to furniture legs to prevent scratches.
- Regularly trim pet nails to avoid scratches.
- Place mats at entryways to catch dirt and grit.
Choosing the Best Finish for Hardwood Floors
Selecting the right finish for your hardwood floors is akin to choosing the best protective gear for a job. It’s not just about the appearance, it’s about making a practical choice based on the specific demands of your environment.
Factors to Consider:
- Foot Traffic: For areas that see a lot of movement, like entryways and family rooms, you need a finish that can stand up to constant use. A high-grade polyurethane, particularly oil-based for its durability, is a wise choice.
- Room Type: Consider the room’s function. In kitchens and bathrooms where moisture is a constant, a water-resistant finish is essential. Here, water-based polyurethanes have an edge for their resistance to humidity and spills.
- Wood Species: The type of wood also dictates your choice. Softer woods like pine require a more robust finish to prevent dents and wear, while harder woods can be treated with a wider range of finishes, including penetrating oils that enhance the wood’s natural beauty.
Comparing Durable Finishes:
- Water-Based Polyurethane: Known for its clear finish, it doesn’t yellow over time and is ideal for maintaining the color integrity of the wood. Perfect for light-colored woods and modern aesthetics.
- Oil-Based Polyurethane: It’s praised for its ruggedness and longevity, a go-to for high-traffic areas. The finish deepens over time, adding warmth to the wood.
- Aluminum Oxide: Extremely durable, often used in prefinished flooring. It’s a long-term solution but less feasible for onsite application.
Recommendations for Different Scenarios:
- For Active Families: Oil-based polyurethane is robust enough to handle the hustle and bustle of a busy household.
- For Quieter, Low-Traffic Areas: A natural oil finish can be ideal for its aesthetic appeal and ease of maintenance.
Common Mistakes to Avoid
Even the most experienced renovators can slip up. Here are common pitfalls to steer clear of:
Frequent Mistakes:
- Not Sanding Properly: Skipping thorough sanding can leave you with a less than satisfactory finish.
- Rushing the Process: Not allowing enough drying time between coats can lead to a tacky, uneven finish.
- Inadequate Ventilation: Fumes from finishes can be hazardous. Always ensure good air circulation.
- Uneven Application: Inconsistent application can lead to lap marks and streaks, marring the overall appearance.
How to Avoid or Fix Mistakes:
- Diligently sand the floor for a smooth base.
- Follow drying time guidelines scrupulously.
- Keep your workspace well-ventilated.
- Apply the finish evenly, maintaining a wet edge to avoid overlaps.
FAQ Section
The longevity of a finish depends on the type and the floor’s usage. Water-based polyurethanes can last over a decade in residential settings, while oil-based finishes may last up to 20 years. Pre-finished floors with aluminum oxide can go even longer, up to 25-30 years.
DIY floor finishing is achievable, especially for those who are handy and patient. It can be cost-effective but time-consuming. Professional refinishing offers expertise and efficiency, ideal for those looking for quality and convenience, though it comes at a higher price.
For high-traffic zones, oil-based polyurethane or pre-finished floors with aluminum oxide coatings are recommended. These finishes offer the resilience needed to withstand frequent use.
Telltale signs include visible wear, deep scratches, and areas where the finish has worn away to bare wood. If water soaks into the wood instead of beading, it’s time for a refinish.
Yes, water-based polyurethanes and natural oil finishes are more environmentally friendly. They have lower VOC levels, making them a healthier choice for indoor air quality.
