In the ever-evolving world of home renovations, one trend that has firmly planted its roots is vinyl flooring in bathrooms. This surge in popularity isn’t just a passing fad, it’s a testament to vinyl’s versatility and practicality. This article is tailored for those who wield a hammer with confidence, be it for a personal project or professional pursuit. It’s for the DIY enthusiast carving out their weekend project and the seasoned handyman seeking to expand their repertoire.

The Appeal of Vinyl Flooring for Bathrooms
Why vinyl in the bathroom, you ask? Let me lay it out:
- Moisture Resistance: Bathrooms are battlegrounds for moisture, and vinyl is your stalwart ally. Its ability to shrug off water makes it a practical choice for damp environments.
- Durability: I’ve seen floors take a beating, but vinyl stands the test of time. It’s robust enough to handle the daily stampede of family life, pets included.
- Ease of Cleaning: Here’s where vinyl truly shines. It asks so little of you – a simple sweep and a mop are all it takes to keep it looking pristine.
- Variety of Styles: The design options with vinyl are as varied as your imagination. From mimicking luxurious hardwood to embodying sleek stone finishes, vinyl offers a chameleon-like ability to adapt to any style preference.
Types of Vinyl Flooring Suitable for Bathrooms
Each type of vinyl flooring has its unique strengths:
- Vinyl Sheets: Imagine covering your bathroom floor with a continuous piece of vinyl – that’s what vinyl sheets offer. It’s particularly effective in smaller bathrooms, providing a seamless, expansive look.
- Vinyl Tiles: These are for the hands-on folks who enjoy piecing together their project. Each tile is a part of a larger puzzle, offering the flexibility of design and easy replacement.
- Luxury Vinyl Planks (LVP): For those who covet the elegance of hardwood without the susceptibility to water damage, LVP is the go-to. It’s a notch above in terms of thickness and durability and brings an element of sophistication to any bathroom.
Best Fit for Different Bathrooms:
- Small Bathrooms: Opt for vinyl sheets or tiles. They can make the space appear larger and are more manageable in confined areas.
- Family Bathrooms: Here, durability is key. LVP, with its robustness, can withstand the daily wear and tear of a busy household.
- Master Ensuite: Indulge in the luxury of high-grade LVP. Its rich textures and finishes add a layer of opulence to your private retreat.

Installation Basics
Let’s dive into the practicalities of installing vinyl flooring in your bathroom. With years of hands-on experience, I’ve learned that success lies in attention to detail and methodical steps.
Step-by-Step Overview
- Accurate Measurements: It all starts with precise measurements. In the world of renovation, even a fraction of an inch matters.
- subfloor Preparation: A smooth, clean subfloor is essential. Any irregularities can compromise the vinyl’s adherence and appearance.
- Underlayment Installation: Depending on your vinyl type, an underlayment might be necessary. It should lie flat and be precisely cut to fit your space.
- Vinyl Cutting: Cutting vinyl requires a steady hand and a sharp blade. Measure and mark your vinyl accurately, and cut with confidence and precision.
- Fitting the Vinyl: Begin from the room’s center, moving outward. This approach helps in achieving a balanced and symmetrical finish.
- Edge Sealing: Proper sealing is crucial, especially in a moisture-prone area like a bathroom. This step prevents water infiltration and extends the life of your flooring.
Tips for DIY Installation
- Level Surface: A self-leveling compound can be a lifesaver for uneven subfloors.
- Patience is Key: Rushing the installation can lead to errors. Take your time for a flawless finish.
- Sharp Tools: Regularly change the blades in your utility knife to ensure clean cuts.
Maintenance and Longevity
Maintaining your vinyl flooring properly can significantly extend its life, especially in a bathroom setting.
Cleaning and Maintenance
- Routine Cleaning: Regular sweeping and mopping are usually sufficient to keep vinyl flooring in top condition.
- Prompt Spill Cleanup: Attend to spills immediately to prevent staining or damage.
- Gentle Cleaning Products: Harsh chemicals can damage vinyl. Opt for mild, non-abrasive cleaners.
Lifespan in Bathroom Environments
- Expected Durability: A properly installed and maintained vinyl floor can last between 15 and 20 years in a bathroom.
- Moisture Resistance: Although vinyl is moisture-resistant, proper sealing at the edges is critical to prevent water damage.

Design Ideas and Inspiration
The design aspect of vinyl flooring is where you can truly showcase your creativity and personal style.
Picture Showcase
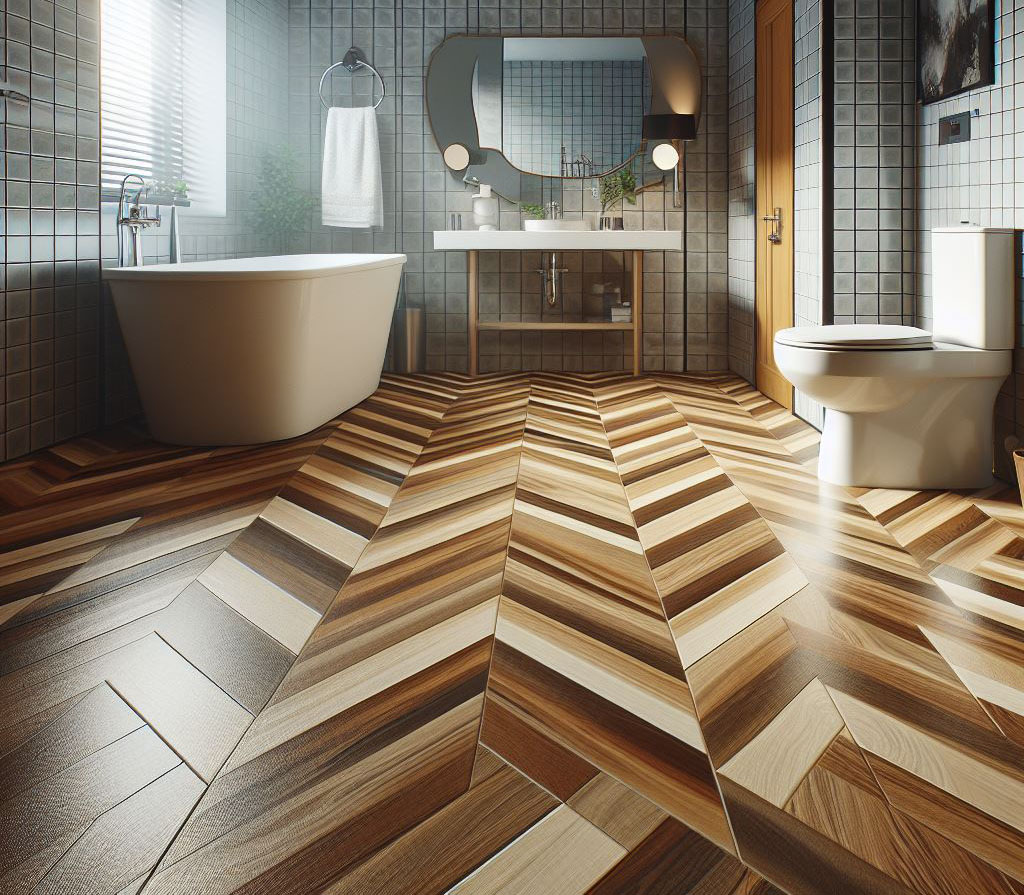
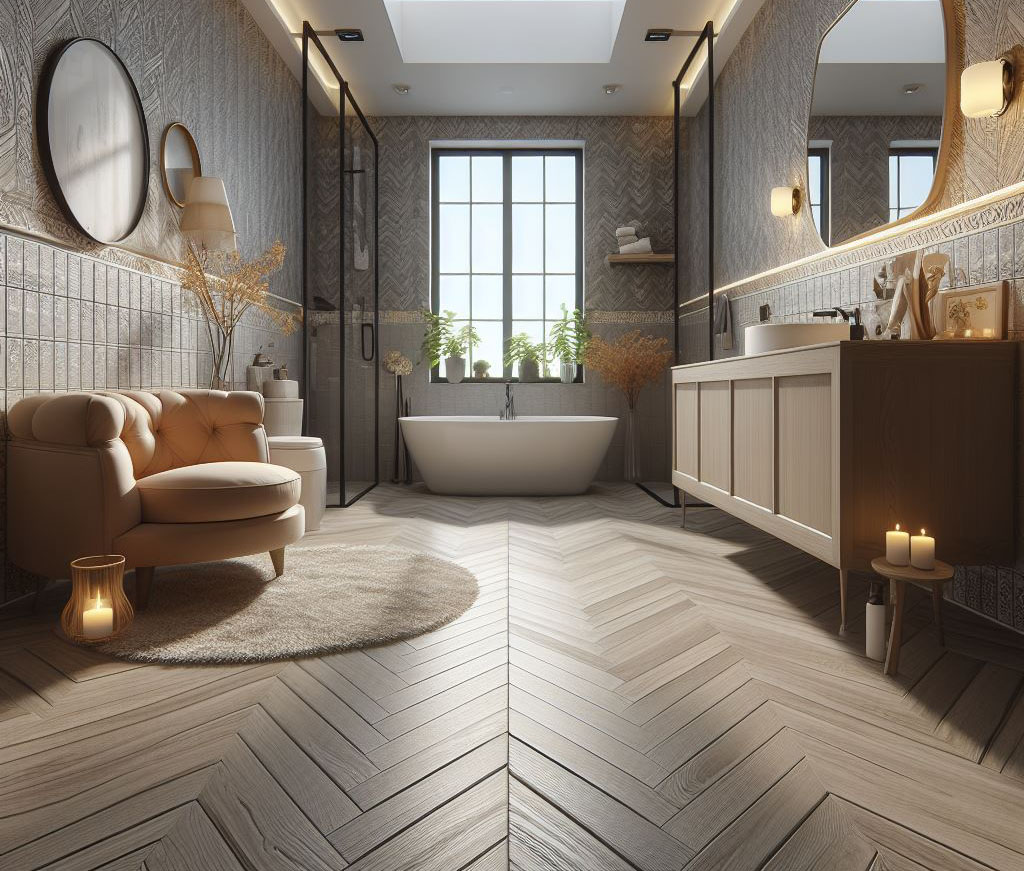
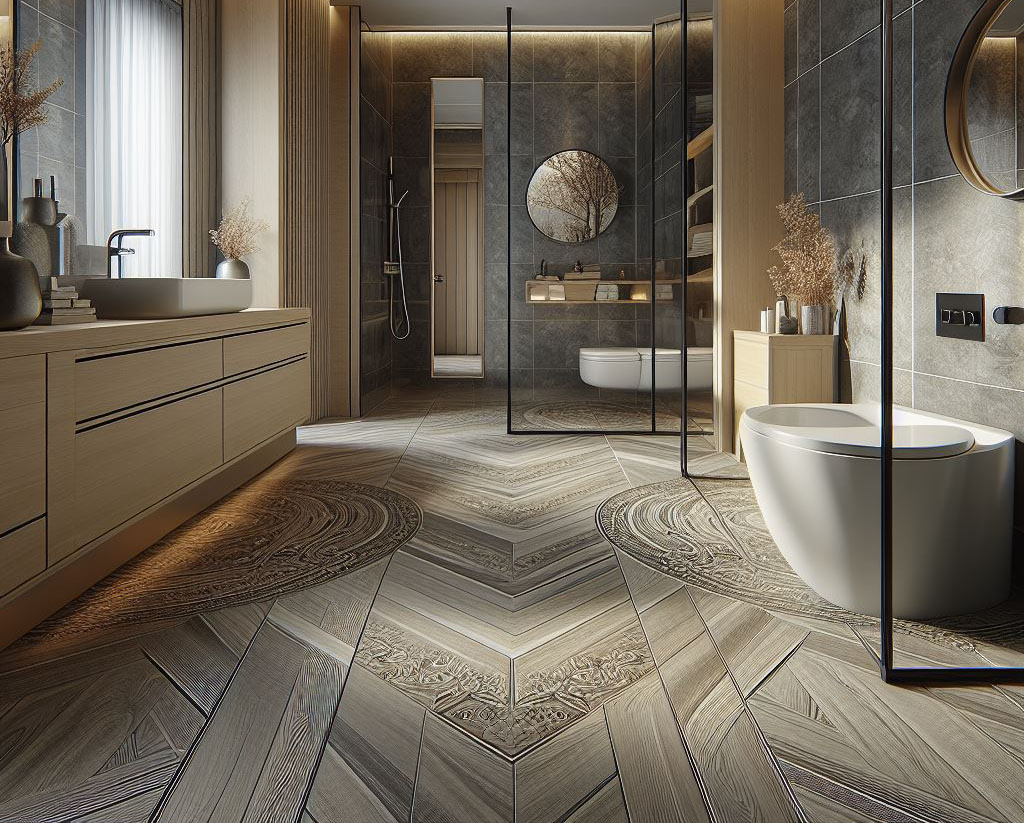
Viewing actual installations of vinyl flooring in bathrooms can inspire and provide practical design ideas. These images demonstrate how versatile vinyl can be in complementing various bathroom decors.
Creative Integration Ideas
- Pattern Play: Vinyl comes in an array of patterns. Experiment with different combinations to create a unique look.
- Style Match: Vinyl can complement any bathroom style, from ultra-modern to classic. Choose a design that aligns with your overall aesthetic.
- Highlight Areas: Use vinyl flooring to accentuate specific areas like the shower zone or vanity area, adding depth and interest to your bathroom design.
Common Mistakes to Avoid
In my extensive experience, ensuring a successful vinyl flooring project means steering clear of certain missteps. Here’s what to watch out for:
- Forgetting to Acclimate Vinyl: Vinyl flooring needs to adjust to your home’s environment before installation. Neglecting this can lead to expansion and contraction post-installation.
- Ignoring Subfloor Preparation: A well-prepped subfloor is crucial. Any moisture, debris, or unevenness can lead to long-term issues with your vinyl flooring.
- Inaccurate Measurements: A common pitfall is imprecise measuring, leading to gaps or excess material. Remember, accurate measurements are the foundation of a well-laid floor.
- Overlooking Expansion Gaps: Vinyl needs space to expand. Failing to leave a small expansion gap around the edges can result in buckling.
- Incorrect Plank Orientation: The direction in which vinyl planks are laid significantly impacts the room’s aesthetics. Align them with the room’s longest dimension for the best visual effect.
Environmental Impact and Health Concerns
Vinyl flooring’s environmental and health impact has been a point of concern, but advancements have been made:
- VOC Emissions: Modern vinyl flooring often comes with lower levels of Volatile Organic Compounds, minimizing indoor air quality concerns.
- Recycling and Sustainability: While vinyl isn’t the most eco-friendly, recycling options are evolving. Opting for brands with sustainable practices is recommended.
- Durability: A longer-lasting vinyl floor means fewer replacements over time, reducing waste and environmental impact.
FAQ Section
Many vinyl flooring options are designed with slip-resistant surfaces. However, caution is still advised when wet. Textured vinyl can provide additional safety.
Quality vinyl plank flooring in a bathroom can last up to 15-20 years, provided it’s well-maintained and protected from prolonged moisture.
Yes, vinyl can be installed over existing tiles, provided they are even and intact. Any damaged or uneven tiles should be addressed before installation.
Vinyl is relatively stable in temperature variations, making it suitable for bathrooms. However, accounting for expansion and contraction is vital.
Indeed, there are waterproof vinyl flooring options specifically designed for bathrooms, offering protection against moisture and humidity.
