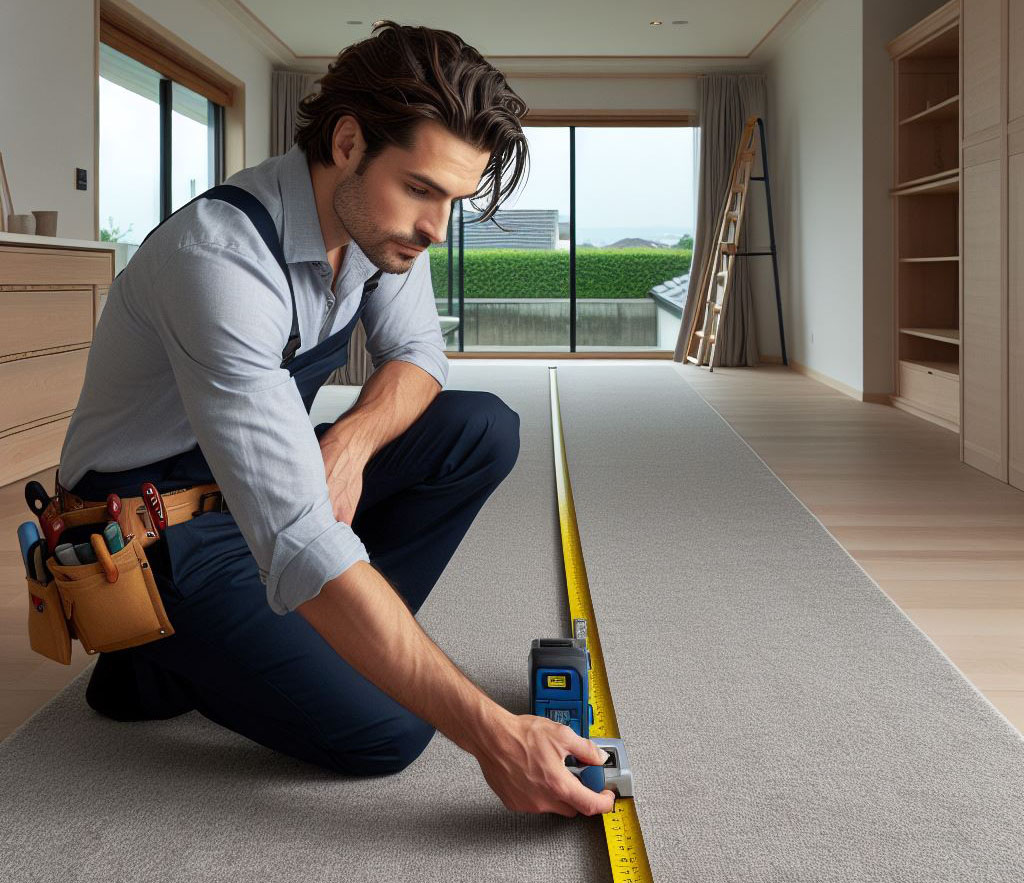
When it comes to carpeting, the devil is indeed in the details, and the most critical detail is measurement. Accurate measurement is the bedrock upon which all successful carpeting projects are built. It’s what separates a seamless finish from a frustrating, costly redo. This article is aimed not just at home handymen who are knee-deep in DIY but also at construction professionals looking to refine their skills. We’ll delve into the nuts and bolts of carpet measurement, ensuring you’re well-equipped to handle this crucial aspect of home renovation.

Understanding Carpet Measurement Basics
The Imperative of Accurate Measurements
A misstep in measuring can lead to a cascade of problems: from ill-fitting carpets that refuse to lie flat to unnecessary wastage of materials. It’s not just about cutting to size, it’s about planning, economizing, and executing with precision. This is where your journey to a flawless carpet installation begins.
Essential Tools for the Task
Equipping yourself with the right tools is half the battle won. Here’s what you need:
- Tape Measure: Opt for a reliable and easy-to-read tape measure. A 25-foot measure is usually sufficient for most rooms.
- Notepad and Pencil: Never underestimate the power of jotting down measurements. It’s your best defense against forgetfulness.
- Calculator: Save yourself the headache of mental math. A calculator will help you quickly and accurately compute your area measurements.
- Straight Edge or Laser Level: Perfect for ensuring your measurements are not just accurate, but also straight, especially in rooms with uneven walls or quirky angles.
- Graph Paper: Ideal for visualizing your space. Sketch your room layout to better understand how the carpet will fit into the space.
With these tools and a methodical approach, you’ll be set to tackle any carpeting challenge. Remember, precise measurement is not just a step in the process, it’s the foundation upon which the beauty and longevity of your carpeting project rests.
Step-by-Step Guide
When it comes to carpet installation, precision in measurement is paramount. Drawing from years of experience, I’ve learned that careful preparation and attention to detail are the keys to a successful job. Let’s walk through the process, step by step, to ensure your carpet fits perfectly.
1. Preparing the Room
The foundation of a well-executed carpeting job lies in the preparation. Start with a clear space.
- Clearing the Room: Remove all furniture and obstacles. This step is essential for gaining unobstructed access to every corner of the room.
- Noting the Room Shape: Observe the room’s shape and layout. Take note of any unique architectural features, such as bay windows, fireplaces, or built-ins, as these will influence your measurement strategy.
2. Measuring Length and Width
Accurate measurements of the room’s length and width are crucial for determining the amount of carpet needed.
- Straight Measurements: Measure the length and the width at their widest points. Keep the tape measure flat and straight for accuracy.
- Dealing with Irregularities: For rooms with irregular shapes, measure each section separately. Consider each alcove or protrusion as a separate entity and measure accordingly.
3. Calculating Square Footage
Calculating the square footage accurately is vital for determining how much carpet you’ll need.
- The Formula: Multiply the length by the width to calculate the square footage. This calculation forms the basis for determining your carpet requirements.
- Complex Room Shapes: In rooms with non-standard shapes, divide the space into manageable rectangles or squares, calculate the area for each, and then sum them up to get the total area.

4. Considering Carpet Widths and Seams
Understanding the standard dimensions of carpet rolls and planning seam placement can greatly enhance the final look.
- Standard Carpet Roll Widths: Familiarize yourself with the common widths of carpet rolls, typically 12 or 15 feet.
- Seam Planning: Strategically plan where seams will be placed. Aim to position them in less visible areas of the room to maintain aesthetic integrity.
5. Extra Measurements for Special Areas
Special areas such as stairs, closets, and hallways require additional attention and measurement.
- Stairs and Closets: For stairs, measure each tread and riser. Measure closets just like any other room, focusing on length and width.
- Incorporating into Total Measurement: Add these additional measurements to the overall calculation to ensure you have enough carpet to complete the job.
In summary, accurate measurement is a critical step in the carpet installation process. By following these detailed steps and considering the unique aspects of each space, you can ensure a professional and satisfying result. Remember, good preparation is the key to success in any renovation project.
Advanced Tips and Tricks
Having navigated through countless home renovations, I’ve gleaned some insights that are particularly useful for those challenging spaces:
- L-Shaped Rooms & Alcoves: Approach these spaces as a series of smaller, manageable areas. Measure each area independently and then sum up the total. It’s akin to solving a puzzle, each piece must fit precisely.
- Ensuring Measurement Accuracy: A rigid measuring tape is a must for accuracy. For long distances, assistance is key – it’s easy for the tape to bend or sway, leading to inaccuracies.
Avoiding Common Mistakes
The road to a successful renovation is paved with careful planning and attention to detail. Here are some common mistakes to avoid:
- Incorrect Room Preparation: Ensure the room is completely empty when measuring. Overlooking this can result in inaccurate measurements.
- Not Double-Checking Measurements: A seemingly minor error in measurement can result in significant issues. Always review your measurements for accuracy.
FAQ Section
Adding about 10% extra to your total square footage is a prudent practice. This allowance covers potential cutting mishaps and pattern alignment.
Measure each segment of an angled wall as if it’s a separate entity. For curves, use a flexible tape measure and follow the natural line of the curve.
While DIY measurements can be cost-effective, a professional’s expertise minimizes the risk of costly errors. Assess your skill level and comfort before deciding.
Consider the height of the carpet pile. Thick carpets may necessitate trimming the bottom of doors to maintain about 1/2 inch of clearance.
Generally, yes. However, carpets with patterns, such as Berber, may require more precise measurements for pattern alignment.
