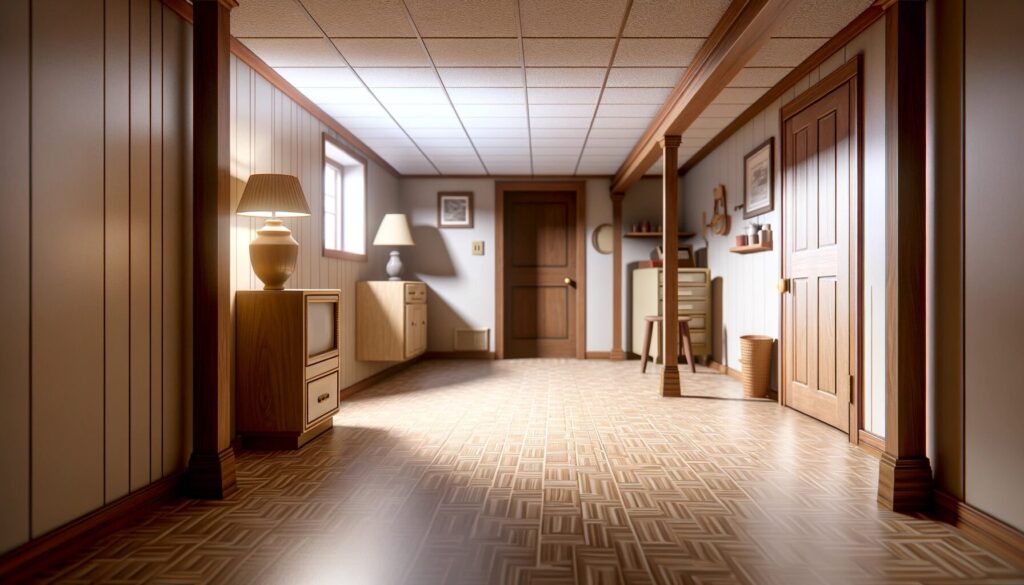
When you’re gearing up to give your basement a new lease on life, vinyl flooring is a smart, savvy choice that stands the test of time. It’s a real game-changer for both DIY enthusiasts and professional renovators. Why? Because it offers a blend of durability, cost-effectiveness, and aesthetic versatility that’s hard to beat. Let’s dive into the nuts and bolts of why vinyl flooring could be the best choice for your basement project.

Understanding Vinyl Flooring
Let’s get down to brass tacks. Vinyl flooring comes in two main types: Luxury Vinyl Planks (LVP) and Luxury Vinyl Tiles (LVT). LVP is your go-to for that warm, classic hardwood look without the hassle and upkeep of real wood. LVT, on the other hand, is perfect if you’re after a stone or ceramic tile appearance but want something more forgiving and less cold to the touch.
Now, the composition of vinyl flooring is what really sets it apart. It’s made from a cocktail of synthetic materials that are layered together, topped with a photographic image layer for that real-wood or tile look, and sealed with a wear layer that withstands daily use. It’s a powerhouse in terms of durability, especially when you compare it with alternatives like carpet or hardwood. Here’s the lowdown:
- Cost: Vinyl is your economical choice. It’s less expensive than hardwood and competitive with quality carpet.
- Durability: It’s tough as nails, handling moisture like a champ, resisting scratches, and maintaining its good looks through thick and thin.
- Maintenance: Simple and straightforward. Regular sweeping and mopping are all it takes to keep vinyl flooring in tip-top shape.
Benefits of Vinyl Flooring for Basements
In the unique environment of a basement, vinyl flooring really shines. Let’s break it down:
- Moisture Resistance: Basements can be prone to dampness and humidity. Vinyl flooring laughs in the face of moisture, making it an ideal candidate for below-grade environments.
- Durability and Longevity: This is where vinyl stands out. It can handle everything from high foot traffic to the occasional dropped tool without showing much wear and tear.
- Aesthetic Appeal: The variety of designs and patterns available in vinyl flooring is nothing short of impressive. Whether you’re after a rustic, traditional, or modern look, there’s a vinyl flooring option that can mimic more expensive materials without the hefty price tag.
- Easy Installation: For those who love a good DIY project, vinyl flooring is a dream. Many varieties come with a user-friendly click-lock system, allowing for straightforward, glue-free, nail-free installation.
Pre-installation Preparation
Before you dive into laying down your vinyl flooring, it’s crucial to give your basement a thorough once-over. Ensuring your subfloor is in good condition is paramount. Start by scouting for any moisture problems – a common headache in basements. If your subfloor is concrete, do a moisture test: tape down a plastic sheet and check back after a day or two for any condensation.
As for tools and materials, arm yourself with the essentials: a utility knife for precision cuts, a reliable tape measure, a straightedge for those long, clean cuts, and if you’re using adhesive vinyl, don’t forget a notched trowel. Spacers are also a must-have for keeping those all-important expansion gaps.
Preparing your basement floor is like laying the foundation for a masterpiece. Clean it thoroughly – vacuuming, sweeping, and removing any old adhesive or remnants. An uneven floor is your enemy here, so use a self-leveling compound to smooth out any imperfections. This step is non-negotiable for a flawless vinyl flooring installation.
Step-by-Step Installation Guide
- Planning Your Layout: This step is all about visualizing the end game. For LVP, align the planks parallel to the longest wall for a visually appealing effect. For LVT, decide your pattern layout in advance.
- Cutting the Vinyl: Accuracy is key here. Measure twice and cut once. A utility knife and straightedge will be your best friends for making those precise cuts. And remember, for those peculiar cuts around obstacles, a cardboard template can save you a lot of guesswork.
- Laying Down the Vinyl: If you’re using glue-down vinyl, apply the adhesive evenly, ensuring not to overdo it. For click-lock vinyl, it’s all about getting those edges to marry up perfectly.
- Working Around Obstacles: When you encounter a pillar or a drain, patience and precision are your allies. Measure carefully, mark your vinyl, and cut. It’s better to take your time and get it right than to rush and regret.
Maintenance and Care
Vinyl flooring is a breeze to maintain if you stick to a simple routine. Regular sweeping and occasional damp mopping will keep it looking fresh and new. For stubborn stains, a mild cleaner is your best bet, but avoid anything abrasive.
In the case of scratches, small blemishes can often be buffed out gently. If you’re dealing with a more significant issue, the beauty of vinyl is that you can replace individual planks or tiles without having to redo the entire floor.
FAQ Section
Absolutely, provided the current floor is level, stable, and moisture-free. Clean and level it before installation.
Vinyl is quite resilient to temperature fluctuations, though it can expand and contract slightly. Proper installation with expansion gaps will ensure this isn’t a problem.
It depends on your subfloor. For concrete, an underlayment can help with moisture and add comfort. Some vinyl options come with built-in underlayment, making additional layers redundant.
Address the moisture first. Persistent dampness can be detrimental. A vapor barrier might be necessary to safeguard your flooring.
With proper care and installation, expect your vinyl flooring to last anywhere from 10 to 20 years, even in a basement setting.
