In the world of home construction, one truth is undeniable: the details make the difference. Take stair handrails, for example. These aren’t merely functional tools for balance and safety, they’re integral parts of your home’s personality and style. As someone who’s spent years navigating the nuances of home renovation, I’ve come to appreciate how a well-thought-out handrail can elevate a staircase from mundane to magnificent.
This guide is designed for everyone from the ambitious DIY enthusiast to the professional contractor. It’s about understanding the full potential of stair handrails, both for safety and for adding a touch of elegance to your home.

Understanding the Basics: More Than Just a Stick on the Wall
What’s a Stair Handrail Anyway?
In essence, a stair handrail is a stabilizing rail, intended to assist in ascending or descending stairs. But it’s also a vital design element, contributing to the overall aesthetic and feel of your home. It’s a subtle yet significant feature, and getting it right can transform your staircase.
The Many Faces of Handrails
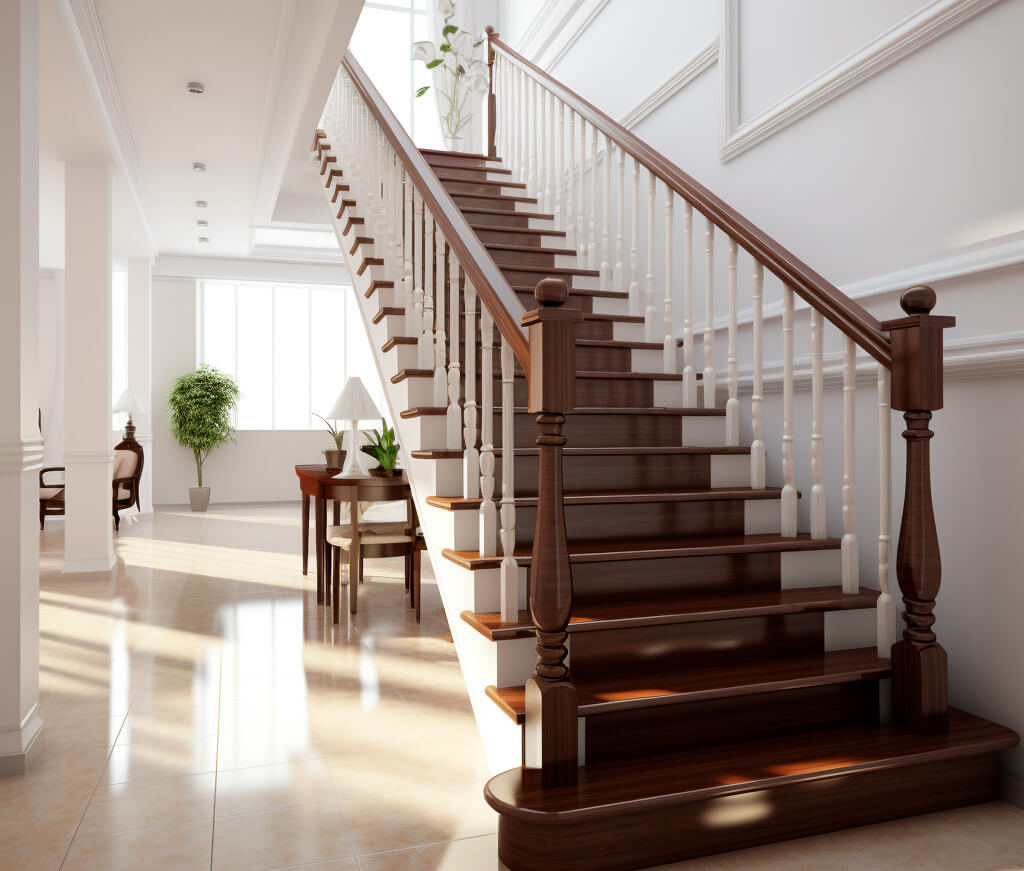
- Wood: A versatile and timeless choice, perfect for anything from a cozy, rustic look to a sleek, modern design.
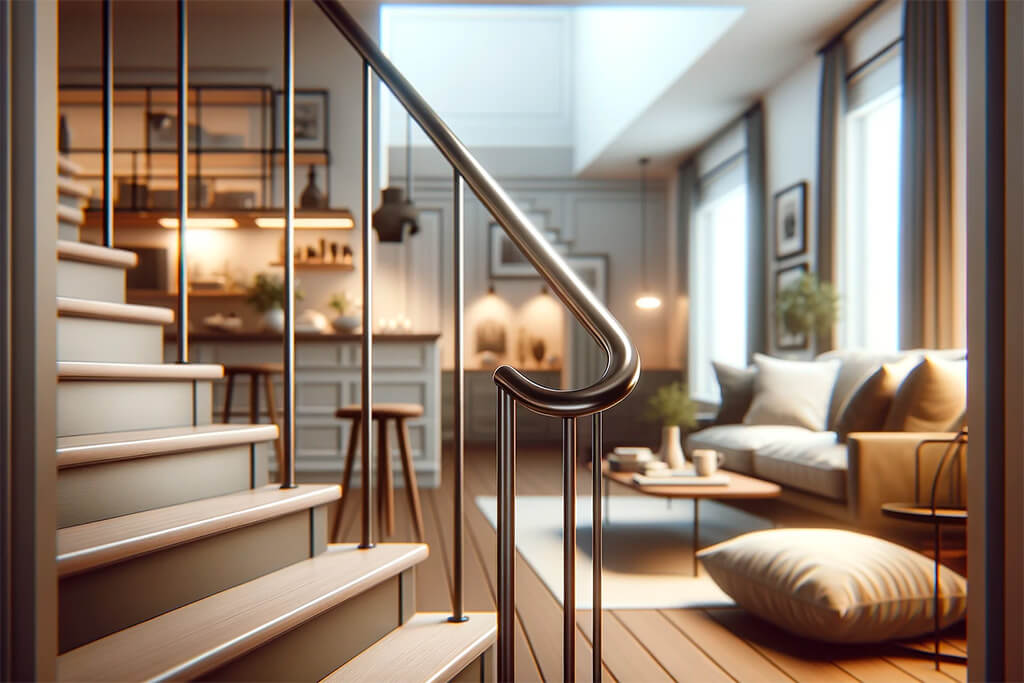
- Metal: Durable and diverse, metal handrails range from intricate wrought iron to minimalist stainless steel.
- Wall-Mounted: Ideal for tighter spaces, these handrails offer a streamlined, contemporary aesthetic.
Tool Time: Gear Up for the Job
As with any good construction project, having the right tools is crucial. The basics include a tape measure, level, stud finder, drill, screws, and anchors. For those looking to go the extra mile, a miter saw can ensure precision in your cuts, particularly when working with wood.

Preparation Steps: Measure Twice, Cut Once
Getting Your Measurements Spot On
Accurate measurements are key to a successful handrail installation. For length, measure the diagonal span from the top step to the bottom. This measurement determines the length of your handrail. As for height, the standard range is between 34 and 38 inches, measured vertically from each stair nosing.
Choosing the Right Handrail
This is where form meets function. Consider the material in relation to your home’s style and your willingness to maintain it. Wood, while beautiful, requires more upkeep than metal. The design should also be ergonomic, the handrail needs to feel comfortable and natural in your hand.
Wall-Mounted Handrail Ideas and Tips
When thinking about wall-mounted handrails, simplicity can lead to elegance. For a minimalist style, lean towards sleek metals or painted wood. Creating contrast through material and color can add a striking visual element. Above all, ensure the handrail is practical – a diameter of around 1.5 inches tends to be comfortable for most hands.
In conclusion, whether you’re a seasoned pro or a budding DIYer, approaching handrail installation with an eye for detail and practicality will pay off in both safety and style. Remember, the best renovation projects are those where functionality meets aesthetic appeal, turning a simple staircase into a statement piece.

Installation Process
Embarking on the installation of a stair handrail can be a journey that marries form with function, transforming a mere necessity into an aesthetic statement. Here’s how to get it right, based on years of fine-tuning the craft.
1. Locating the Studs:
Finding the studs is the cornerstone of a secure handrail. Think of it as laying the foundation for a miniature bridge in your home.
- Using a Stud Finder: Glide the stud finder along the wall until it alerts you to the stud’s location. It’s like using a metal detector, but for the all-important wood studs.
- Marking the Positions: Once located, mark these spots with precision. Misplacing these marks can lead to an unstable handrail, and you don’t want to take any risks here.
2. Mounting the Brackets:
Mounting the brackets is a task that demands both accuracy and strength.
- Drilling Pilot Holes: Start by drilling pilot holes, a step as essential as measuring twice before cutting. This prevents the wood from splitting and keeps your brackets in line.
- Attaching Brackets Securely: With your pilot holes ready, attach the brackets firmly into the studs. It’s essential that these are fixed in tight, akin to setting the cornerstone of a building.
3. Positioning the Handrail:
Aligning the handrail isn’t just about aesthetics, it’s a practice in creating a safe, usable space.
- Aligning the Handrail: Carefully align the handrail with the brackets. The alignment is a dance of precision, ensuring each part syncs with the other.
- Ensuring the Right Height and Angle: The height and angle are not just about following code. It’s about ergonomic comfort and functionality, typically aiming for a height that balances usability and aesthetics.
4. Securing the Handrail:
Securing the handrail is the final act in this play of practicality and style.
- Attaching the Handrail: Attach the handrail firmly to the brackets, ensuring each screw is as secure as a vault door.
- Checking for Stability: Like a chef tasting their dish, give the handrail a thorough shake to check for any instability. Any movement means further tightening is needed.

Finishing Touches
The installation may be complete, but the artistry comes in the finishing.
- Sanding and Finishing Wooden Handrails: Sand the wood till it’s as smooth as glass, then apply a finish. This not only adds beauty but acts as a shield against wear and tear.
- Painting or Sealing: Choose a sealant or paint that complements the handrail and enhances its resistance to the elements. It’s like choosing the right tie for a suit – it should both contrast and complement.
- Final Inspection: Your last step is a thorough inspection. Ensure the handrail meets all safety standards, and revel in the satisfaction of a job well done.
In crafting a stair handrail, we combine the rigor of safety standards with the finesse of interior design. This installation isn’t just about adding a safety feature, it’s about integrating a functional element seamlessly into the narrative of your home.
Common Mistakes to Avoid
Not Securing to Studs: A critical mistake is failing to anchor handrail brackets into wall studs. This oversight is akin to laying a foundation on unstable ground. Ensure that brackets are securely anchored for lasting stability.
Incorrect Angles: Improper angle alignment can result in a handrail that’s uncomfortable to use. Proper angles are not just aesthetically pleasing but essential for ergonomic functionality.
Incompatible Materials: Using mismatched materials for screws and handrails can lead to corrosion and weakened joints. It’s crucial to match these materials for durability and integrity.
Neglecting Finish on Wooden Handrails: Overlooking the finishing touches on wooden handrails can accelerate wear and tear. A proper finish enhances both the handrail’s appearance and its longevity.
Improper Height: Installing a handrail at an incorrect height can cause compliance issues with building codes and result in discomfort. The handrail height should cater to both safety and ergonomic needs.
FAQ Section
Adherence to building codes is paramount. Typically, handrails should be positioned between 34 and 38 inches above the stair nosing, balancing safety requirements with ergonomic comfort.
Yes, but it requires extra care. If studs are not available, heavy-duty wall anchors designed for substantial loads can be used. These should be used judiciously, as studs provide the most stable anchor points.
Metal is robust and durable for high-traffic areas, whereas wood offers a traditional aesthetic but may require more maintenance. Composite materials are an emerging choice, offering durability with minimal upkeep.
Compliance with ADA standards is crucial. This includes ensuring the handrail is graspable, continuous, and adheres to specified height and length requirements, making it accessible and usable for all.
When considering creative options, balance aesthetics with functionality. Sleek metals can impart a modern look, while ornate wood can evoke a classical style. The choice should complement the overall design theme of the space.
