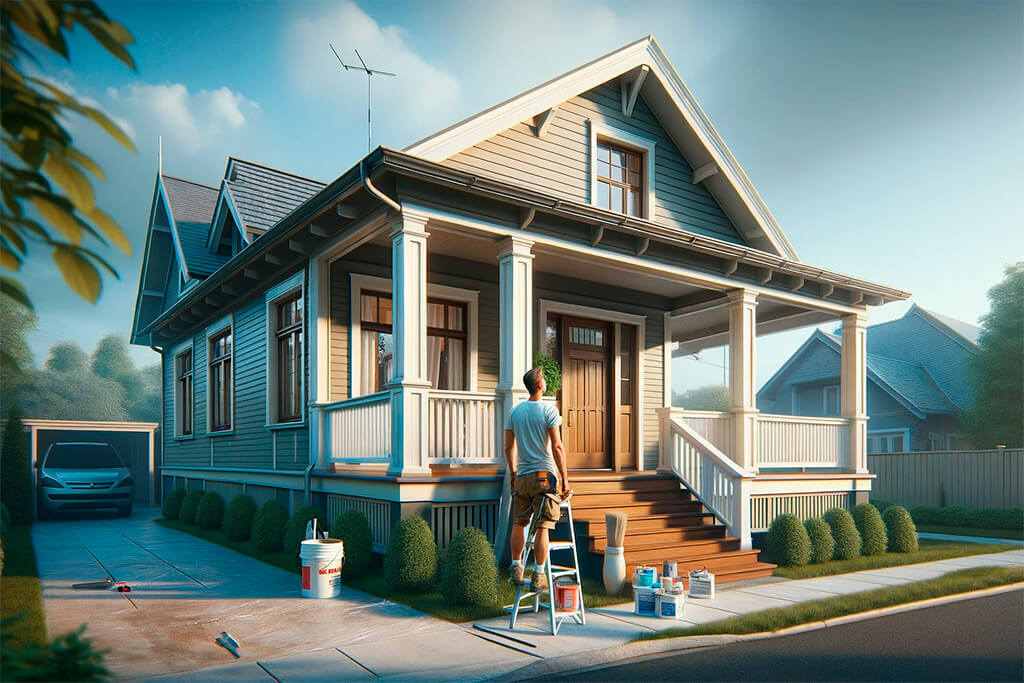
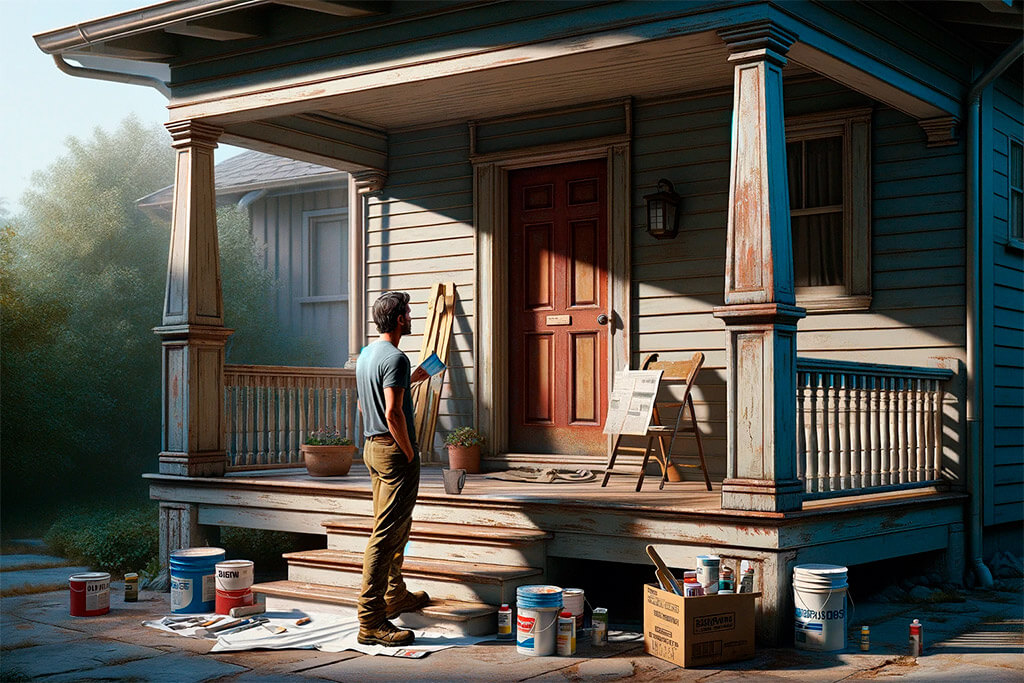
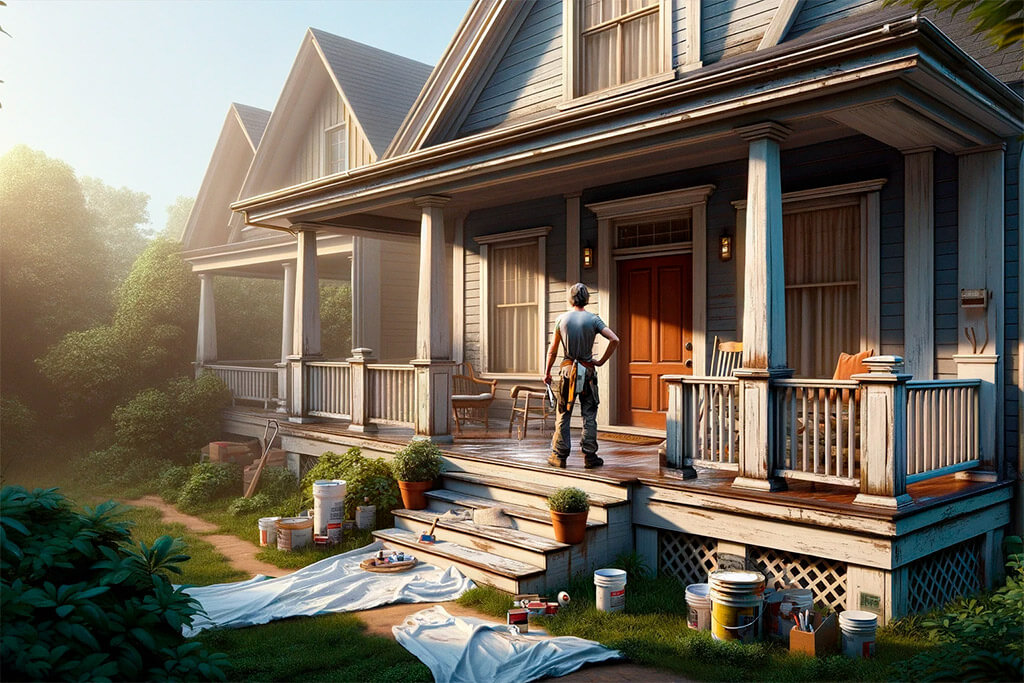
Embarking on the journey of painting your porch is like setting the stage for your home’s first impression. It’s not just about aesthetics, a well-painted porch is your front line of defense against the elements and daily wear. For the enthusiastic DIYer or the seasoned construction professional, the process is rewarding and contributes significantly to your home’s overall charm and character.
Painting your porch is an accessible project, yet it has a profound impact. It’s a task that combines practical function with creative expression. By the end of this project, you’ll gain not only a visually pleasing space but also the satisfaction of personal craftsmanship.

Understanding the Basics of Porch Painting
Porch painting is an essential aspect of home maintenance. It extends the life of your porch by protecting it from weather, wear, and tear. Whether you’re dealing with a wooden porch, which requires a bit more care due to its natural properties, or a more resilient material like concrete, the right approach to painting can make all the difference.
The key to a successful porch painting project lies in understanding the material you’re working with. Wooden porches, for instance, need to be treated with paints that can accommodate their natural expansion and contraction. Non-wooden porches might not require the same level of prep work, but choosing the right type of paint remains crucial for durability and aesthetics.
Materials and Tools Needed
- Quality Exterior Paint: Opt for paint formulated for exterior use, with properties suitable for your porch’s material and exposure conditions.
- Brushes and Rollers: A range of sizes ensures you can cover large areas efficiently and manage finer details with precision.
- Sandpaper: Crucial for prepping wooden porches, it helps create a smooth base for painting.
- Primer: Essential for wood, it ensures better paint adhesion and longevity.
- Painter’s Tape: This will aid in achieving clean, professional edges.
- Drop Cloths: Protect your surroundings from paint splatters.
Remember, the durability and finish of your paint job depend significantly on the quality of the materials and tools you choose.

Preparation for Painting
The success of painting your porch lies in thorough preparation:
- Clean the Porch: Remove all dirt, debris, and any old, flaking paint. A clean surface ensures better paint adherence.
- Sanding: This step is crucial for wooden porches. Sanding down the surface creates a smooth base for the primer and paint, leading to a more uniform finish.
- Priming: Apply a quality primer to help the paint adhere better and last longer. This step is especially important for wooden surfaces.
Methodical preparation is the foundation of a durable and visually appealing paint job. Don’t rush this phase – the time and effort you invest here pay off in the long run, both in appearance and longevity.

Choosing the Right Color and Type of Paint
Selecting the perfect color for your porch requires a thoughtful balance between aesthetics and practicality. Lighter shades create an airy, spacious feel but may reveal dirt and scuff marks more easily. Conversely, darker hues are adept at concealing everyday wear but can absorb more heat. It’s essential to consider the context of your home’s surroundings and the local climate when making your choice.
The type of paint is equally crucial. For wooden porches, I recommend an acrylic latex paint. It offers flexibility, essential for wood’s natural expansion and contraction, coupled with durability and ease of maintenance. For concrete porches, choose a paint specifically designed for concrete to ensure better adhesion and resilience under frequent foot traffic.
Painting Techniques and Tips
A successful paint job hinges on thorough preparation and technique. Ensure your porch surface is impeccably clean, dry, and smooth before starting. For wooden porches, sanding is vital to remove any rough spots and old paint. For concrete, a thorough power wash may be necessary to prepare the surface.
- Edge First: Start with a brush to cut in around the edges. Precision here sets the tone for the entire job.
- Roller Application: For the broader surfaces, use a roller. On wooden porches, always roll with the grain to achieve a finish that’s both visually pleasing and smooth to the touch.
- Maintain a Wet Edge: Work systematically in sections, ensuring you overlap onto wet paint. This technique is key to avoiding lap marks, a common pitfall in large surface painting.
Drying and Re-coating
Patience during the drying process cannot be overstated. Abiding by the manufacturer’s recommended drying times is crucial for the paint’s longevity and resistance. A common misconception is that touch-dry is a green light for re-coating or resuming heavy use, but this is often not the case. Typically, a 24-hour wait is advised for light foot traffic, with several days recommended before reintroducing furniture and heavy items.
When considering a second coat, remember that it can enhance both the durability and the depth of color. An additional coat is an investment in the longevity and aesthetic of your work.

Maintenance and Care
Regular maintenance is key to preserving the longevity of your porch’s paint job. Regular sweeping prevents dirt and grit accumulation, which can cause scratches and premature wear. For cleaning, mild soap and water are generally sufficient – harsh chemicals are rarely necessary and can be damaging.
Stay vigilant for signs of wear such as fading, chipping, or peeling. High-traffic areas may show wear sooner and can indicate when a touch-up or new coat is necessary. Regular maintenance not only maintains the aesthetic appeal of your porch but also minimizes the need for more extensive work in the future.
Safety Precautions
Let’s talk safety, an often overlooked but critical aspect of porch painting. Good ventilation is crucial, especially in enclosed spaces. Those paint fumes are more than just unpleasant, they can be harmful. Always ensure you’re working in a well-ventilated area. Protective gear is non-negotiable. Gloves, goggles, and masks protect you from accidental splashes and fumes. Remember, it’s about painting the porch, not yourself. And, when using a ladder, stability is paramount. A wobbly ladder on uneven ground is an accident waiting to happen.
FAQ Section
Durability depends on several factors: the quality of the paint, the level of foot traffic, and exposure to the elements. Typically, a properly executed paint job can last anywhere from 5 to 10 years. Regular maintenance, such as cleaning and addressing any minor damages, can extend this lifespan.
The ideal conditions for painting a porch are dry and mild weather. High humidity, rain, or extreme heat can adversely affect how the paint adheres and cures on the surface, leading to suboptimal results.
Insufficient Preparation: Ensure the surface is clean and properly sanded. Paint adheres best to a prepared surface.
Choosing the Wrong Paint: Select a paint that is appropriate for the porch material and the environmental conditions it will face.
Rushing the Process: Allow each coat to dry thoroughly before applying the next.
Oil-based paints offer durability and are ideal for high-traffic areas, but they have a longer drying time and are more challenging to clean. Water-based paints are user-friendly, have a shorter drying time, and are environmentally friendlier. Your choice should be guided by the specific demands of your project and your personal preferences for application and maintenance.
Priming is crucial, especially for new or damaged surfaces. It ensures better adhesion of the paint, resulting in a more durable and visually appealing finish. However, if the existing surface is in good condition, you may not need to prime.
