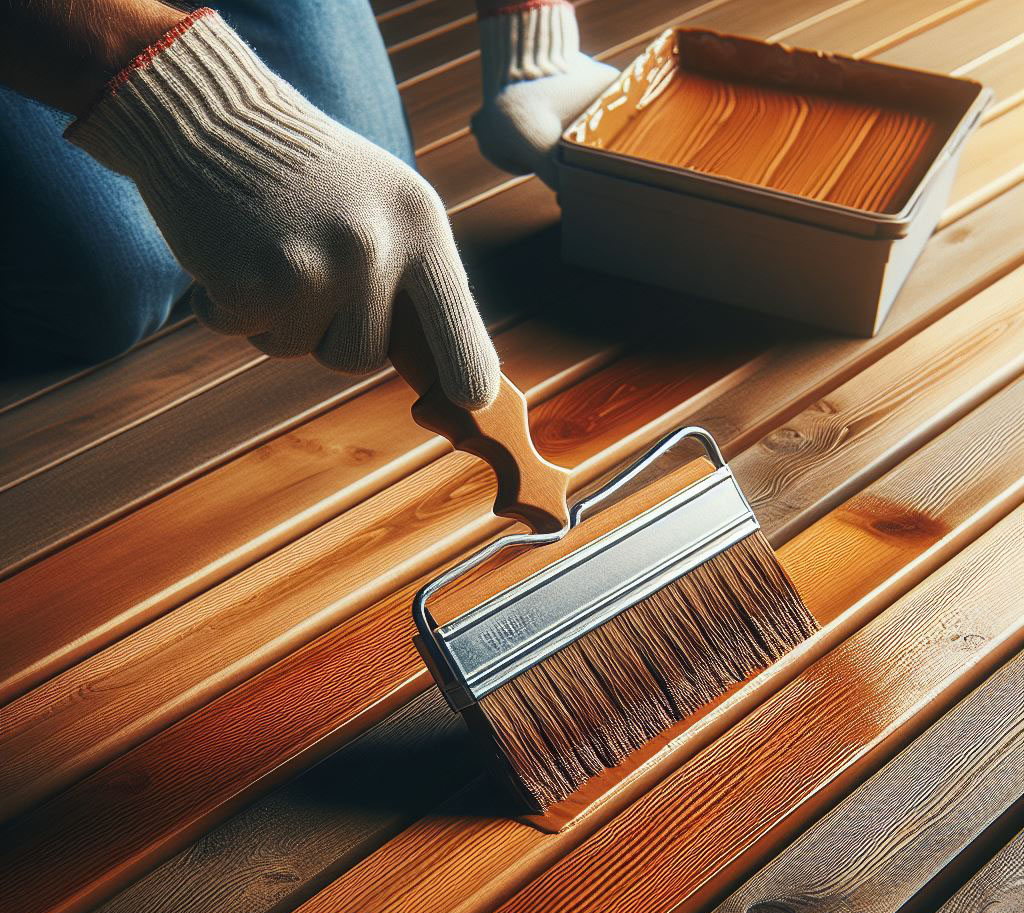
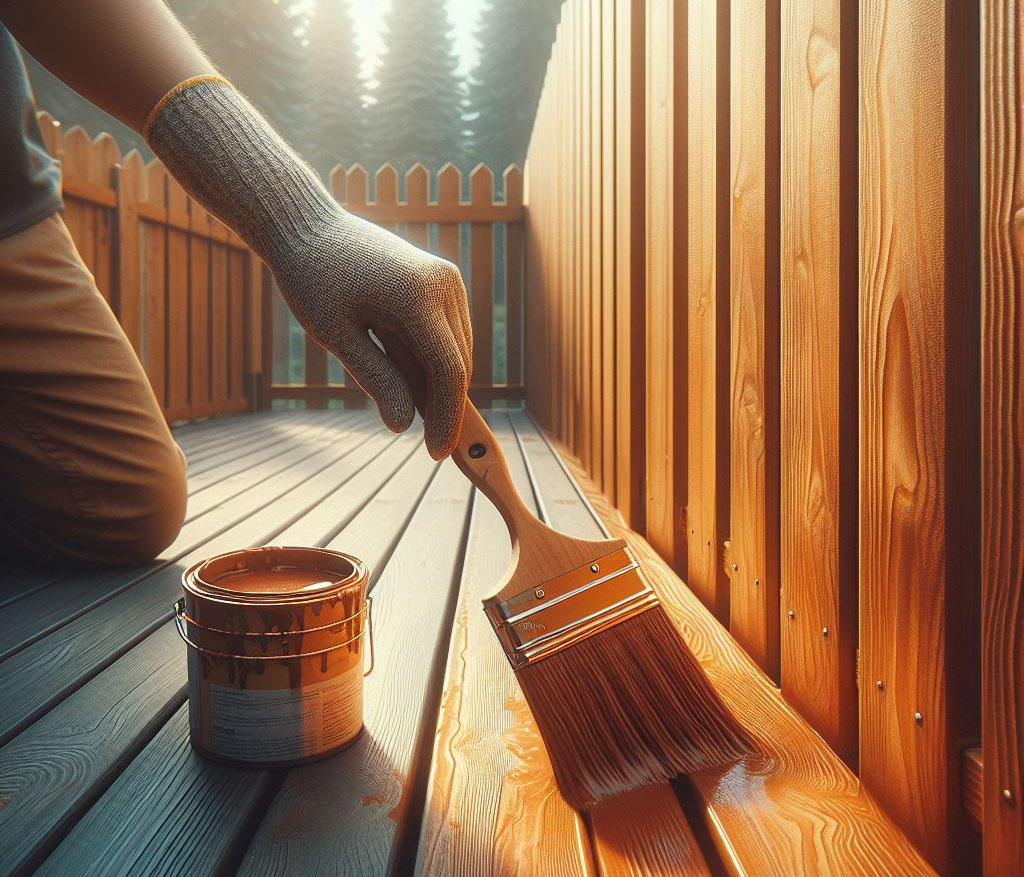
Welcome to the world of staining pressure-treated wood, a journey that combines the resilience of this unique material with the beauty of a well-applied stain. Like many of you, I’ve navigated the complexities of woodwork, understanding that each timber and grain tells its own story. Pressure-treated wood, known for its robust defense against decay and pests, doesn’t have to forsake elegance for strength. The art of staining enhances not just its longevity but its aesthetic appeal, marrying function with form in your construction projects.

Understanding Pressure-Treated Wood
Imagine pressure-treated wood as a shield-bearer, armored in chemical preservatives through a high-pressure process. This treatment is a double-edged sword, while providing unmatched protection against the elements and infestations, it introduces a variable in the staining equation. The preservatives, often copper-based, interact with stains, dictating a thoughtful approach to your choice and application of stain. It’s not just wood you’re working with, it’s a canvas prepped for a masterpiece.
Pre-Stain Preparation
Assessing the Wood
Before you embark on the staining journey, it’s crucial to understand the canvas you’re working with. Here’s a methodical approach:
- Moisture Content: Integral to the staining process is the wood’s moisture level. An overly moist wood is as receptive to stain as a closed door. A moisture meter is your ally here, aiming for a sweet spot of 12-15% moisture. Without a meter, the water bead test is your go-to – it’s simple and effective.
- Age of the Wood: Like a good story, pressure-treated wood needs time to develop its character. Allow it several weeks to several months, a period during which it sheds excess moisture and stabilizes, readying itself for the stain.
Cleaning the Surface
The preparation of your wood is as much about cleaning as it is about understanding its state. Here’s a step-by-step guide:
- Sweep it Off: Begin with the basics. A thorough sweep removes the superficial layer of dust, debris, and loose fibers, much like clearing a canvas before painting.
- Wash it Down: A gentle wash follows. Opt for a mild deck cleaner or a simple soap and water mixture. This step isn’t about overpowering the wood but rather, respecting its integrity while ensuring it’s receptive to the stain.
- Rinse and Dry: A thorough rinse removes any residual cleaning agents. Allow the wood to dry completely, a step that demands patience but pays dividends in the quality of your staining.
With the wood assessed and cleaned, you’re poised to enter the heart of the process – choosing and applying the stain. This preparation ensures that your effort is not just a task, but a craft, leading to results that resonate with quality and care.

Choosing the Right Stain
Selecting the right stain for your pressure-treated wood is pivotal in ensuring both longevity and aesthetic appeal of your project. It’s a decision that merits careful consideration, a clear understanding of the product options, and their respective impacts on the wood.
Types of Stains: The choice between oil-based and water-based stains is more than a matter of preference. Oil-based stains are renowned for deep penetration and durability, offering a robust shield against the elements. Conversely, water-based stains are celebrated for their ease of use and quick drying times, though they may require more frequent reapplications. Your decision might also involve choosing between semi-transparent stains, which allow the natural grain of the wood to shine through, and solid stains, which provide a rich, opaque color akin to paint.
Color Selection: The choice of color is not merely aesthetic but functional. It should harmonize with the surrounding environment – your home’s exterior, the landscaping, and even neighboring structures. Be mindful of darker hues’ propensity to absorb more heat, particularly crucial for surfaces like decks where comfort underfoot during hot weather is a priority.
Test Patching: The importance of a test patch cannot be overstated. This preliminary step is invaluable for assessing not just the color but also the stain’s interaction with the wood. It’s a precaution that allows you to anticipate the final outcome and make adjustments before committing to the entire application.
The Staining Process
Embarking on the staining process requires not just the right materials but also a systematic approach to ensure a smooth and even application.
Tools and Materials: Equip yourself with the necessary tools:
- Quality stain of your choice
- Brushes or rollers for broad surfaces
- Paint sprayer for efficiency on larger projects
- Painter’s tape for precise edges
- Drop cloths or plastic sheeting to protect surrounding areas
- Fine-grit sandpaper for last-minute surface prep
- Gloves to keep your hands clean
- Stir stick for mixing the stain
Step-by-Step Application Guide:
- Stir the Stain: Always stir the stain thoroughly to ensure a consistent color. Avoid shaking, which can introduce air bubbles and lead to an uneven finish.
- Edge Work First: Tackle the edges with precision, using a smaller brush to carefully define the boundaries of your work area.
- Section by Section: Approach the project methodically, staining one manageable section at a time while maintaining a wet edge to prevent lap marks.
- Even Application: Employ smooth, steady strokes. If using a roller, let the tool do the work without applying excessive pressure.
- Vigilance for Drips: Stay alert for drips, particularly in the gaps between boards. Promptly addressing drips ensures a uniform finish.
- Drying Time: After application, allow ample time for the stain to dry thoroughly before applying a second coat or returning furniture to the area. Patience during this phase is crucial to the project’s success.

Post-Staining Care and Maintenance
After the meticulous process of staining, your journey with the wood is far from over. The subsequent care and attention you invest will dictate the lifespan and appearance of your project.
Drying Time and Conditions: Proper drying is fundamental for the stain to fully serve its purpose. A general guideline is to allow at least 24 to 48 hours of drying time. However, this can vary based on the specific product and the prevailing weather conditions. The ideal setting for drying is a balanced environment – not too hot, not excessively cold, and certainly free from excess moisture.
Maintenance Tips: Routine care is the backbone of longevity for your stained wood. Regular cleaning to eliminate accumulated grime and potential mildew is crucial. Over time, if you observe signs of wear or color fading, a light maintenance coat may be necessary. It’s a commitment to preservation that pays off by extending the life and beauty of your wood.
Troubleshooting Common Issues
In the world of staining and wood treatment, encountering challenges is part of the narrative. Here’s how to navigate some usual troubles:
- Blotchiness: Uneven staining can mar the appearance of your wood. Often, this issue stems from inconsistent stain application or inadequate wood preparation. A remedy typically involves sanding the affected area and reapplying the stain with careful attention to even distribution.
- Premature Peeling: When stain begins to peel prematurely, it’s a signal of underlying issues such as trapped moisture, inadequate surface preparation, or applying stain over old finishes. Ensuring the wood is thoroughly dry and clean before beginning your project, and removing any previous finishes, are critical steps to prevent this problem.
FAQ Section
Patience is vital when dealing with pressure-treated wood. Fresh from purchase, the wood is laden with moisture and preservative chemicals. It requires a period of drying and settling – typically a few weeks to several months, depending on environmental conditions. Employ the water bead test or a moisture meter to accurately gauge readiness.
Your choice in stain significantly influences the wood’s resilience. Oil-based stains are known for their depth of penetration and enduring nature, albeit requiring more labor in application. Water-based stains offer ease of use and swift drying times but may necessitate more frequent maintenance. Both types provide a protective barrier, making it a matter of aligning your needs with the characteristics of the wood.
Absolutely, though it’s an exercise in precision and patience. Employ test patches to ensure the new stain harmonizes with existing structures. This approach allows you to adjust and blend until you achieve a cohesive appearance.
Consider restaining as part of your regular maintenance routine. Typically, a span of a few years is advisable between restainings, but stay vigilant for signs of wear or fading, particularly in high-traffic areas. Regular inspections and timely maintenance can significantly prolong the life of your stain and wood.
Safety should never be compromised. Protective gear such as gloves, goggles, and masks are indispensable to safeguard against the chemicals and fumes associated with staining. Ensure your workspace is well-ventilated, and keep product safety data sheets within reach for quick reference.
