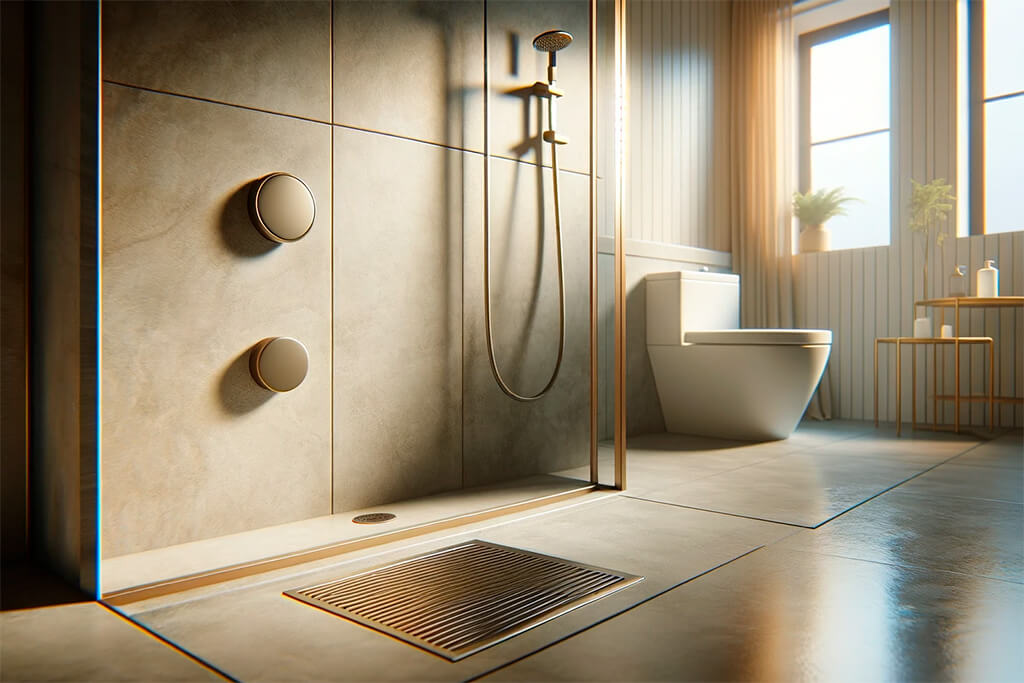
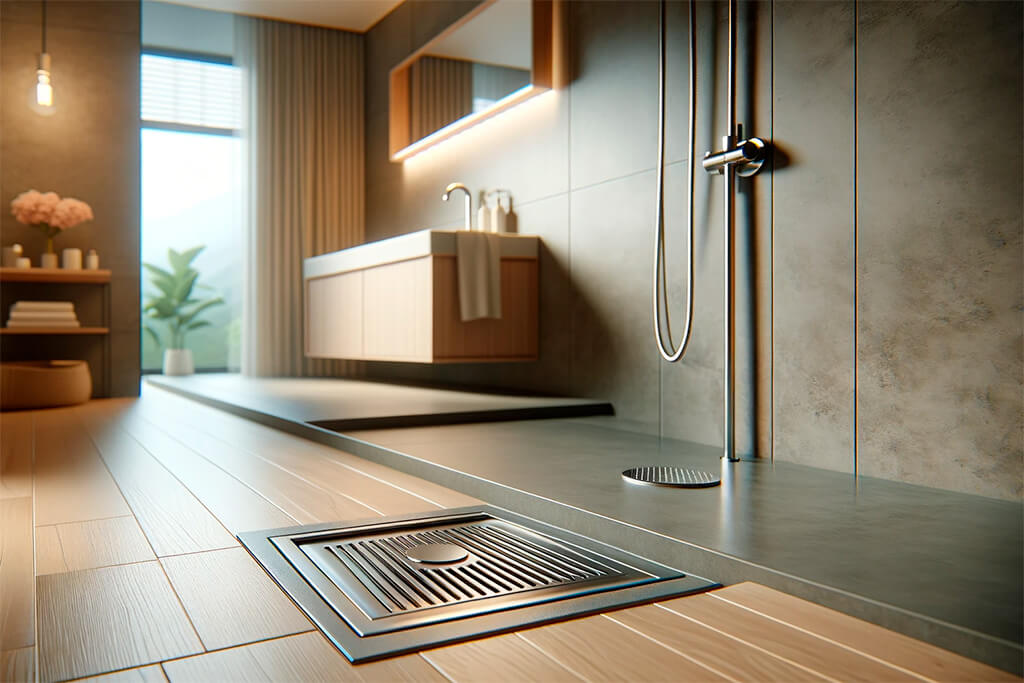
The cornerstone of a sound bathroom renovation is the meticulous installation of your shower drain. It’s the linchpin that keeps everything flowing smoothly, guarding against unwanted water damage that can lurk unseen and cause havoc over time. Skimping on this step is like building a house on sand—eventually, things will go south. When done correctly, not only do you safeguard your investment, but the satisfaction of DIY mastery is a sweet, cost-saving reward that echoes every time you step into your shower.

Pre-Installation Considerations
Tools and Materials Needed
Round up the usual suspects: a steadfast pipe wrench for those bullish fittings, a hacksaw to slice through piping, a duo of screwdrivers, and a caulking gun—your trusty sidearm in the battle against moisture. Arm yourself with plumber’s putty or silicone, choose your piping (PVC or ABS depending on your existing set-up), and select a shower drain kit that exudes quality. Keep a tape measure on your belt, a level at hand, and don’t forget gloves and safety glasses—because smart craftsmen never gamble with safety.
Understanding Local Plumbing Codes
Deciphering plumbing codes is less about wading through bureaucracy and more about a blueprint for durability and safety. They are the guardrails that ensure your home remains a sanctuary, not a liability. These mandates guide the selection of proper materials, the correct venting protocols, and much more. Sidestep these guidelines, and you may find yourself in murky waters, facing more than just a home repair headache.
Measuring and Preparing the Area
Precision is not just for the meticulous—it’s a fundamental principle. When measuring the shower area, think of it as crafting a tailor-made suit: every inch counts for a perfect fit. Check the location for the center of the drain, ensuring it aligns with existing plumbing. It’s essential to have clear access beneath the shower base—this isn’t the place for a ‘close enough’ attitude. Trial run your pipe and drain assembly to ensure compatibility, a seamless fit now prevents a deluge later.

Choosing the Right Shower Drain
Types of Shower Drains
The market offers a smorgasbord of shower drain types to suit any renovation feast. Strainer drains, the stalwart choice, are ubiquitously fitting for a variety of showers. Linear drains offer a sleek, contemporary edge and serve well in expansive shower designs. Tile-in drains, for the aesthetically inclined, allow for a chameleon-like blend with the shower floor. The key is to match the drain not just to the shower’s aesthetic but to its functional needs as well.
Matching the Drain to Your Shower
Selecting the appropriate drain is akin to choosing the right wrench for the nut—functionality is paramount. For sizable, tiled showers, a linear drain may be your ally, offering a chic and efficient water evacuation route. Compact showers may benefit from the simplicity of a strainer drain. Consider the shower base material, its dimensions, and your bathroom’s overall design. The right choice here is your best defense against future water woes.
Adhering to this level of rigor and thoroughness ensures a shower drain installation that not only looks professional but performs impeccably, offering peace of mind and a true sense of accomplishment.
Removal of the Old Drain (if applicable)
Step-by-Step Removal Process
Commence with the removal of the old drain by first halting any water flow to your work area, controlling your environment is essential. Use your trusty screwdriver to gently pry the drain cover off, taking care not to cause damage. A compression-fit drain will submit to a pipe wrench with a firm, calculated turn—apply steady pressure to avoid stripping the threads. For drains fused by glue or solder, a precise cut with a mini hacksaw will free the old unit, but caution is key—nearby pipes should not be disturbed.
Cleaning and Preparing the Site
Once the old drain is out, thorough cleaning ensures a successful installation. Use a putty knife and industrial-strength cleaner to remove any residual sealants and debris. This step goes beyond aesthetics, a clean foundation is crucial for a secure, leak-free fit. Test-fit your new drain to confirm compatibility and prevent future problems.
Installation of the New Shower Drain
Laying Down the Drain Base
Placing the drain base is like laying a cornerstone, it must be done with precision. Apply a generous amount of plumber’s putty under the flange, creating an impenetrable barrier. Ensure the base is positioned firmly and check for levelness, an uneven base could lead to leaks.
Attaching the Drain to the Plumbing
When connecting the drain to the plumbing system, combine finesse with strength. Slide the rubber gasket onto the drain pipe, using soap as a lubricant if necessary. Tighten compression fittings firmly, but avoid over-tightening as this could damage the fixtures.
Waterproofing
Waterproofing is more than just a step, it’s a critical skill. Apply silicone caulk around the flange to create a solid barrier against moisture. This step is vital to prevent any future water intrusion.
Final Fitting of the Drain Cover
Installing the drain cover marks the completion of your installation. It should fit easily, confirming the precision of your work. A proper fit ensures the longevity and functionality of the drain.

Testing the Installation
Leak Testing
Leak testing is a pivotal moment in the installation process. Fill the base with water and watch for leaks. If you find any, calmly tighten connections and retest. Patience is crucial at this stage.
Troubleshooting Common Issues
If you encounter issues, tackle them with the insight of an expert. Water not draining properly often points to a blockage or misalignment. Make the necessary adjustments, just as a maestro ensures each instrument is in harmony with the orchestra.
Maintenance Tips
Routine Cleaning
Consistent maintenance is the cornerstone of longevity for any shower drain. I recommend a bi-monthly ritual, arm yourself with a sturdy brush to remove debris and buildup. If you prefer a more natural approach, a combination of baking soda followed by vinegar creates an effervescent reaction that can help dislodge stubborn clogs, maintaining the integrity of your drainage system.
Long-Term Care
Over the long term, vigilance is key. Monitor your drain’s performance, slow drainage often precedes significant issues. An annual inspection with a plumbing snake can preempt obstruction, much like routine oil checks prevent engine troubles. Engaging a professional for an inspection can also provide peace of mind, ensuring your system remains in optimal condition.
FAQ Section
Clamping-style drains are typically most effective for tile showers, ensuring a secure and leak-free integration with the waterproofing membrane, much like a well-fitted window prevents drafts in a storied home.
Sizing your drain is akin to selecting the right wrench for a bolt. The general rule of thumb is a 2-inch drain, suitable for most residential showers. However, consulting your local plumbing codes can provide guidance tailored to your specific situation.
While not ideal—comparable to tuning a car’s performance without lifting the hood—there are retrofit drains designed for such scenarios. These solutions can provide an adequate fix but lack the assurance of a drain installed with direct plumbing access.
Indicators of a subpar installation include water stagnation at your feet and audible straining from the drain—symptoms that should not be ignored. Additional signs, such as leaks or a decline in drainage speed, warrant immediate attention to prevent further complications.
Unlike consumable tools, a well-installed shower drain should endure for the lifespan of the shower itself. Yet, be alert to signs of wear, such as corrosion or visible damage, these are clear indications that a replacement is prudent, ensuring the continued functionality of your shower’s drainage system.
