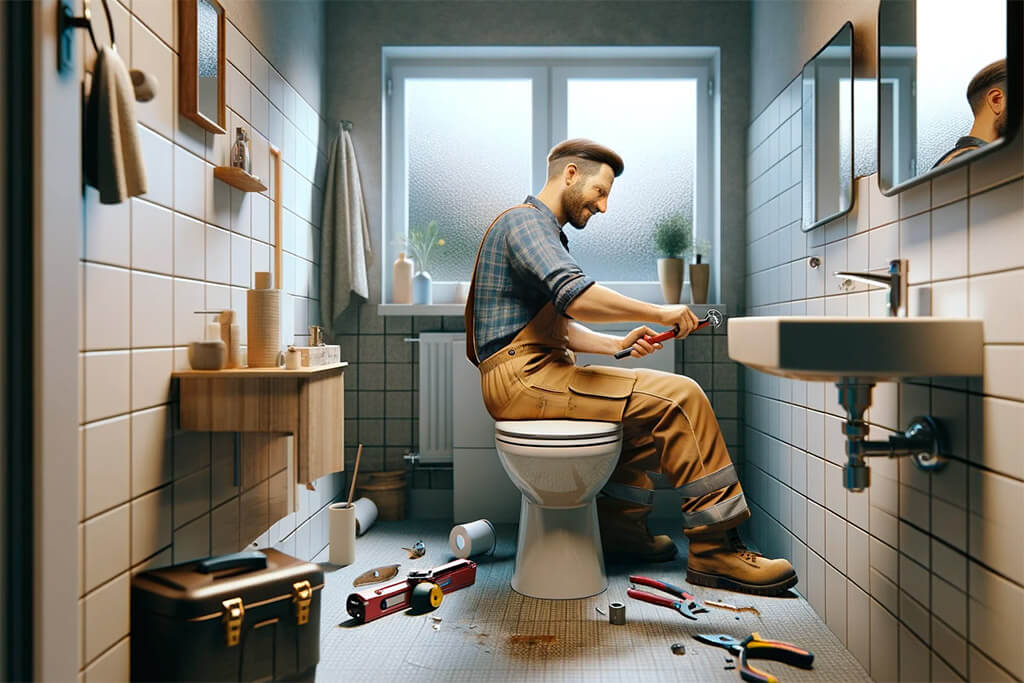
When it comes to home renovation, removing a toilet might seem daunting, but it’s a fundamental skill that can save you both time and money. Whether you’re updating your bathroom, tackling a leak, or preparing for a complete remodel, the ability to remove a toilet is essential. With the correct approach and a few tricks of the trade, this task is manageable for DIY enthusiasts and professionals alike.

Preparing for the Task
The key to a smooth removal process lies in preparation. You’ll need a few basic tools: an adjustable wrench, a sponge, a bucket, and some towels. It’s essential to have these items on hand to avoid unnecessary interruptions during the process.
Safety is paramount. Before you begin, turn off the water supply to the toilet. This is typically done by turning the valve located at the base of the toilet clockwise. Once the water is off, flush the toilet to drain the water from the tank and bowl. A sponge can be used to soak up any remaining water, preventing spills and messes during removal.
Step-by-Step Guide to Removing a Toilet
- Shutting Off the Water: Locate the water valve near the base of the toilet and turn it off to stop the water flow. This is a crucial step to avoid any unexpected water issues.
- Draining the Tank and Bowl: After shutting off the water, flush the toilet to drain the water. Use a sponge and bucket to remove any remaining water in the tank and bowl, ensuring a dry work area.
- Disconnecting the Water Supply Line: Next, disconnect the water supply line from the toilet using your wrench. Be gentle to prevent damage to the pipes.
- Removing the Toilet Tank (if separate): If your toilet has a separate tank, unscrew the bolts that attach it to the bowl. Carefully lift off the tank, and consider asking for help if it’s too heavy, as this can prevent back strain.
- Unbolting the Toilet: Locate the bolts securing the toilet to the floor, typically covered with caps at the toilet’s base. Remove these caps, and then use your wrench to loosen and take out the bolts.
- Lifting the Toilet: Gently rock the toilet to break the seal with the floor and lift it straight up. It’s important to lift with your legs, not your back, as toilets can be quite heavy.
- Cleaning the Area: Once the toilet is removed, clean the area around the floor flange. This step is crucial for a good seal when installing a new toilet or making repairs.

Post-Removal Considerations
Once the toilet is out, there’s more to do than just pat yourself on the back. It’s about ensuring everything’s in shipshape for whatever comes next.
Sealing the Drain: First off, you don’t want any sewer gases wafting up into your home. A simple, yet effective method is to plug the drain with a rag or a towel. It’s a straightforward solution to keep those unpleasant smells at bay.
Assessing the Flange: Now, turn your attention to the flange. This part is critical for a good seal with the new toilet. Look for any cracks, breaks, or signs of wear. If it’s damaged, replace it to avoid future leaks. If it’s just dirty, a thorough cleaning will do.
Common Challenges and Solutions
Dealing with snags is part of the job. Here’s how to tackle some common ones.
- Handling a Rusted Bolt: Encountering a rusted bolt is like finding a needle in a haystack – not uncommon. Apply penetrating oil and allow it to work before attempting to turn it. If it’s still stubborn, a hacksaw might be your last resort. Approach this carefully to avoid damaging the toilet flange.
- Managing Water Residue: Despite your best efforts, some water might still linger. Keep a bucket and rags within reach. Quick mopping will prevent any potential water damage and slipping hazards.
FAQ Section
For any remaining water, a sponge or towel is your best friend. Soak it up and wring it into a bucket. Repeat until the tank and bowl are dry.
Gently rock the toilet back and forth. This should loosen the seal without harming the floor. It’s important to be gentle to avoid any damage.
Removing a toilet is usually a one-person job. However, if the toilet is particularly heavy or cumbersome, don’t hesitate to ask for help. It’s always better to be safe.
Proper disposal depends on your local regulations. Many areas offer recycling for old fixtures. If recycling isn’t an option, your local waste disposal facility should accept it, although you might need to break the toilet into smaller pieces.
