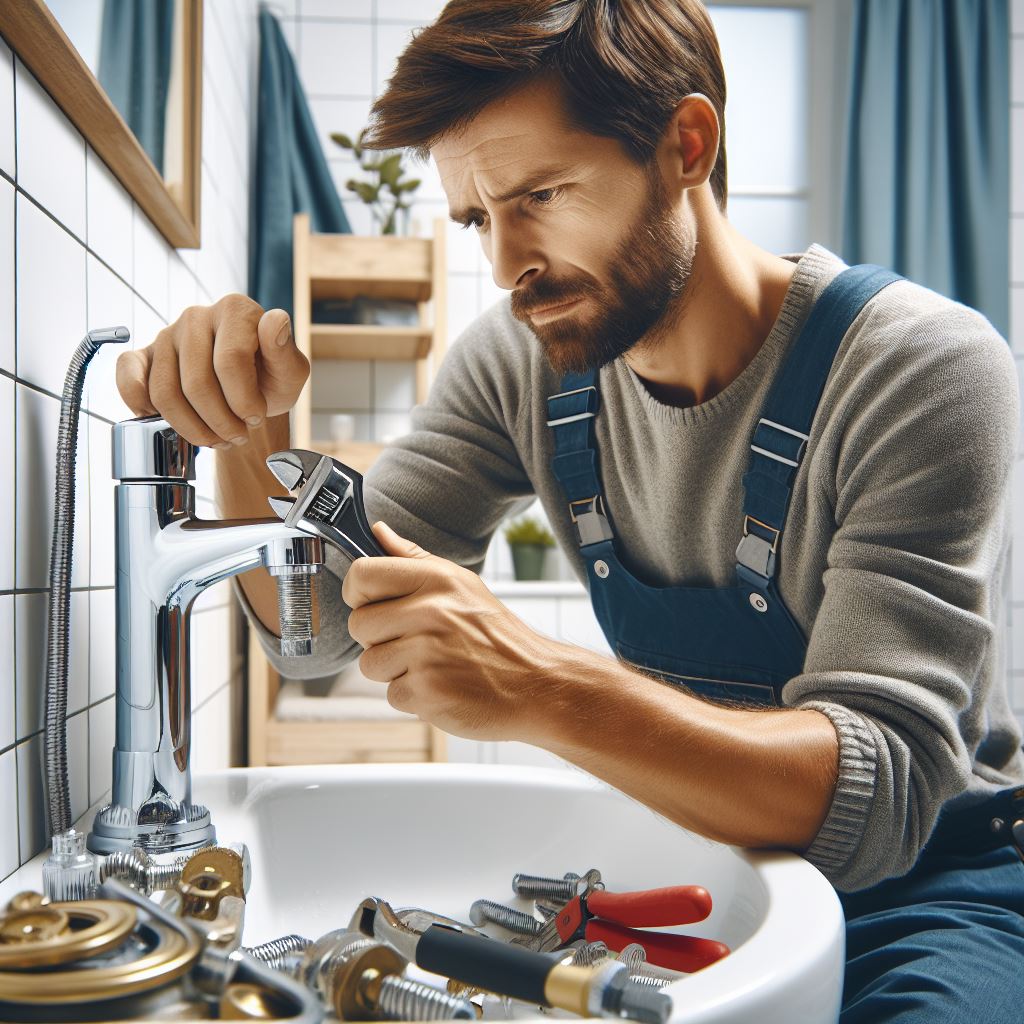
The persistent drip from a leaky faucet is more than a mere annoyance, it’s a clarion call to action for homeowners and DIY enthusiasts alike. This seemingly minor issue can lead to significant water wastage and potential damage to your home’s interior if left unaddressed. Yet, the prospect of tackling plumbing repairs can be daunting for many. However, with a systematic approach and the proper tools, even novices can successfully resolve this common problem, restoring peace and functionality to their household.

Understanding Your Faucet
At the heart of the matter is the single-handle cartridge faucet, a sophisticated piece of engineering designed to streamline water control. This type of faucet integrates temperature and flow regulation into a single handle, operated by an internal cartridge mechanism. Unlike traditional faucets that rely on washers to prevent water flow, the cartridge faucet uses a replaceable cartridge to manage water distribution and temperature control. Over time, these cartridges can wear out or become clogged with mineral deposits, leading to leaks or drips. Understanding the mechanics of your faucet is the first step towards a successful repair.
Tools and Materials Needed
- Adjustable Wrenches: Essential for loosening and tightening various components.
- Pliers: Provide the grip needed for those hard-to-reach areas.
- Cartridge Puller: A specialized tool for removing the cartridge, particularly useful for stubborn units.
- Replacement Cartridge: The centerpiece of the repair. It’s critical to select a cartridge that exactly matches your faucet model.
- Plumber’s Grease: Facilitates smooth operation once the faucet is reassembled.
- Allen Wrenches, Screwdrivers, and Seals: Depending on your specific faucet model, these tools may also be necessary.
It’s advisable to take a detailed photograph of your faucet and cartridge before heading to the hardware store. This image will serve as a valuable reference, ensuring you procure the correct replacement parts. Compatibility is paramount, even minor discrepancies can compromise the repair’s effectiveness.
Choosing the Right Replacement Parts
Navigating the maze of replacement parts is simplified by a thorough understanding of your faucet’s requirements. The goal is to procure a cartridge that mirrors the original in form and function. Pay close attention to model numbers and brand specifications. When in doubt, leveraging online resources and video tutorials can provide additional guidance, ensuring you select the appropriate components for your faucet model.
Step-by-Step Repair Guide
1. Shutting Off the Water Supply
The first step in any plumbing repair is to ensure the work area is dry. Locate the shutoff valves under the sink and turn these clockwise to halt the flow of water. If there are no valves in sight, your next stop is the main water supply for your home. Starting your work in a dry area is crucial to avoid turning your repair site into an unintended water feature.
2. Removing the Faucet Handle
With the water flow halted, focus on the faucet handle. It’s often secured by a discreet screw, hidden under a cap on the handle’s side or top. Gently pry the cap off to reveal the screw. Use the appropriate screwdriver or Allen wrench to loosen it, keeping in mind that gentle precision prevents damage to the handle and the surrounding area.
3. Taking Out the Cartridge
Upon removing the handle, the cartridge—the heart of the faucet’s control system—is exposed. If it’s stubbornly seated, a cartridge puller can be invaluable. This tool grips and extracts the cartridge with minimal fuss. In its absence, carefully use pliers to wiggle the cartridge free, taking care not to damage the faucet’s interior workings.
4. Inspecting and Replacing the Cartridge
Examine the cartridge for signs of wear, damage, or mineral buildup. A damaged cartridge necessitates a trip to the hardware store with the old part in hand to ensure a perfect match. Sometimes, a thorough cleaning can rejuvenate an old cartridge, but when in doubt, replacement is the safer bet. Properly align and insert the new or cleaned cartridge, ensuring it sits securely and functions smoothly.
5. Reassembling the Faucet
With the new cartridge in place, the reassembly of the faucet handle is next. This step is more than a simple reversal of disassembly, it requires careful attention to ensure the handle is correctly aligned and securely fastened. This precision prevents future leaks and ensures the faucet operates smoothly.
6. Testing Your Work
With the faucet reassembled, it’s time to reintroduce water to the equation. Turn the water supply back on and observe the faucet’s performance. A successful repair will show no signs of dripping or leaking, and the handle should operate smoothly. Any deviation suggests a need to revisit the assembly for adjustments.
Troubleshooting Common Problems
- Continued Dripping: This often indicates an issue with the cartridge’s fit or condition. Re-examine the part for proper installation and compatibility.
- Handle Stiffness: A sign that the cartridge may need additional lubrication or correct alignment. A small application of plumber’s grease can resolve stiffness.
- Leaks Around the Handle: Typically, this issue points to a problem with the O-ring. Ensure it’s properly seated and in good condition.
FAQ Section
The culprit is often a worn-out cartridge, seal, or O-ring.
Replacement frequency can vary, but the 3-5 year range is a good guideline, influenced by water quality and usage.
Yes, in many cases, cleaning the cartridge or replacing the O-rings suffices.
Re-examine the installation of the O-ring or cartridge, as misalignment may be the issue.
While not always necessary, it’s the safest route. If an isolation valve is available under the sink, use that as a convenient alternative.
