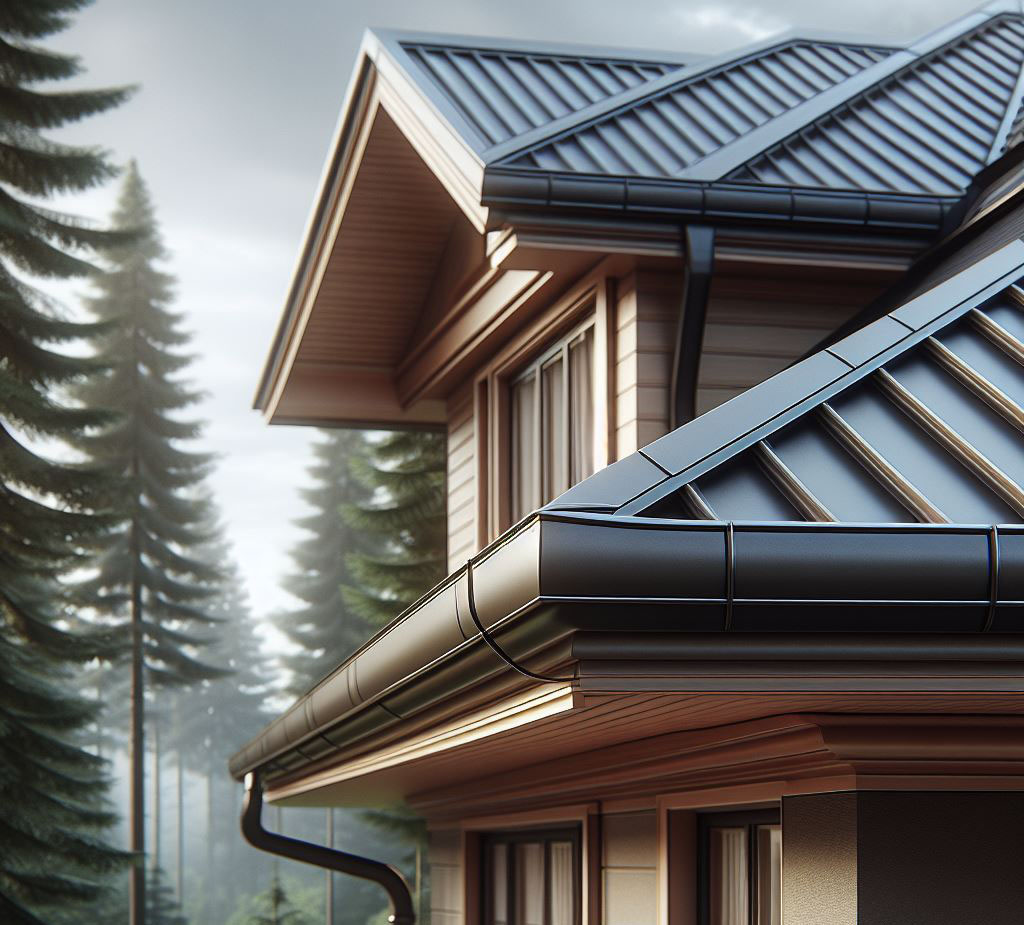
In the world of construction and home repair, certain elements work tirelessly behind the scenes, pivotal yet often overlooked. Among these, the roof drip edge stands out as a guardian against the relentless pursuit of water to find its way into places it doesn’t belong. For both the weekend DIY enthusiast keen on maintaining their domicile against the ravages of time and water, and the professional builder whose reputation hinges on the quality and durability of their work, a thorough understanding of roof drip edges is indispensable. These slender shields do more than just direct water away, they preserve the integrity of the home, ensuring that its beauty and structure remain uncompromised by moisture’s insidious reach.

What is a Roof Drip Edge?
Consider, if you will, the roof drip edge: a modest strip of metal that plays a crucial role in the roofing ecosystem. This component is designed to perform a simple yet critical function—guiding rainwater away from the fascia and into the gutters, thus preventing it from sneaking under the shingles where it can cause significant damage. But the role of a drip edge extends beyond mere water redirection, it also supports the roof’s edge, preventing sagging and contributing to the overall stability and aesthetic of the structure. It’s a testament to the principle that in construction, every detail matters, and the right details can make all the difference in achieving a lasting, effective build.
Importance of Choosing the Right Type of Drip Edge
The choice of a suitable drip edge is a decision that bears directly on the longevity and effectiveness of a roofing system. It’s a choice that should be informed by the specific characteristics of the roofing material, the architectural style of the building, and the climatic challenges of the environment. The wrong selection can lead to a cascade of problems—water damage, mold proliferation, and an untimely demise of the roof itself. Conversely, the right drip edge acts as a vigilant protector of the building’s integrity, warding off the elements and maintaining the roof’s pristine condition over the years.
When selecting a drip edge, consider the following:
- Compatibility with Roofing Material. The drip edge must be suited to the type of roofing material used, ensuring a seamless integration that optimizes water runoff without compromising the roof structure.
- Climate Consideration. The design of the drip edge should be chosen with an eye to the local weather patterns, ensuring it can withstand the particular challenges posed by the regional climate.
- Architectural Harmony. The drip edge should complement the overall design of the building, enhancing its aesthetic appeal while performing its essential function.

Types of Roof Drip Edge
Diving deep into the realm of roof drip edges, it’s akin to exploring a fundamental yet intricate aspect of roofing that often flies under the radar. With years of roofing projects under my belt, from quaint cottages to sprawling commercial complexes, the nuanced selection of drip edges has proven to be both an art and a science. Let’s peel back the layers on the various types of drip edges and the materials they’re crafted from, equipping you with the knowledge to choose wisely for your next roofing endeavor.
C-Style Drip Edge
The C-Style drip edge is the epitome of simplicity and functionality. Its design, reminiscent of a “C”, seamlessly integrates with the decking and fascia, providing reliable water redirection without any unnecessary complexity. This type shines in applications where straightforward, effective moisture protection is paramount—ideal for utilitarian structures like sheds and basic residential roofs.
L-Style Drip Edge
The L-Style takes it up a notch with its 90-degree angle, snugly fitting under shingles and extending over the roof’s edge. This design excels in environments where the roof faces more direct exposure to the elements, offering enhanced protection against wind-driven rain. It’s particularly suited for roofs with a steeper pitch or in regions where the weather tends to be more unforgiving.
T-Style (or Drip Edge Extension)
For those challenging projects where maximum protection is non-negotiable, the T-Style drip edge stands ready. Its broad flange extends further along the roof deck, fortifying the roof against heavy rainfall and snow. Commercial buildings and residences in particularly wet climates will benefit most from this robust design.
Hemmed Drip Edge
Combining elegance with efficiency, the Hemmed Drip Edge features a meticulously folded edge that cleverly prevents water from winding its way back underneath. It’s the detail-oriented choice, perfect for upscale homes or any project where the aesthetic seamlessly merges with functionality. This type is a testament to the craftsmanship that elevates a roofing project from standard to stellar.

Materials Used in Drip Edges
Aluminum
The workhorse of drip edges, aluminum offers a blend of lightweight flexibility and resistance to corrosion, making it a favorite among roofers everywhere. Its adaptability makes it ideal for a wide range of residential applications, particularly in coastal areas where its resistance to salt spray is invaluable. The trade-off, however, is its susceptibility to dents and dings.
Galvanized Steel
When durability is the name of the game, galvanized steel answers the call. Its rugged constitution is designed to weather the toughest conditions, suitable for both residential and commercial roofing projects. Regular inspections are prudent, though, as any compromise in its protective coating can lead to rust, challenging its otherwise stalwart defense.
Copper
Copper drip edges are the crowning jewel for those seeking to marry unmatched durability with timeless beauty. As it ages, it acquires a patina that adds character and depth, making it a favored choice for historic renovations or high-end homes. The investment in copper is significant, but the return is a roofing edge that endures and enchants for generations.
Vinyl
For projects where cost considerations take precedence without forgoing functionality, vinyl stands out as a viable option. Its corrosion resistance and ease of installation make it particularly appealing for DIY projects or situations where the budget is tight. While it may not boast the longevity of its metal counterparts, vinyl offers a practical solution for effective water diversion.
Installation Tips for Roof Drip Edges
The process of installing a roof drip edge is straightforward yet requires attention to detail to ensure it serves its purpose effectively:
- Accurate Measurement. Begin with accurate measurements of your roof’s perimeter to determine the amount of drip edge needed, adding a bit extra for overlap ensures you’re covered.
- Proper Placement. Installation starts at the bottom of the roof. The drip edge should be placed over the eaves’ edge on top of the underlayment and beneath the underlayment on the sides, or rakes, creating a seamless barrier against water.
- Secure Attachment. Secure the drip edge with roofing nails spaced approximately 12 inches apart. It’s crucial to strike a balance – too tight and it might warp, too loose and it might fail.
- Overlap for Continuity. Ensure pieces overlap by at least an inch at the joints to prevent water ingress, with a dab of roofing caulk to seal these overlaps further enhancing the barrier against moisture.
- Consult Professionals for Complex Roofs. While many DIY enthusiasts can tackle drip edge installation on standard roofs, complex or high-value roofing materials might require the finesse and expertise of a professional to ensure the installation is performed correctly.
Maintenance and Replacement
Drip edges, while low maintenance, demand periodic checks and care:
- Inspections are Key. Semi-annual inspections can help catch issues early. Look out for signs of wear such as rust, bending, or detachment from the roof.
- Cleanliness Maintains Functionality. Keep the area around the drip edge clear of debris, leaves, and nests that could impede water flow.
- A Fresh Coat. Painted drip edges will eventually require a new coat of paint to maintain their protective layer and aesthetic appeal.
When noticing signs of damage or improper function, consider repair or replacement to ensure the drip edge continues to protect your home effectively.
FAQ Section
A T-style drip edge is often recommended for metal roofs due to its wide flange that offers extensive coverage, ensuring effective water diversion.
Yes, it’s possible to retrofit a drip edge onto an existing roof. It might require lifting some shingles to place the drip edge properly, but it’s a worthwhile endeavor to enhance your roof’s water management system.
Material choice should reflect local climate conditions. Aluminum or copper are excellent in coastal or high-humidity areas for their corrosion resistance, whereas galvanized steel is suited for regions with heavy snowfall due to its strength.
Replacing the drip edge during a roof replacement ensures that every component of your roofing system is new, matching, and designed to last for the duration of the new roof’s life.
Certainly, you can paint drip edges to match your home’s exterior. Use exterior-grade, metal-appropriate paint and primer for the best adherence and durability.
