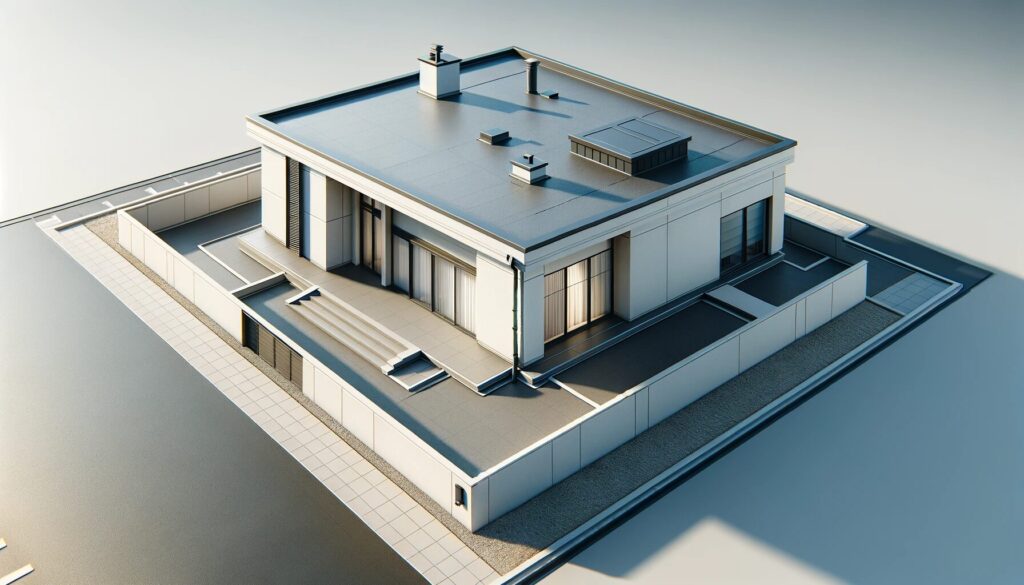
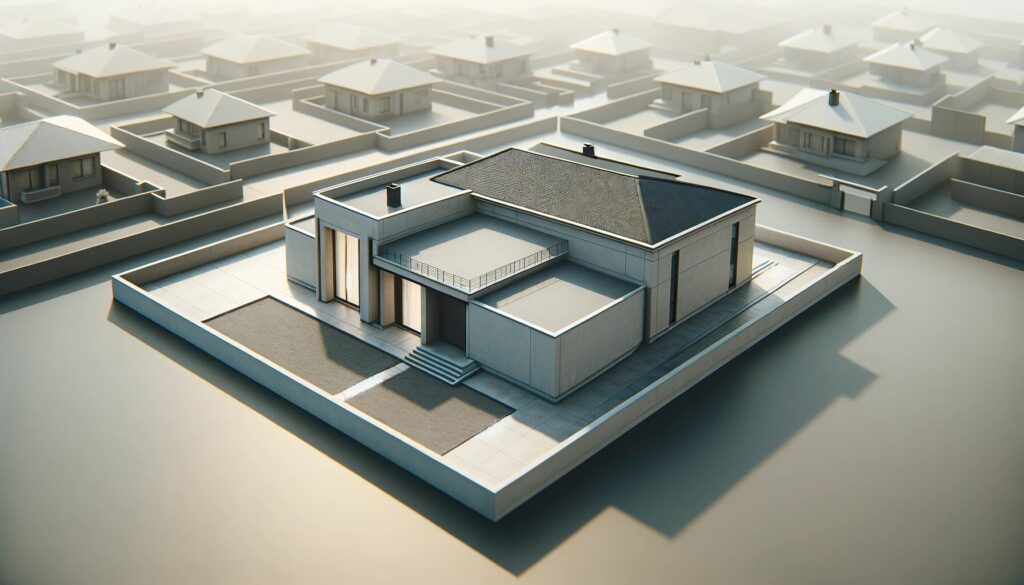
Flat roofs have emerged from their niche as a modernist or commercial roofing choice to become widely embraced in both commercial and residential construction. Their appeal lies not only in their sleek, contemporary appearance but also in their functionality, offering potential space for rooftop amenities and easier access for maintenance. However, the success of a flat roof is contingent upon meticulous attention to construction techniques and the selection of appropriate materials. My years in the field have taught me that shortcuts or oversights in these areas can lead to premature failures and costly repairs. It’s critical to approach flat roof construction with a commitment to quality and durability.

Understanding Flat Roof Fundamentals
When we talk about a “flat roof,” we’re referring to a roof with a minimal pitch, typically around 1/4″ per foot, designed to facilitate water drainage without compromising the architectural style. This slight incline is critical, it’s what prevents water from pooling on the roof surface, which is a primary enemy of roof longevity.
Flat roofs stand in contrast to sloped roofs, each having its distinct set of advantages and considerations. Flat roofs are particularly advantageous for creating usable outdoor spaces, such as rooftop gardens or patios, and they can offer a more straightforward installation process and lower initial costs. However, they require a proactive approach to maintenance and waterproofing to prevent leaks and water damage, which are less of a concern with sloped roofs.
Planning and Preparation
The first step in any successful flat roof project is thorough planning. Assessing whether a flat roof is the right choice involves considering the specific requirements of the building, local climate conditions, and the intended use of the roof space. For instance, buildings in areas prone to heavy snowfall might require additional structural support to bear the weight.
Navigating the maze of permits and building codes is another essential early step. Compliance with local regulations not only ensures the safety and legality of your project but also helps avoid costly corrections down the line. Every region has its own set of rules regarding construction, so it’s imperative to consult with your local building department to understand the specific requirements for your project.
Equipping yourself with the right tools and materials is crucial. Here’s a basic checklist to get you started:
- Safety gear: Essential for any construction project, safety gear includes hard hats, gloves, eye protection, and, for work at heights, safety harnesses.
- Tools: A comprehensive toolkit should include hammers, drills, saws for wood framing, and specialized tools tailored to the installation of your chosen roofing materials.
- Materials: The specific materials required will depend on the type of flat roofing system you choose, but generally include insulation, waterproofing membranes, cover boards, and the roofing material itself, such as EPDM, TPO, or others.

Design Considerations for Flat Roofs
In the realm of flat roofs, effective drainage stands as the cornerstone of design, crucial for averting water pooling that can lead to structural woes. The nuanced art of achieving the optimal pitch—about 1/4 inch per foot—ensures that water gracefully exits the roof, sparing homeowners from unwanted indoor water features.
Material selection for flat roofs encompasses a variety of options, each with its unique set of characteristics:
- EPDM (Ethylene Propylene Diene Monomer): This resilient rubber material boasts an impressive tolerance to UV radiation and is known for its straightforward installation process. However, diligence in securing it against wind uplift is paramount.
- TPO (Thermoplastic Polyolefin): Revered for its reflective qualities and prowess in energy efficiency, TPO demands precision in installation, particularly at the seams, to fulfill its potential as a waterproof barrier.
- PVC (Polyvinyl Chloride): Esteemed for its longevity and chemical resistance, PVC represents an investment in durability, albeit at a higher cost.
- Bitumen: A testament to time-tested reliability, bitumen offers adaptability in colder climates, though it requires a more hands-on approach during installation.
- Metal: Beyond its traditional applications, metal roofing has evolved into a fire-resistant, energy-efficient option that, with proper coatings, can significantly reduce heat absorption.
The role of insulation in a flat roof system cannot be overstated. Beyond its immediate benefits for thermal regulation and energy savings, quality insulation serves as a barrier against condensation, thereby safeguarding the roof’s structural integrity and prolonging its service life.
Flat Roof Framing and Construction Steps
Embarking on framing a flat roof is akin to laying the foundation of a fortress. It demands meticulous planning and precision to ensure it withstands the elements.
Framing with Joists and Decking
- Initial Planning: Every successful project begins on paper. Draft a detailed plan indicating where each joist will be placed to support the roof decking efficiently.
- Material Selection: Opt for treated lumber or engineered beams for joists to ensure longevity. For decking, plywood or OSB offers the strength and durability needed for a solid base.
- Joist Spacing: Adhere to local building codes, typically mandating 16 to 24 inches on-center, to guarantee your structure can support anticipated loads without faltering.
- Decking Installation: With the joists securely in place, begin laying the decking. Stagger plywood or OSB sheets for added stability and screw them down firmly to eliminate any movement.
Ensuring Proper Slope and Drainage
- Crafting a Slight Slope: A subtle incline, about 1/4 inch per foot, is crucial for guiding water towards drainage outlets, preventing undesirable pooling.
- Strategic Drain Placement: Position drains, scuppers, or gutters at the lowest points of your slope, ensuring unimpeded water flow off the roof.
Installing the Waterproof Membrane
- Surface Preparation: A pristine, dry, and smooth deck is essential before membrane installation. This step cannot be overlooked as imperfections can lead to failures.
- Membrane Application: Begin at the lowest point, rolling out your chosen membrane (be it EPDM, TPO, or PVC) and progressing upwards. Overlap sheets by at least 6 inches for a secure seal.
- Adhesion and Sealing: Follow the manufacturer’s guidelines for adhesive application or use heat-welding techniques for TPO and PVC membranes to ensure every seam is impenetrable.
- Flashing Installation: Essential for waterproofing, flashings around roof protrusions and perimeters must be meticulously installed to ward off water infiltration.
Tips for Seamless Finishes and Effective Waterproofing
- Meticulous Attention to Detail: The integrity of a flat roof lies in the precision of its construction. Pay close attention to seams, edges, and flashings, where vulnerabilities commonly arise.
- Conduct Thorough Inspections: Post-installation, scrutinize your work for any potential weak spots, ensuring the roof is poised to offer unwavering protection.
- Commit to Regular Maintenance: A clean, debris-free roof is more likely to remain waterproof. Regular upkeep is the key to longevity.
- Invest in Quality: Opting for superior materials might seem costly upfront but invariably pays off through reduced maintenance and repair needs.
Incorporating these steps and tips into your flat roof project will not only ensure its structural integrity but also its longevity. The process of framing and waterproofing a flat roof, though intricate, can be immensely rewarding, yielding a sturdy, reliable covering that stands the test of time. Every phase, from the initial framing to the final inspection, contributes to creating a durable, efficient, and leak-resistant roof.
Maintenance and Upkeep
Consistent maintenance is the lifeline of a flat roof, safeguarding against premature failure. A biannual inspection regimen—targeting the removal of debris, examination for membrane damage, and ensuring unobstructed drainage pathways—is advisable.
Key indicators of wear or damage include:
- Persistent ponding water, which can undermine roof integrity
- Visible tears or punctures in the roofing membrane
- Compromised or detached flashing
- The presence of bubbles or blisters, hinting at moisture entrapment
The axiom “an ounce of prevention is worth a pound of cure” holds particularly true for flat roofs. A proactive approach to maintenance not only extends the lifespan of the roof but also averts costly repairs, ensuring that the roof continues to perform its protective role effectively.
Common Challenges and Solutions
Water ponding is a chief adversary for flat roofs, potentially leading to leakage and consequential damage over time. A critical measure to prevent this is ensuring an adequate pitch for water runoff, subtly guiding it towards drainage points. For roofs already battling with ponding, adding extra drains or employing a tapered insulation strategy can markedly improve water dispersal, mitigating leakage risks.
Optimal insulation is paramount for maintaining energy efficiency and avoiding thermal bridging, where poor insulation continuity can lead to significant heat loss. Employing continuous layers of high-quality insulation, with particular focus on meticulously insulating edges and junctions, can substantially reduce heat escape while also preventing moisture-related complications such as condensation, water damage, and mold proliferation.
Common issues like leaks, membrane tears, and blistering require prompt attention. While temporary fixes may offer immediate relief, identifying and addressing the underlying cause is essential for a durable solution. For example, installing walk pads can mitigate damage from foot traffic, and addressing blisters may involve excising the compromised area and applying a new, fully sealed membrane patch.
DIY vs. Professional Installation
While the allure of DIY flat roof projects is undeniable, the inherent risks and complexities often suggest a different course. Projects entailing substantial structural modifications, advanced waterproofing, or precise insulation installation are typically best handled by professionals. Their expertise not only ensures a correctly installed roof but also comes with the assurance of warranties, representing a wise investment for long-term roof integrity.
DIY efforts in flat roof construction come with their share of challenges, from achieving flawless drainage to perfecting the waterproof membrane application—mistakes in either can lead to significant, costly issues. Moreover, the importance of adhering to safety protocols while working at heights cannot be overstated, underscoring the value of professional involvement.
FAQ Section
The ideal material for a flat roof varies by specific needs, factoring in climate, budget, and personal preferences. EPDM stands out for its durability and ease of installation, making it favorable for the hands-on homeowner. TPO and PVC are lauded for their superior energy efficiency and resilience against environmental factors, while bitumen and metal offer robust durability but might necessitate a larger initial investment and professional installation.
Effective drainage is achieved through intentional design, incorporating a slight incline to facilitate water flow to drains. Regular maintenance to keep gutters and downspouts clear is essential. For existing roofs facing drainage challenges, retrofitting with tapered insulation or augmenting drainage points can significantly enhance water management.
Transitioning from a sloped to a flat roof involves intricate structural adjustments and should not be undertaken lightly. Consulting with a structural engineer or a seasoned roofing professional is crucial to evaluate the project’s viability and ensure the building can safely support the new roof configuration.
Biannual inspections—preferably in the spring and fall—are recommended to preemptively identify and rectify potential issues. Additionally, inspections following severe weather events can catch and mitigate damage early, preserving the roof’s integrity.
Indicators of a failing flat roof include persistent water ponding, visible damage to the membrane such as tears or punctures, blistering, and interior water damage signs. Promptly addressing these signs can forestall more severe damage, safeguarding the roof’s longevity and performance.
