Welcome to the world of wall paint, where the right choice can completely transform your home’s personality and longevity. This guide is tailored for both the hands-on homeowner and the self-employed professional in the construction and repair arena. We’re here to delve into the nuances of selecting paint that not only looks good but also stands the test of time.

The Basics of Wall Painting
Let’s start with the fundamentals. Wall paints are not a one-size-fits-all, they’re an assortment tailored to different needs and surfaces. Latex paints are the workhorses of interior painting – they’re water-based, which means they’re user-friendly in terms of application and clean-up. Oil-based paints, on the other hand, are the heavy lifters, offering durability and a robust finish, particularly suitable for trims and areas requiring extra resilience.
Before your roller touches the wall, remember that preparation is paramount. Cleaning the walls is your first step – think of it as setting the stage for your paint. It’s about removing the invisible barriers that can come between your paint and the wall. Priming is your next crucial step, especially for new drywall or previously unpainted surfaces. It’s like laying down a foundation before building a house – it ensures your paint adheres properly and has a uniform finish.
Creative Wall Painting Ideas
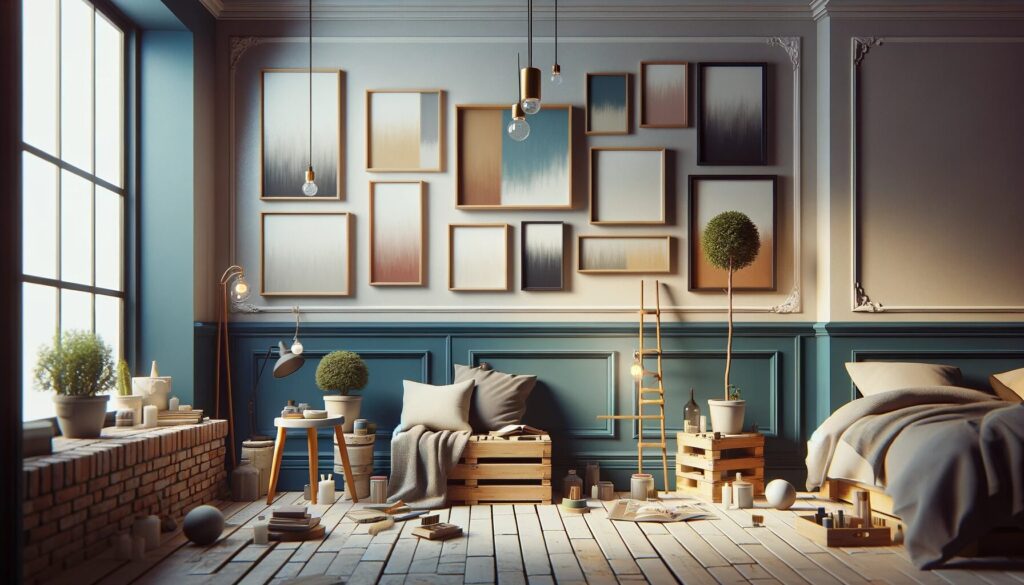
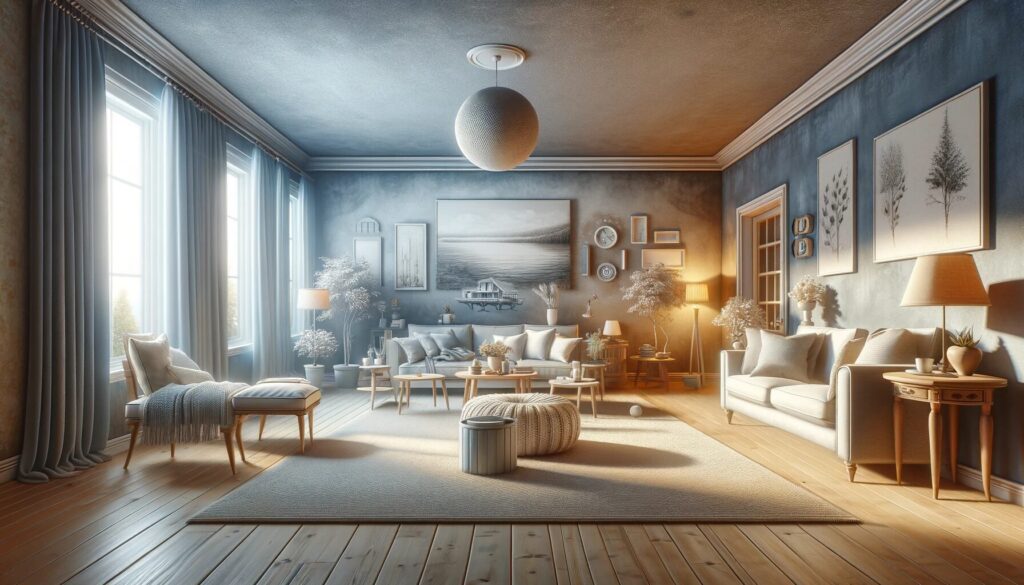
Now, let’s stir in some creativity. Bedrooms, often our personal retreats, can benefit immensely from calming hues like blues and greens, promoting relaxation. Living spaces, conversely, can handle more energetic colors. Here, you’re painting not just a wall, but an atmosphere.
Color psychology plays a subtle yet significant role. Warm colors can invigorate and stimulate a room, while cool tones can create a soothing environment.
But the true artistry comes in when you introduce patterns and textures. Techniques like sponging, rag rolling, or even stenciling can add depth and character to your walls, turning them into canvases of personal expression.

Color Schemes and Trends
Understanding color schemes is like being a chef – it’s all about mixing the right ingredients. We’re seeing a diverse range of trends in interior paint, from soothing neutrals to bold statement hues. The key is in creating a balanced and harmonious color palette that resonates with the space’s purpose and feel.
Here’s a guideline for different spaces:
- In areas where you seek warmth and comfort, such as living rooms or bedrooms, opt for earthy, warm tones.
- Spaces meant to feel open and airy, like bathrooms or small kitchens, can benefit from light blues or greens.
- For a contemporary edge, consider a monochromatic scheme with bursts of contrasting colors for a dynamic effect.
Every color choice is an opportunity to not just paint a wall, but to craft an environment that reflects your personality and meets your living needs. So, let’s pick up that brush and bring those walls to life.
Techniques and Tools for Professional-Looking Results
Let’s dive into the process of achieving a professional finish in your paint job, a task that may seem daunting but is highly rewarding when done correctly.
Preparing the Surface: The first step in any quality paint job is thorough preparation. Ensure your walls are clean, smooth, and free of peeling paint or holes. This might involve washing, scraping, patching, and sanding. Remember, the quality of your preparation directly impacts the final result.
Choosing the Right Tools: High-quality brushes and rollers make a significant difference. For cutting in (painting the edges of your walls), a 2-inch angled brush is ideal. When it comes to rollers, a medium-nap roller cover is versatile for most wall textures. Don’t forget a sturdy step ladder for reaching those high places safely.
Application Techniques: Begin by ‘cutting in’ at the corners and along the trim. When using a roller, start in a small section and roll in overlapping ‘W’ or ‘M’ patterns, smoothing out the paint as you go. This technique helps avoid streaks and ensures even coverage. Apply two thin coats rather than one thick one for a more even and durable finish.
Attention to Detail: When removing painter’s tape, do so while the last coat is still slightly tacky to avoid peeling off any dry paint. This attention to detail will leave you with crisp, clean edges.
Specialty Paints and Finishes
Specialty paints and finishes can add unique character to a room, but they require specific techniques for successful application.
Chalkboard and Magnetic Paints: These paints need a properly primed surface for best results. For chalkboard paint, after it dries, condition the surface by lightly rubbing the side of a chalk over it, then erasing it. This step primes the surface for drawing. For magnetic paint, apply several coats for a stronger hold, as its effectiveness is directly proportional to the thickness of the application.
Glow-in-the-Dark Paint: Ideal for ceilings and kids’ rooms, this paint should be applied over a white or light-colored base coat to maximize luminosity. It requires exposure to light to ‘charge’ before it will glow in the dark.
Textural Techniques: Sponging and rag rolling are great for adding depth and interest. These techniques involve dabbing a sponge or rag into paint, then onto the wall, creating patterns that can range from subtle to dramatic. Experiment on a practice board first to perfect your technique.
Eco-Friendly and Health-Conscious Painting
Incorporating eco-friendly practices into painting is not only good for the environment but also for the health of the occupants.
- Low-VOC Paints: Choose paints with low or no VOCs. These paints have reduced harmful emissions and are less odorous, making them a healthier choice for indoor environments.
- Proper Ventilation: Always ensure good ventilation when painting indoors. Open windows and use fans to circulate air and disperse fumes.
- Safety Precautions: Wear protective gear, including gloves, masks, and safety glasses. This is especially important when sanding old paint that may contain lead or when using products with strong fumes.
Practical Considerations
In the realm of painting, being budget-conscious doesn’t necessarily mean sacrificing quality. Here’s how to balance the two:
- Economical Painting Solutions: Combining paint and primer in one can be a cost-effective and time-saving choice. Keep an eye out for discounts at local paint stores, sometimes, high-quality paints are available at substantially lower prices. The ‘mis-tint’ section often holds hidden gems – premium paints at a discount due to color mixing errors.
- Maintenance and Durability: For most interior walls, latex paints are a practical choice. They’re not just easy to apply but also easier to clean and maintain. In high-traffic areas or rooms like kitchens and bathrooms, where moisture and wear are more prevalent, semi-gloss or gloss finishes are advisable. They stand up well to cleaning and general wear and tear.
Case Studies and Real-Life Examples
Over the years, I’ve seen numerous transformations achieved through paint. These stories not only demonstrate the power of paint but also serve as valuable learning resources:
- Transformations Captured in Photos: I recall a project where a dim, uninviting living room was completely revitalized using lighter shades, dramatically enhancing its feel and appearance. Documenting these changes in photos provides a clear visual representation of the impact that paint can have on a space.
- Insights from the Field: In conversations with various DIY enthusiasts and professional painters, one piece of advice consistently stands out: the importance of thorough preparation. As one seasoned pro put it, “The quality of your prep determines the quality of your finish.”
FAQ Section
In kitchens, where the walls are subjected to more moisture and cooking residue, a semi-gloss or high-gloss latex paint is advisable. These finishes are not only moisture-resistant but also easier to clean, making them ideal for high-use areas.
The frequency of repainting depends on several factors, including the room’s use, exposure to sunlight, and the quality of the paint used. Generally, living rooms and bedrooms might need repainting every 5 to 7 years, while kitchens and bathrooms, subject to more intense use and moisture, might need attention every 3 to 4 years.
Certainly, colors can have a profound effect on mood and atmosphere. Cooler tones like blues and greens tend to be calming and relaxing, whereas warmer colors such as reds and oranges can create a sense of energy and dynamism.
When painting ceilings, using a roller with an extension pole can greatly ease the process. Start from the corner of the room, rolling across the shortest length of the ceiling, and tackle the job in manageable sections. Maintaining a ‘wet edge’ is key to avoiding overlapping marks.
To create an illusion of more space, opt for lighter and brighter colors. Painting the ceiling in a lighter shade than the walls can give a sense of height. Another trick is to paint the walls and trim in the same color, which makes the space feel more expansive.
