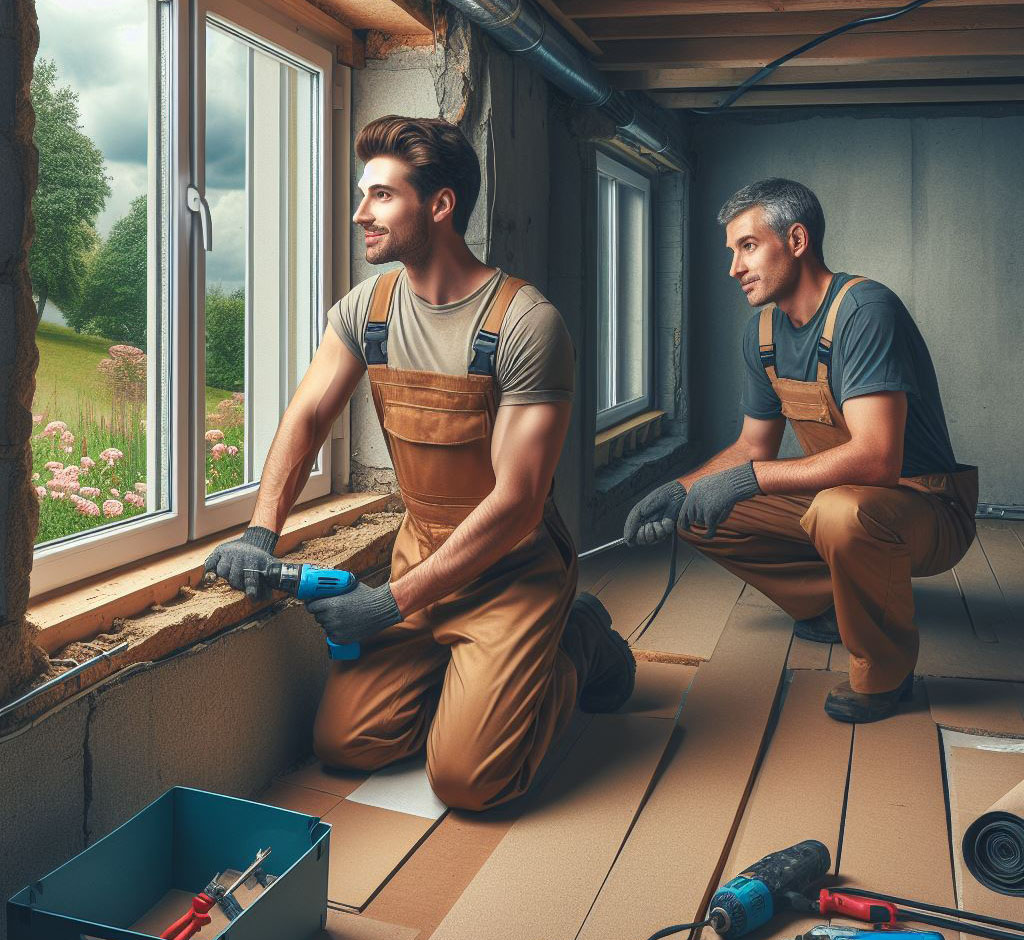
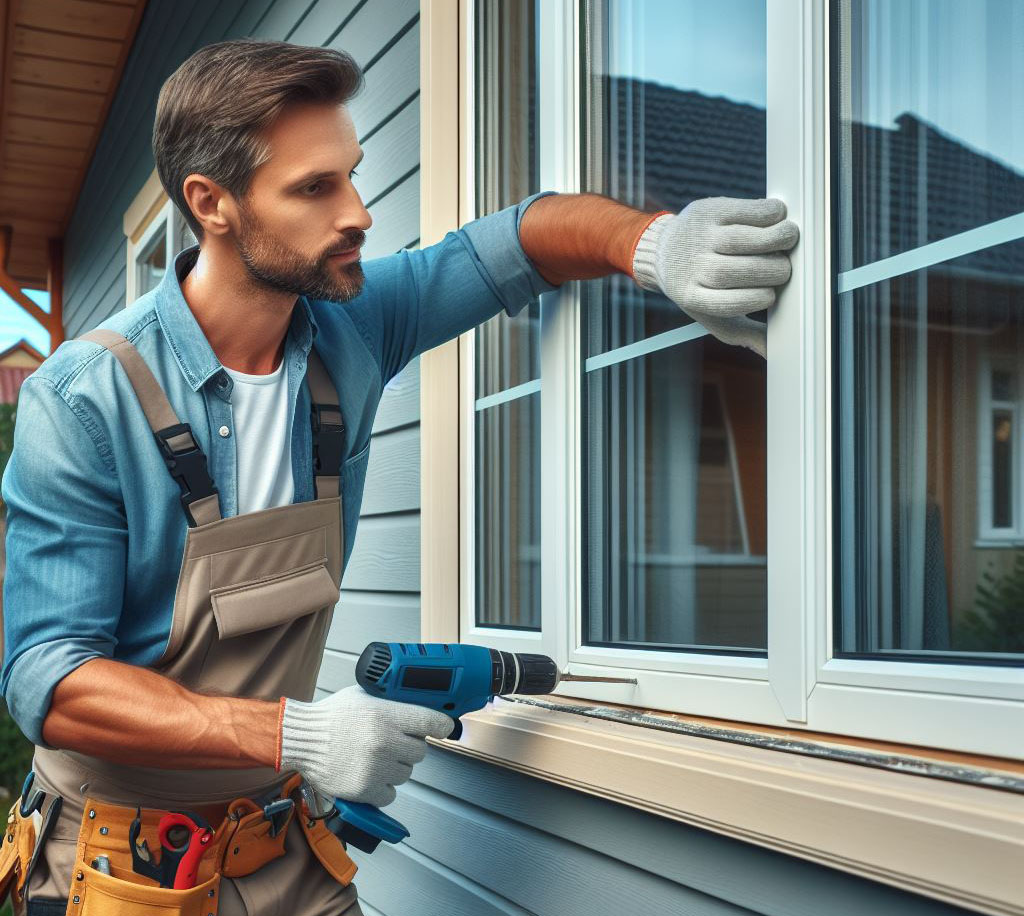
At their essence, storm windows are the shield bearers against the onslaught of Mother Nature’s moods, fitted externally or internally to your existing windows. Their primary functions? To bolster your home’s defense against inclement weather and to enhance its thermal insulation.
- Definition and Function. Think of storm windows as the armor plating for your glass windows. They stand guard against wind, rain, and thermal transfer, effectively adding an extra layer of insulation and protection.
- Benefits. The addition of storm windows to your homestead can significantly reduce heat loss through your windows, trimming down your energy bills. They’re like a snug blanket for your house, keeping the warmth in and the cold out. Moreover, they serve as a barrier against noise pollution, making your home a serene sanctuary.
- Types Available. Storm windows come in a variety of materials—aluminum, vinyl, and wood being the most common. Each has its merits. Aluminum is lightweight and rust-resistant, vinyl offers excellent insulation and minimal upkeep, and wood, while requiring more maintenance, can enhance the aesthetic appeal of traditional homes. Styles vary from full-window to partial (sash) designs, accommodating a broad spectrum of window shapes and sizes.

When to Replace Storm Windows
Knowing when to replace storm windows is key to maintaining your home’s integrity and efficiency. Keep an eye out for these tell-tale signs:
- Signs That Indicate the Need for Replacement. If your storm windows show signs of wear such as cracks, warping, or broken seals, it’s time for them to bow out. Additionally, if they’re difficult to open or close, or you notice condensation between the panes, these are clear signals that they’re not performing at their peak.
- Impact of Damaged or Outdated Storm Windows. Compromised storm windows can lead to increased energy costs, as your HVAC system works overtime to compensate for the lost insulation. Furthermore, damaged storm windows can jeopardize your home’s safety, offering less protection against the elements and potential intruders.
Selecting the Right Storm Windows
Choosing the right storm windows is akin to selecting the right type of armor for battle—what works best depends on the environment and the warrior. Here are factors to keep in mind:
- Factors to Consider:
- Climate. Your local weather patterns dictate the level of protection you need. Areas prone to hurricanes will require storm windows that can withstand high winds and flying debris.
- Home Style. The architecture of your home influences the type of storm window that will complement its aesthetics. Historical homes, for example, might benefit from wood-framed storm windows that match their traditional look.
- Budget. Storm windows range in price from the economical to the investment-grade. Your budget will guide you towards the materials and styles within your reach.
- Overview of the Best Storm Windows on the Market. The best storm windows blend durability, energy efficiency, and ease of use. Look for models with low-E glass for enhanced thermal insulation, and those with airtight seals for superior weather protection. Brands that offer easy installation and removal can save you time and labor, particularly if you plan to remove the storm windows during milder seasons.

Step-by-Step Replacement Guide
When it comes to replacing storm windows, having the right toolkit and a solid plan is half the battle. Here’s how you can tackle the job with the precision of a seasoned builder.
Tools and Materials Needed:
- Tape measure
- Screwdriver set
- Caulking gun
- Silicone caulk or weatherstripping
- Utility knife
- Drill with bits
- Replacement storm windows
- Shims
- Safety equipment (gloves, goggles)
Detailed Instructions:
- Measure Twice, Cut Once. Start by measuring your existing window openings to ensure you purchase the right size replacements. Measure the width and height from multiple points to account for any irregularities.
- Remove the Old. Gently remove the old storm windows, taking care not to damage the window frame. This might involve unscrewing the fasteners or cutting through old caulk with a utility knife.
- Prep the Frame. Clean the window frame thoroughly, removing any old caulk or debris. Check the frame for damage or rot and repair as necessary before proceeding.
- Dry Fit. Before applying any caulk, place the new storm window in the opening to ensure a proper fit. Use shims to adjust the position if needed.
- Seal it Up. Apply a bead of silicone caulk around the frame where the new storm window will sit. This ensures a weather-tight seal.
- Install. Secure the new storm window in place according to the manufacturer’s instructions, typically using screws. Ensure it’s level and properly aligned.
- Final Touches. Apply additional caulk around the outside of the storm window to seal any gaps. Smooth out the caulk with a wet finger or tool for a clean finish.
Tips for Ensuring a Proper Fit and Seal:
- Always leave a small gap at the bottom of the exterior side of the storm window to allow for moisture drainage.
- Double-check the seal around the entire window to ensure there are no air leaks.
- Consider adding weatherstripping around the movable parts of the window for added insulation.
Maintenance Tips for Storm Windows
To keep your storm windows in top-notch condition, regular maintenance is key. Here’s how to keep them looking and functioning their best.
- Clean Regularly. At least twice a year, clean the glass and frame of your storm windows to remove dirt and debris that could affect their performance.
- Inspect Seals and Caulking. Check the seals and caulking around your storm windows periodically for signs of wear or damage. Reapply caulk or replace seals as needed to maintain a tight seal.
- Check for Damage. Look for any signs of damage to the glass or frame, including cracks, warping, or water damage. Address issues promptly to prevent further deterioration.
FAQ Section
While many handymen can tackle storm window replacement as a DIY project, it depends on your comfort level with home improvement tasks and the complexity of the installation. For large projects or windows that are high up, consider hiring a professional to ensure a safe and effective installation.
The lifespan of storm windows varies based on material and maintenance, but generally, they can last 20 years or more. Replace them if you notice significant wear or damage, or if they no longer provide adequate insulation.
Yes, look for storm windows with low-E glass and tight-sealing frames. These features help minimize heat transfer, keeping your home more comfortable and reducing energy costs.
Many issues with storm windows, like broken glass or worn seals, can be repaired. However, if the frame is significantly damaged or the window is very old, replacement might be the more cost-effective option.
Measure the width and height of the existing window opening from several points to account for any irregularities. Use the smallest measurements to ensure the new storm window will fit. Always check the manufacturer’s guidelines for any additional measuring instructions.
