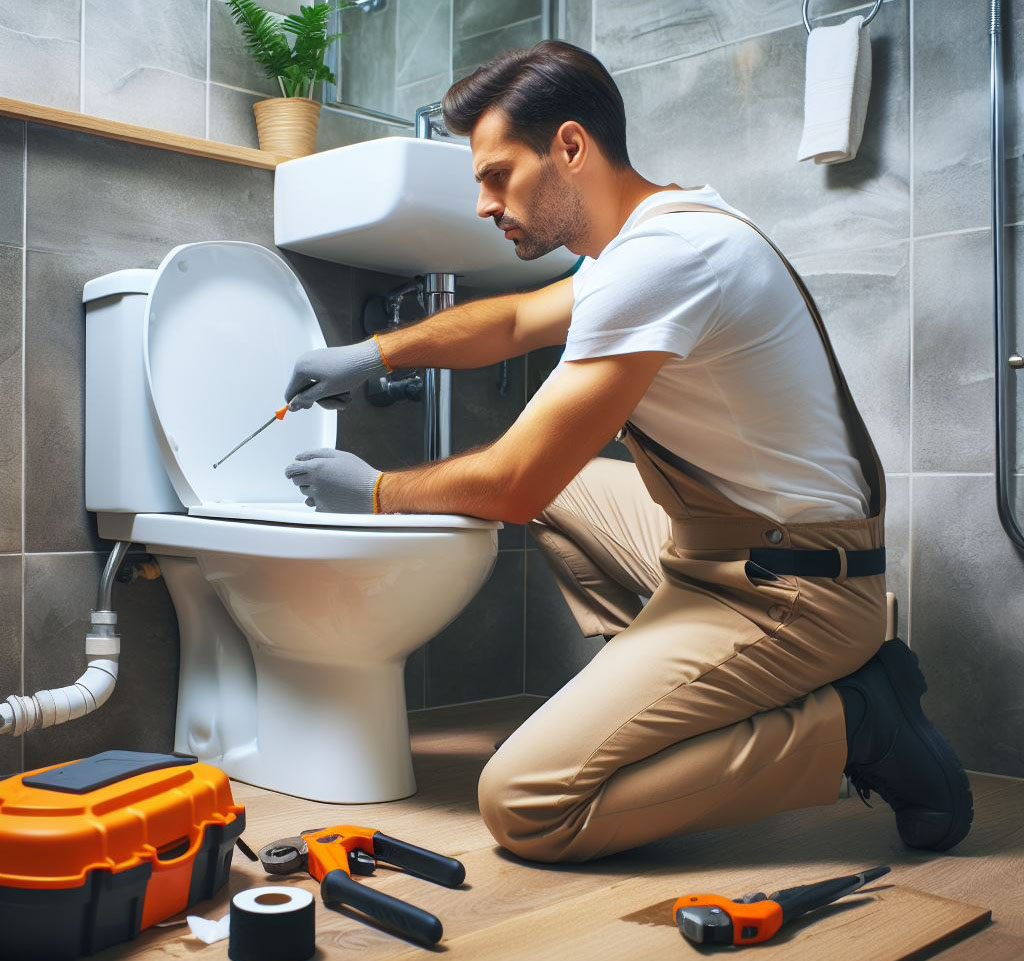
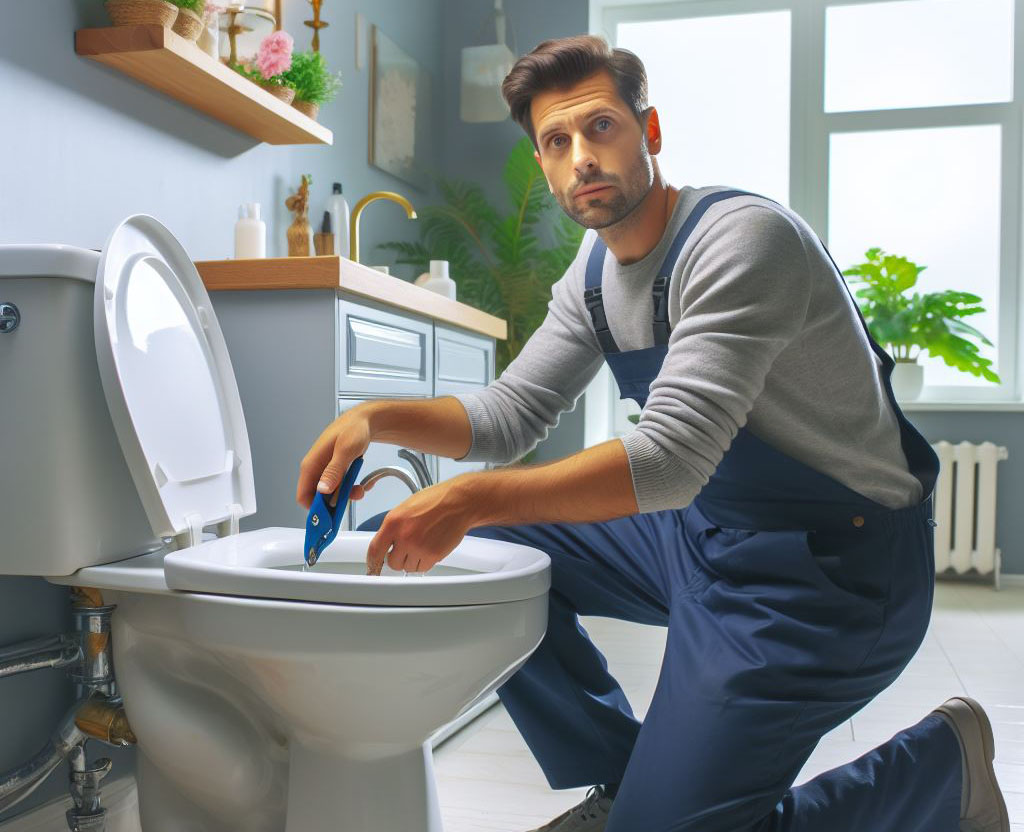
Navigating the common issue of toilet leaks may seem daunting, but understanding the mechanics and having the right approach can make this task less of a chore and more of a satisfying DIY project. Leaks in your loo not only lead to the nuisance of water puddles but also pose the risk of significant water damage to your home and an unwelcome rise in your water bill. However, with a systematic approach and the right tools, you’ll find that fixing a leaking toilet is a straightforward task that brings both immediate relief and long-term benefits.

Identifying the Source of the Leak
Leaks can be elusive, often emerging from the most inconspicuous places. To tackle this, you need a methodical approach to track down the source:
- Scouting the Base Camp: Start by examining the area around the toilet base. Water on the floor isn’t just a slip hazard, it’s a symptom of a deeper issue, often pointing to a faulty wax seal.
- Wax Seal Inspection: The wax seal is the unsung hero of toilet integrity, creating a waterproof barrier between your toilet and the drain pipe. A compromised seal can lead to leaks, odors, and the potential for significant water damage. Inspect this area carefully for signs of wear or breakage.
- Tank Bolts Recon: The connection between the tank and the bowl is fortified by bolts that can become loose or corroded over time. A thorough inspection and tightening, or replacement if necessary, can nip many a leak in the bud.
- Supply Line Surveillance: The supply line, often overlooked, is a critical component that can be the source of a leak if the connection is not tight or if the line itself is damaged. Inspect this area for any signs of moisture or dripping, ensuring that the connections are secure and the line is in good condition.
Tools and Materials Needed
Approaching any repair job with the proper tools and materials is crucial. Here’s a list of essentials that will prepare you for the task ahead:
- Wrench: Indispensable for loosening and tightening nuts and bolts.
- Screwdriver: Your go-to tool for any screws that need tightening or removing.
- Putty Knife: Ideal for removing the old wax ring without damaging the surrounding area.
- Adjustable Pliers: Sometimes, a firm grip is necessary, and that’s where these come in.
- Towels and Sponges: Essential for cleaning up water and ensuring a dry work area.
And for materials, these are your key components:
- New Wax Ring: The cornerstone of a leak-free toilet, this creates a watertight seal between the toilet and the drain.
- Replacement Bolts: Over time, bolts can corrode or weaken, having new ones ensures a secure and tight fit.
- New Supply Line or Washers (if needed): These are often the culprits behind subtle leaks and should be replaced if worn or damaged.

Fixing a Leak at the Toilet Base
Addressing a leak at the base of your toilet is a critical repair that, when done methodically, can ensure longevity and reliability. Let’s walk through the steps:
- Shutting Off the Water Supply: Begin by turning the water supply valve clockwise until it stops. This simple but crucial step prevents any water from entering the toilet as you work.
- Draining the Tank: Flush the toilet to drain the water from the tank. Press and hold the handle to ensure maximum drainage. For residual water, a sponge and bucket can be employed to soak and remove any remaining moisture. This step is essential for a clean, dry work area.
- Removing the Toilet: Carefully unscrew the nuts from the closet bolts and gently rock the toilet to break the seal. Lift the toilet and set it aside on a protective surface such as a towel or piece of cardboard. This prevents any damage to your flooring and makes for a cleaner workspace.
- Replacing the Wax Ring: Clear away the old wax ring with a putty knife, taking care not to damage the flange. Position the new wax ring over the flange, ensuring it’s centered to maintain a proper seal. This component is the linchpin for a leak-free base.
- Reinstalling the Toilet: With precision, align the toilet over the closet bolts and lower it down. Press down evenly to set the wax ring, ensuring a watertight seal. Tighten the nuts on the closet bolts, alternating sides to apply pressure evenly, but avoid over-tightening to prevent cracking.
- Testing for Leaks: Restore the water supply and allow the tank to refill. Flush the toilet several times, checking meticulously around the base for any sign of leaks. A dry base after these tests confirms a successful repair.
Addressing Tank Leaks
Tank leaks require a careful approach to ensure a solid, long-lasting repair. Here’s how to address this issue effectively:
- Identifying the Leak: Inspect the junction where the tank meets the bowl. Water in this area often signifies a failure of the tank bolts or the gasket, necessitating a closer examination.
- Tightening Tank Bolts: A gentle tightening of the tank bolts can sometimes solve the issue. Use a screwdriver and an adjustable wrench to secure the bolts. Remember, the goal is firmness, not force, to prevent any damage.
- Replacing the Gasket or Bolts: If tightening proves insufficient, replacing the gasket or bolts may be required. Drain the tank, remove the tank, and take out the old gasket and bolts. Position the new gasket and insert new bolts, then reattach the tank. Ensure an even, snug fit to prevent future leaks.
- Final Check: Turn the water supply back on, let the tank fill, and conduct a few flush tests. Observing for leaks during these tests is crucial to confirm the success of your repair.
Repairing Water Supply Line Leaks
When it comes to home maintenance, addressing a leaking water supply line to your toilet is both a necessity and an opportunity to enhance your plumbing skills. The process involves a few clear steps:
- Identifying the Supply Line Type and Connection: Begin by examining the type of supply line you have. Most are either flexible steel braided or solid copper. The connection type—be it compression, push-to-connect, or threaded—is crucial for the next steps. Knowledge of these components is foundational to a successful repair.
- Removing the Supply Line: First, ensure the water is shut off at the supply valve. This prevents any surprises as you work. After flushing the toilet to empty the tank, use adjustable wrenches to loosen the connections at both the valve and the tank. Proceed with caution to avoid water spillage, keeping a bucket or towel at hand for any residual drips.
- Replacing the Supply Line: Should the line be damaged, selecting a replacement that matches the old one in length and connection type is vital. Hand-tighten the connections initially to prevent cross-threading, then follow up with a wrench for a final snug—tight, but with care to avoid damaging the fittings.
Finishing Up
With the repair work complete, a few final steps ensure everything is in order:
- Securing All Connections: A thorough check to confirm all connections are secure will save you from future leaks. This includes ensuring the toilet is firmly bolted to the floor and the tank is properly attached to the bowl.
- Turning the Water Supply Back On: Reintroduce water to the system by turning the supply valve counterclockwise. Watch the connections closely for any signs of leaks as the tank refills.
- Leak Testing: With the tank full, flush the toilet several times to test the repair. Keep an eye out for leaks, especially around the newly installed supply line.
FAQ Section
Key indicators include water pooling around the toilet base, a noticeable odor, or visible deterioration of the seal. These signs suggest the seal’s integrity has been compromised and requires attention.
Beyond the unwelcome increase in water bills, neglecting a leaking toilet invites water damage to flooring and substructures, as well as the potential for mold and mildew proliferation. It’s a problem that escalates with time.
Although the idea might seem appealing, accessing and replacing the wax ring necessitates removing the toilet. It’s a task that, while demanding, ensures a thorough and lasting repair.
Aim for a firm, secure fit. Over-tightening risks damaging the toilet’s porcelain or the flange, leading to further complications.
Regular inspections, ideally twice a year or whenever you notice changes in performance, can preempt many issues and ensure the longevity of your plumbing fixtures.
